
How to Install UTV Roof the Right Way
Posted by Drew Cummings on Jun 25th 2026
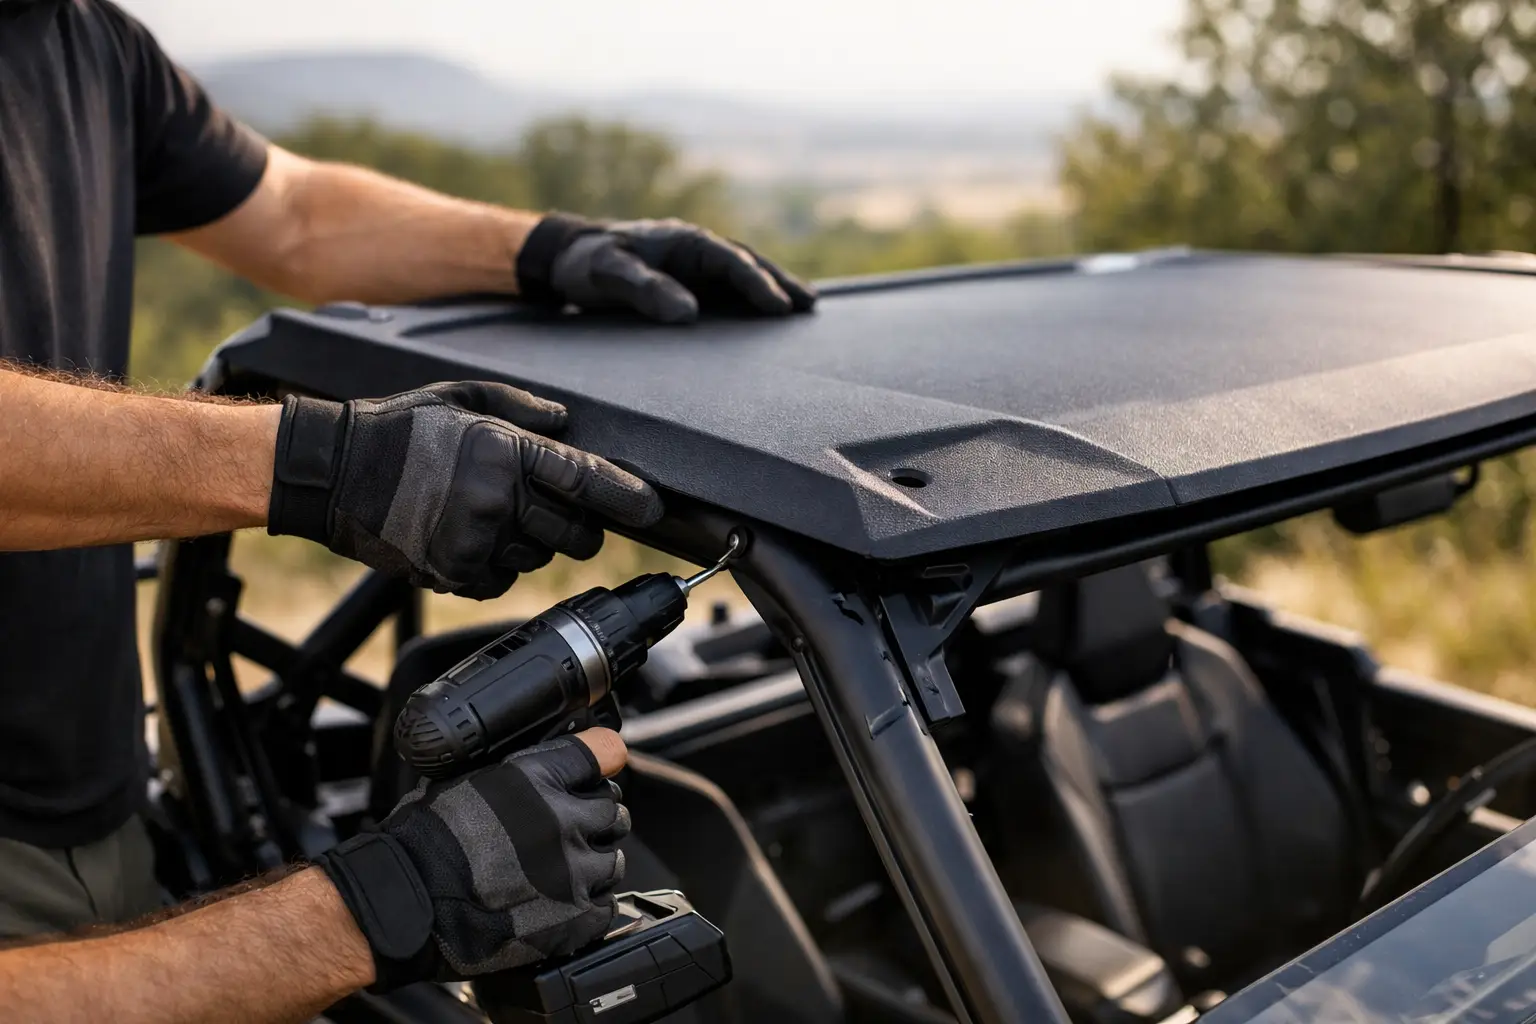
A UTV roof looks simple until you set one on the cage and realize the bolt holes are close, but not quite there. That is usually where people start forcing hardware, over-tightening clamps, or blaming the roof. If you want to know how to install UTV roof panels without rattles, gaps, or fitment headaches, the job starts before the first bolt goes in.
Most roof installs are straightforward, but the exact process depends on your machine, cage design, and the roof material. A metal roof, molded plastic roof, and soft top all mount a little differently. The good news is that the basics stay the same - confirm fitment, prep the cage, loosely mount everything first, then tighten in sequence.
Before You Install a UTV Roof
The most common installation problem is not bad hardware. It is ordering a roof that does not match the exact machine configuration. UTV accessories are fitment-specific for a reason. Trim level, model year, cab setup, and whether your machine has factory accessories already installed can all affect how a roof mounts.
Before opening the hardware bag, verify the make, model, and year against the product fitment. Check whether the roof is designed for a stock cage or if it requires compatibility with certain windshields, rear panels, or intrusion bars. Some roofs work fine with a half windshield but need additional spacers or different clamps with a full glass windshield.
You should also inspect the roof and mounting hardware before starting. Shipping damage is rare, but a bent bracket or missing clamp will slow the job down fast. Lay everything out and compare it to the instructions so you are not halfway through the install hunting for the right fastener.
Tools and setup that make the job easier
Most UTV roof installs only require basic hand tools, usually a socket set, combination wrenches, Allen keys, and a torque wrench if the manufacturer provides torque specs. A step stool helps on taller machines, and a second set of hands is worth having for larger one-piece roofs.
Clean the roll cage before installation. Dirt, dried mud, and grit can keep clamps from seating evenly and may leave the roof slightly twisted. If the roof uses rubber seals, foam strips, or protective pads, a clean surface helps them stick and compress the way they should.
How to Install UTV Roof Panels Step by Step
Start by placing the roof on the cage without any hardware fully tightened. This dry fit tells you whether the panel sits evenly from front to rear and side to side. On some machines, the roof may hook into front tabs first, while others use clamp-style mounts all around the perimeter.
If your roof came with edge trim, weather stripping, or foam tape, install that first if the instructions call for it. This step matters more than people think. It cuts down vibration, protects paint or powder coat on the cage, and helps reduce chatter on rough trails.
Next, attach every clamp, bracket, and bolt loosely. The goal here is alignment, not final tension. A roof that looks off by a quarter inch on one corner usually just needs all mounting points started before tightening. If you tighten one side first, you can pull the panel out of square and create unnecessary stress on the mounting points.
Once all hardware is in place, center the roof visually over the cage. Check the front overhang, rear overhang, and door frame alignment if your machine has upper doors or a full cab enclosure. This is also the right time to confirm clearance for windshield vents, light bars, speakers, or roof-mounted accessories.
Tighten in sequence, not all at once
When the roof is positioned correctly, tighten the hardware gradually in a cross-pattern or alternating side-to-side sequence. That keeps pressure even across the panel and helps prevent binding. With clamp-style systems, snug each clamp a little at a time rather than locking down one corner completely.
Do not over-tighten. This is especially important with plastic roofs and composite panels. Too much force can distort the roof, crack mounting holes, or create a permanent bow that causes wind noise. Metal roofs are less sensitive to flex, but they can still deform around the mounting points if clamped too aggressively.
If torque specs are provided, use them. If not, tighten until the roof is secure and the clamps are fully seated, then stop. You want the roof locked down, not crushed onto the cage.
Material Differences That Affect Installation
Not every UTV roof installs the same way, even if the steps look similar on paper. Material choice changes how the panel handles during install and how precise you need to be.
Plastic and polyethylene roofs are lighter and easier to manage alone, which makes them a popular choice for utility riders and trail machines. They usually resist dents well, but they can flex during install. That flexibility helps with positioning, but it also means uneven tightening can pull the panel out of shape.
Aluminum roofs tend to feel more solid during installation and often offer a tighter, more rigid fit. They are a strong option for riders who want durability and a more premium finish. The trade-off is that they can transmit more noise if the roof does not include proper isolators, foam strips, or rubber-coated clamps.
Soft tops install differently and are usually the fastest option, but they rely heavily on strap tension and correct frame attachment. They are useful for lighter weather protection and seasonal use, though they generally do not offer the same branch protection or long-term rigidity as hard roofs.
Fitment Issues and Common Mistakes
If the holes do not line up, stop and recheck the basics before forcing anything. Make sure the roof is facing the correct direction. It sounds obvious, but front-to-rear orientation gets mixed up more often than you would think, especially on roofs with a subtle taper.
Also verify that brackets are on the correct cage tubes. Some systems use different front and rear clamps, or different hardware lengths depending on the mounting location. One swapped bracket can throw off the entire fit.
Another common issue is accessory interference. Windshields, audio roofs, light bars, mirrors, and upper door kits can all compete for the same space. A roof that fits a stock machine may need accessory-specific clamps or small adjustments when paired with other cab components. That does not mean the product is wrong. It usually means the install order or hardware arrangement needs attention.
Signs your roof is not mounted correctly
A properly mounted roof should sit flat, feel solid, and stay quiet over rough ground. If you hear rattling, whistling, or popping after install, check the clamp tension, seal placement, and panel alignment. A roof that shifts when you grab a corner and shake it is not fully seated.
You should also watch for visible stress around bolt holes. If a plastic panel looks whitened or stretched near the hardware, it may be over-tightened. Back the hardware off, realign the panel, and retighten evenly.
After-Install Checks That Matter on the Trail
Once the roof is mounted, do a full walkaround before riding. Open and close doors if equipped. Check windshield clearance. Make sure no hardware is contacting wiring, speakers, or light bar mounts. If the roof includes integrated drain channels or edge seals, confirm they are not pinched or folded.
After your first ride, recheck every fastener. New installs can settle slightly as pads compress and clamps seat into position. A quick retighten after the first trip is cheap insurance against trail noise and loose hardware.
If you run your UTV hard - rough trails, farm work, snow duty, hunting access roads - make roof hardware part of your normal inspection routine. Vibration is constant on these machines, and even a quality roof benefits from occasional checks.
Choosing the Right Roof Before Installation
If you are still shopping, think about use first, not just appearance. A ranch machine that sees sun, rain, and low branches needs different roof priorities than a weekend trail rig. Some riders want maximum coverage and weather control with a full cab setup. Others just want overhead protection that is lightweight, quiet, and easy to remove.
That is where fitment-specific shopping helps. Looking at roofs by brand, model, and use case saves time and avoids the generic marketplace problem where everything claims to fit everything. Side By Side Sports focuses heavily on that model-based approach, which is exactly what matters when you are trying to get the right roof on the first order.
If you take your time on fitment, prep the cage correctly, and tighten the hardware in the right sequence, installing a roof is one of the more rewarding UTV upgrades you can do in the garage. It adds comfort right away, protects the cab, and makes the machine feel more finished every time you head out.