
UTV Wheel Bearings: Signs, Service, and Fitment
Posted by Drew Cummings on Sep 28th 2026
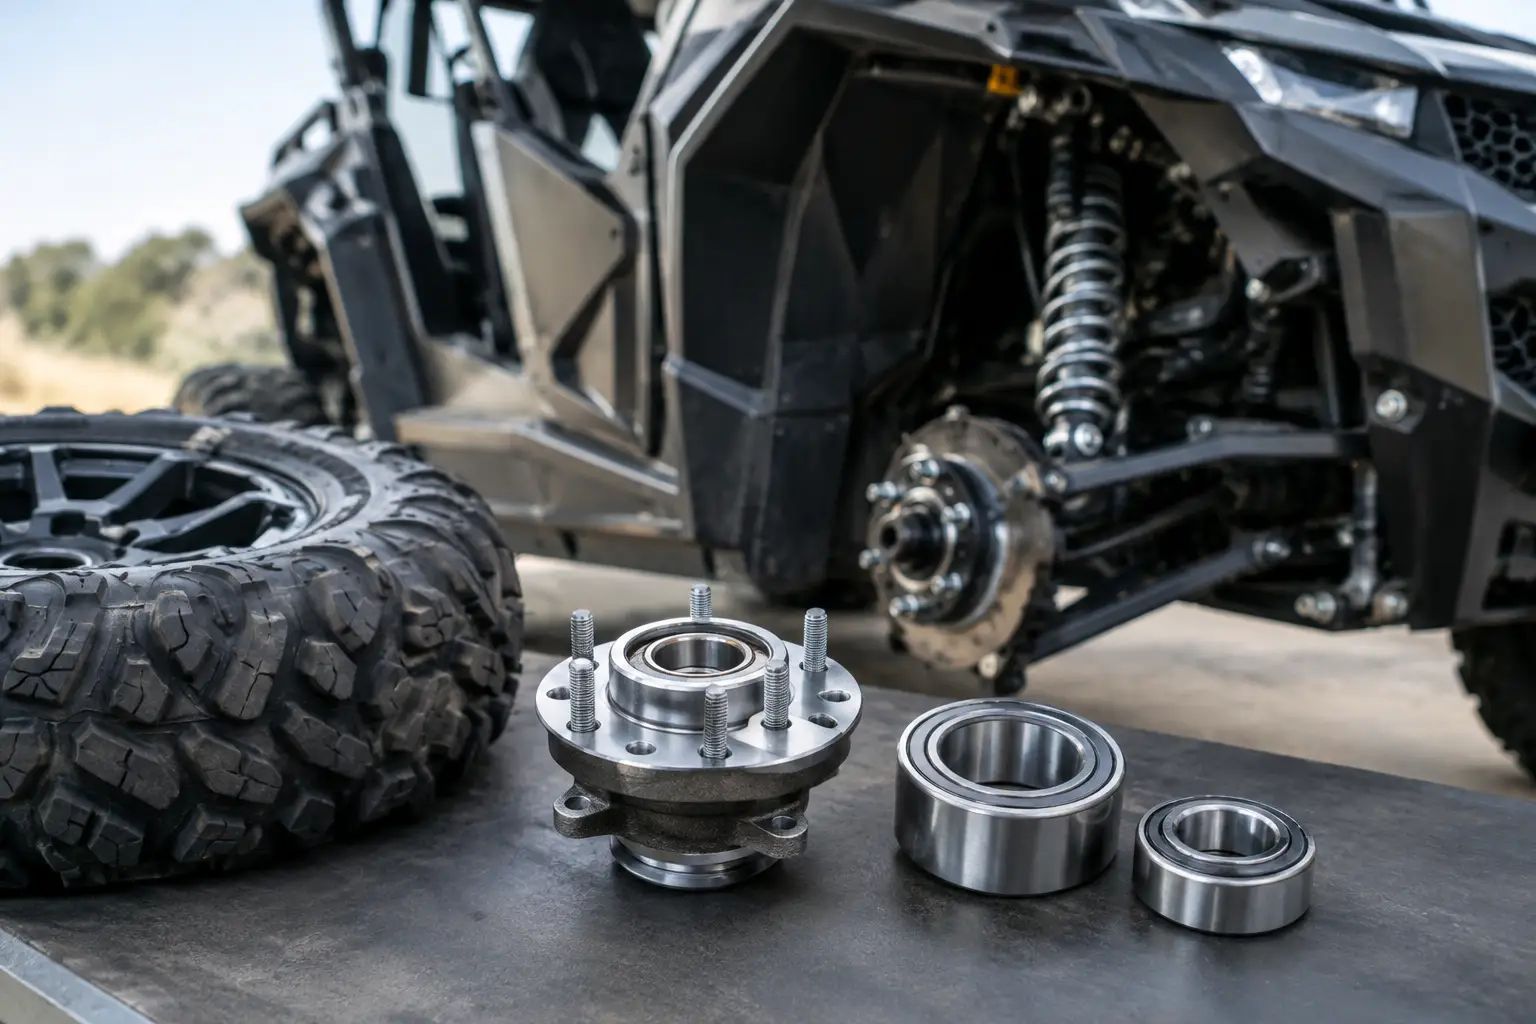
A loose front wheel can turn a good trail day into an expensive repair fast. UTV wheel bearings carry the load every time your machine lands, corners, crawls through ruts, or pushes through water and mud. They are small components with a major job: keeping the hub, wheel, axle, and suspension working in proper alignment.
For a work machine, bearing wear can show up after long days hauling, plowing, or crossing wet ground. For a sport UTV, oversized tires, wheel spacers, hard cornering, and repeated impacts can accelerate the problem. Knowing what to inspect, when to replace a bearing, and how to buy the correct fitment helps protect far more than the hub assembly.
What UTV Wheel Bearings Actually Do
A wheel bearing sits inside the hub and allows it to rotate smoothly around the spindle or axle. On many independent-suspension UTVs, the bearing also supports substantial side loads created by turning, off-camber terrain, and wider aftermarket wheels.
Most UTV wheel bearings are sealed units. The seals are designed to retain grease while keeping water, grit, and fine dust outside the bearing. That protection is effective until a seal is damaged, heat breaks down the grease, or contaminated water works its way past the sealing surface.
Once the internal grease is compromised, the bearing can corrode, run hot, and develop play. Ignoring that play puts added stress on the hub, axle splines, ball joints, tie rods, brake rotor, and CV joint. Replacing bearings early is usually the lower-cost move.
Signs Your UTV Wheel Bearings Need Attention
Bearing failure is not always loud or obvious. On a machine with aggressive tires and plenty of drivetrain noise, early warning signs can be easy to miss. A quick inspection after a muddy ride or before a major trip is worth the time.
Watch for these common symptoms:
- A growling, humming, grinding, or rumbling sound that rises with vehicle speed
- Noticeable wheel movement when the tire is rocked at the top and bottom
- Roughness, binding, or noise when the wheel is spun by hand
- Grease leakage, torn seals, rust-colored residue, or water contamination around the hub
- Uneven brake pad wear, rotor movement, or a wheel that no longer tracks true
- A steering pull or vague handling that cannot be traced to tire pressure or alignment
Wheel play is one of the clearest signs. With the UTV safely lifted and supported, grab the tire at the 12 and 6 o'clock positions and rock it inward and outward. Any substantial movement deserves a closer look. Keep in mind that play can also come from ball joints, suspension bushings, or steering components, so inspect the entire corner before ordering parts.
A bad bearing may become more noticeable during turns because side load changes across the hub. That said, UTVs do not always produce the same predictable noise patterns as highway vehicles. Trail conditions, tire tread, and driveline noise can hide the sound. Physical inspection matters more than guessing from noise alone.
Why Mud, Water, and Modifications Shorten Bearing Life
The biggest enemy of a sealed bearing is contamination. Deep water crossings can pull dirty water past a weakened seal as a hot hub cools. Fine silt is especially damaging because it acts like abrasive paste inside the bearing. Pressure washing directly at the hub seal can have a similar effect, forcing water where it does not belong.
Mud riders and hunters who regularly cross creeks should expect to inspect hubs more often than dry-climate trail riders. A machine used for snow plowing may also see more bearing stress because of low-speed, high-traction pushing and constant exposure to wet, gritty conditions.
Aftermarket modifications can change the load placed on the bearing. Larger, heavier tires increase rotating mass and leverage. Wider wheels or wheel spacers move the tire centerline farther from the bearing, increasing the side load during turns and impacts. Lift kits can alter suspension angles and encourage more aggressive use in terrain that the stock setup avoided.
None of those upgrades are automatically a problem. They simply make proper maintenance and quality replacement parts more important. If your UTV runs large tires, spacers, or a wider stance, inspect the hubs on a tighter schedule and avoid treating low-cost, unknown-fitment bearings as a long-term solution.
How to Inspect a UTV Hub and Bearing
Start on level ground. Set the parking brake, place the transmission in park, chock the opposite wheels, and lift the machine using the approved lift points. Support it securely with jack stands before putting your hands near the wheel or suspension.
Remove the wheel if needed for a clear view of the hub, brake components, and seals. Spin the hub slowly. It should rotate smoothly without grinding, catching, or excessive drag. A brake caliper can create slight resistance, but it should not mask a rough bearing.
Next, check for play at the tire or hub. If there is movement, watch the relationship between the hub and knuckle while an assistant rocks the wheel. Movement inside the hub points toward the bearing. Movement at a ball joint, tie-rod end, or control arm points elsewhere.
Inspect the axle nut and hardware as well. A loose or improperly torqued axle nut can damage a bearing, while an overtightened fastener can reduce bearing life. Use the torque specification for your exact make, model, and year. Do not rely on a generic torque value from another UTV platform.
Choosing the Right Replacement Bearing
Fitment is not a detail to sort out after purchase. Polaris, Can-Am, Yamaha, Kawasaki, and Honda UTVs can use different hub designs, bearing dimensions, seal arrangements, and axle hardware even within similar model families. Trim level, model year, front versus rear location, and aftermarket hub changes all matter.
Before ordering, confirm the manufacturer, model, year, and exact position on the vehicle. If the machine has aftermarket portals, replacement hubs, or suspension components, verify whether the original bearing specification still applies. Measure and identify removed components only when catalog fitment information is unavailable or the machine's history is unclear.
For demanding use, look for a bearing designed for off-road contamination and load. Quality seals, durable races, correct internal clearances, and corrosion resistance matter more than flashy packaging. A complete kit that includes the proper seals, snap rings, or retaining hardware can save downtime, but compare the included parts with your factory setup before installation.
The cheapest bearing is rarely the best value on a machine that sees mud, heavy loads, or high-speed trail miles. A premature failure can damage the hub bore or leave you handling a repair far from the trailer.
Installation Details That Prevent Repeat Failures
Bearing replacement requires the right tools and a careful approach. Pressing a bearing in by striking the wrong race can damage it before the UTV leaves the garage. When pressing a bearing into a knuckle or hub, apply force only to the race being installed. Pressing through the rolling elements transfers damaging load into the bearing.
Clean the hub bore and knuckle thoroughly, then inspect for corrosion, scoring, cracks, or an enlarged bore. A bearing that fits loosely in a damaged bore will not stay put, no matter how good the replacement part is. Replace worn hubs or knuckles when necessary rather than trying to make a compromised part work.
Install seals squarely and avoid tearing the sealing lip. Lightly lubricate the seal contact surface if the service procedure calls for it. Reinstall the axle, brake components, and wheel using the correct torque sequence and specifications. After a short ride, recheck wheel lug torque and listen for any new noise.
If you do not have a press, proper drivers, or confidence in diagnosing hub damage, this is a solid job for a qualified powersports technician. A clean, correctly pressed bearing costs less than replacing another bearing and a damaged hub a few rides later.
Maintenance Habits That Help Bearings Last
There is no single replacement interval for UTV wheel bearings. It depends on terrain, tire setup, load, riding style, and how often the machine sees water. A ranch UTV running dry roads may go a long time between bearing replacements. A mud-focused trail rig can need frequent inspections and earlier service.
After water crossings or deep mud, rinse the machine with low-pressure water and avoid aiming a pressure washer directly at hub seals. Check for wrapped grass, fishing line, or debris around the axle and seal area. During routine service, lift each corner, check for movement, and spin the wheels before a small issue becomes a stranded-machine problem.
When it is time for replacement, select parts by exact vehicle fitment and intended use. Side By Side Sports makes it easier to narrow down model-specific UTV parts so you can spend less time sorting through generic listings and more time preparing the machine for the next job or trail ride.
A quiet, tight-running hub is easy to overlook, which is exactly the point. Give it a few minutes of inspection before your next long ride, water crossing, hunting trip, or workday, and your UTV will be better prepared to keep rolling.