
UTV Vibration Diagnosis: Find the Real Cause
Posted by Drew Cummings on Oct 12th 2026
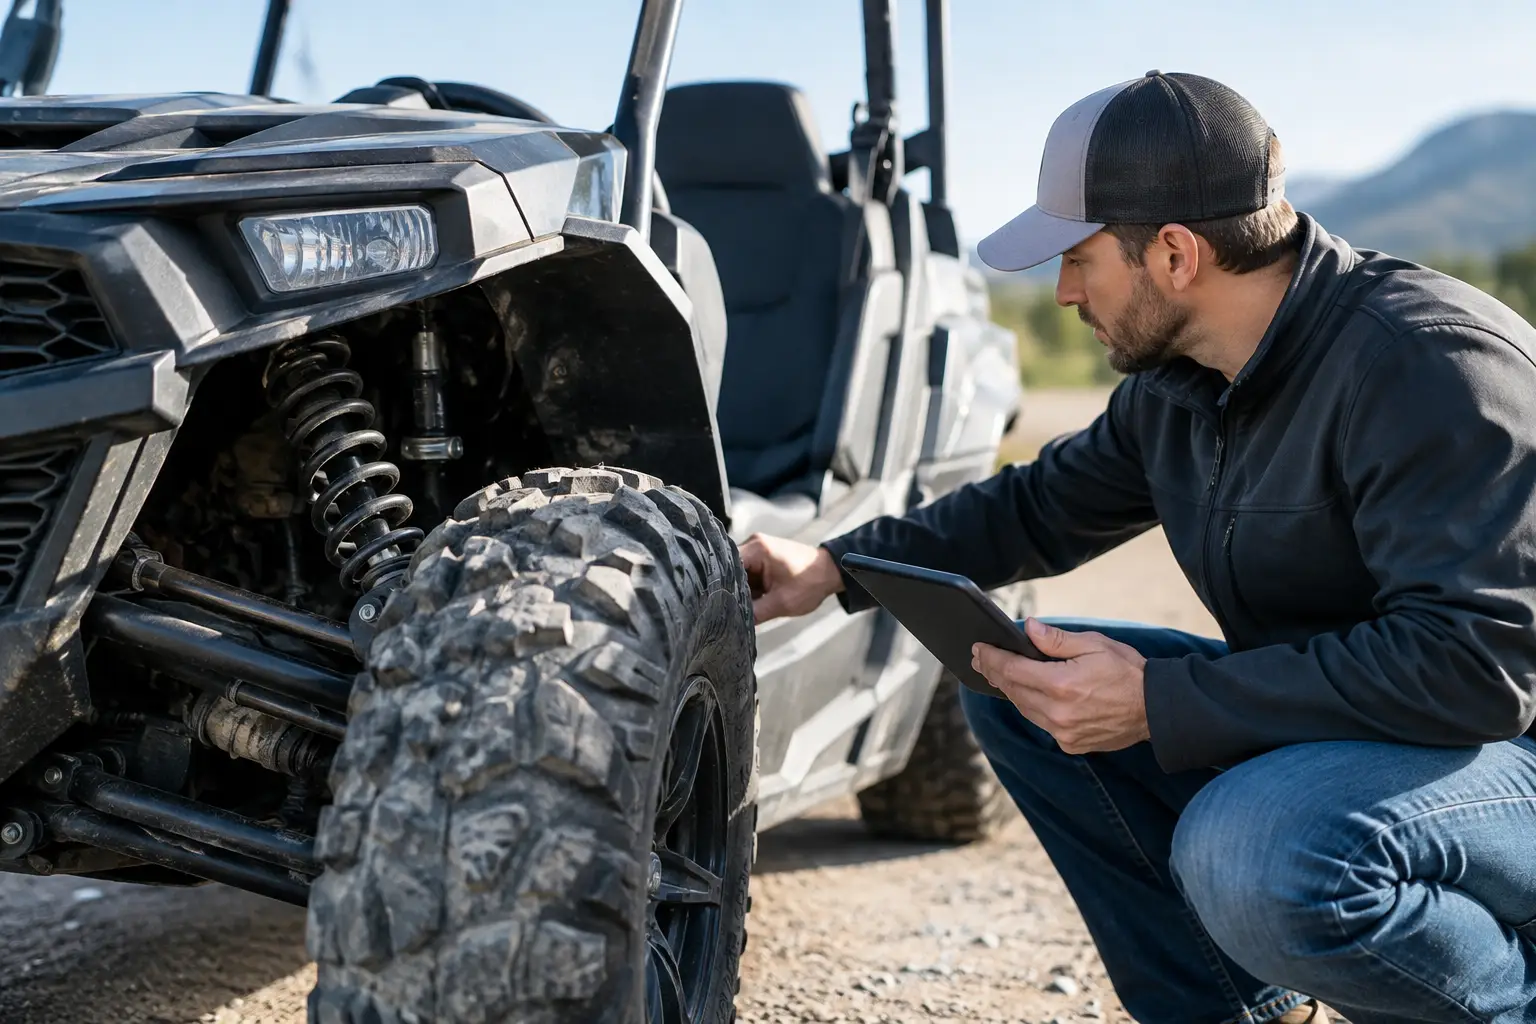
A vibration that shows up at 35 mph, under hard throttle, or only when four-wheel drive is engaged is giving you useful information. Good UTV vibration diagnosis is not about throwing a belt, wheel bearing, or axle at the machine until the shake disappears. It is about matching the symptom to the system that is actually moving, loaded, or rotating when the vibration occurs.
That approach saves money and helps prevent a small issue from becoming a damaged differential, failed CV joint, or unsafe wheel problem. Whether you run a Polaris RZR, Can-Am Maverick, Yamaha Wolverine, Kawasaki Teryx, or Honda Pioneer, start by identifying exactly when the vibration begins and what changes it.
Start UTV Vibration Diagnosis With the Conditions
Before turning a wrench, take a controlled test ride on a safe, familiar surface. Note the speed range, engine rpm, selected gear, steering angle, and whether you are on or off the throttle. A vibration at a specific ground speed points in a different direction than one that appears at a specific engine speed.
If the shake is felt mainly through the steering wheel, inspect the front tires, wheels, steering linkage, and front suspension first. A vibration through the seat, floor, or cargo area more often involves the rear tires, rear suspension, prop shaft, carrier bearing, driveline, or engine mounts. This is not absolute, but it narrows the first inspection.
Try to separate the symptom into one of three patterns. A vibration that rises steadily with vehicle speed usually comes from tires, wheels, hubs, bearings, axles, or driveshafts. One that happens under acceleration but eases off when coasting often points to CV joints, U-joints, prop shaft angles, clutch components, or mounts. One that tracks engine rpm while parked may be an engine, exhaust, clutch, or mount issue.
Do not test a severe vibration at high speed. If the steering wheel is shaking hard, a wheel is wobbling, or you hear grinding or banging, park the UTV and inspect it before another ride.
Rule Out Tires, Wheels, and Hubs First
Mud-packed wheels are a common, simple cause of a new high-speed shake. Even a small amount of dried mud inside one wheel can create a noticeable imbalance, especially on larger aftermarket tires. Clean all four wheels thoroughly, including the inside barrel and bead area, then check for rocks lodged between the beadlock ring and wheel.
With the machine safely lifted and supported, spin each wheel by hand. Watch the tread and wheel lip from the front and side. A bent wheel, damaged bead, separated tire belt, or severely out-of-round tire will show visible runout. Low tire pressure can also make a tire feel unstable, but do not assume pressure is the whole problem if the vibration is new or pronounced.
Check lug nuts with the correct torque specification for your model and wheel type. Loose lugs can create vibration and quickly damage wheel studs or the mounting surface. Also inspect the hub face and wheel mounting pad for rust, packed dirt, or debris that prevents the wheel from seating flat.
Wheel bearings deserve the same attention. Grab the tire at the 12 and 6 o'clock positions and rock it in and out. Excess movement, roughness while spinning, or a growling sound suggests a bearing or hub issue. Keep in mind that ball-joint, tie-rod, or suspension play can imitate wheel-bearing looseness, so watch the components while someone rocks the tire.
Inspect Axles and the Driveline Under Load
A clicking CV joint on tight turns is familiar to most riders. Less obvious is the axle that vibrates only under throttle because its joint is worn, binding, or operating at an extreme angle. Inspect every CV boot for tears, grease sling, missing clamps, and contamination. A boot that has been open for several rides may have already allowed enough grit in to damage the joint.
Look closely at axle angles if the UTV has a lift kit, longer shocks, high-clearance control arms, or other suspension changes. Lifted machines can gain ground clearance but lose acceptable CV operating angles at full droop. The result may be vibration, premature boot failure, or joint wear. The right correction depends on the setup: it may involve limiting droop, using axles designed for the lift, or revisiting the suspension configuration rather than simply replacing another stock axle.
On models with a prop shaft, inspect the shaft for dents, missing balance weights, loose fasteners, worn U-joints, and damaged splines. A bent prop shaft can create a vibration that becomes more aggressive as speed rises. Check carrier bearings where equipped. Torn rubber, loose mounting hardware, or a rough bearing can allow the shaft to run out of alignment.
Do not overlook front differential or transmission mounts. Excessive movement at a mount changes driveline angles when you apply throttle. That can make a vibration feel like a clutch issue even when the primary cause is the driveline shifting under load.
Check Clutch, Belt, and Engine-Related Vibration
If the UTV vibrates at a particular engine rpm while stopped, put the tire and driveline inspection on hold and focus on the engine bay. Inspect engine mounts for torn rubber, collapsed bushings, loose bolts, or metal-to-metal contact. A failed mount can transfer normal engine vibration straight into the chassis.
On belt-driven UTVs, remove the clutch cover only after following your model's service procedure. Look for belt dust buildup, belt damage, loose clutch fasteners, worn clutch bushings, or debris inside the housing. A belt that is glazed, overheated, or the wrong size can create engagement shudder, but a clutch problem typically shows itself during takeoff or in a narrow rpm range rather than as a constant speed-related shake.
Aftermarket clutch tuning adds another variable. Heavier tires, added cargo, snow plow use, and elevation changes all affect clutch load. Springs and weights that do not match the machine's tire size and intended use can make engagement harsh or cause belt slip. That is a setup issue, not necessarily a failed component.
Also inspect the exhaust and skid plates. A loose heat shield, cracked exhaust hanger, or accessory bracket can resonate at a specific rpm and sound far more serious than it is. Look for shiny contact marks where an exhaust pipe, skid plate, roof support, or aftermarket bumper is touching the frame.
Suspension and Steering Wear Can Mimic a Driveline Problem
Worn suspension parts do not always create a vibration by themselves, but they let wheels move in ways they should not. Check A-arm bushings, ball joints, tie-rod ends, sway bar links, shock mounts, and radius rod hardware for looseness or damaged bushings. Pay attention to hardware that was recently removed for a lift, skid plate, bumper, or suspension upgrade.
A hard trail impact can bend a tie rod, control arm, wheel, or shock shaft without making the damage obvious at first glance. If the UTV pulls, the steering wheel is off-center, or tire wear has changed, verify alignment after repairing any loose or bent component. Alignment will not fix a damaged tire or failing CV joint, but it can prevent a repaired machine from developing new vibration and handling issues.
Consider What Changed Before the Vibration Started
The fastest diagnostic clue is often the last modification or repair. If vibration began after new tires, start with tire pressure, wheel seating, lug torque, balance, and tire runout. If it started after a lift, inspect CV angles, axle plunge, steering geometry, and fastener torque. If it appeared after driveline service, confirm shaft orientation, U-joint condition, mounting hardware, and all specified torque values.
Accessories can contribute, too. Heavy wheels and tires increase rotational mass and put more demand on bearings, axles, brakes, and clutch calibration. They can be a worthwhile upgrade for rock, mud, or work use, but they need to match the terrain and the rest of the build. A machine set up for slow technical trails may not feel as smooth at sustained road speeds as one running lighter, balanced all-terrain tires.
When replacing parts, buy for the exact make, model, year, and trim. Fitment matters with axles, bearings, belts, clutch components, suspension parts, and wheel offsets. A part that physically installs is not always the part that preserves correct geometry or operating clearance.
Know When to Stop Diagnosing and Repair It
Park the UTV immediately if you find cracked wheel centers, loose lug nuts, severe wheel-bearing play, a damaged axle, a binding U-joint, leaking differential housing, or a prop shaft that contacts the chassis. Those problems can escalate quickly and may affect steering, braking, or power delivery.
For a persistent vibration with no obvious cause, avoid random replacements. Record the conditions, inspect in the order of speed-related components first, then load-related components, and use the service manual specifications for your machine. A careful diagnosis gets you back to a smoother, safer ride and lets you spend your upgrade budget on parts that actually improve the way your UTV works.