
UTV Light Bar Review for Real Trail Riding
Posted by Drew Cummings on Jul 30th 2026
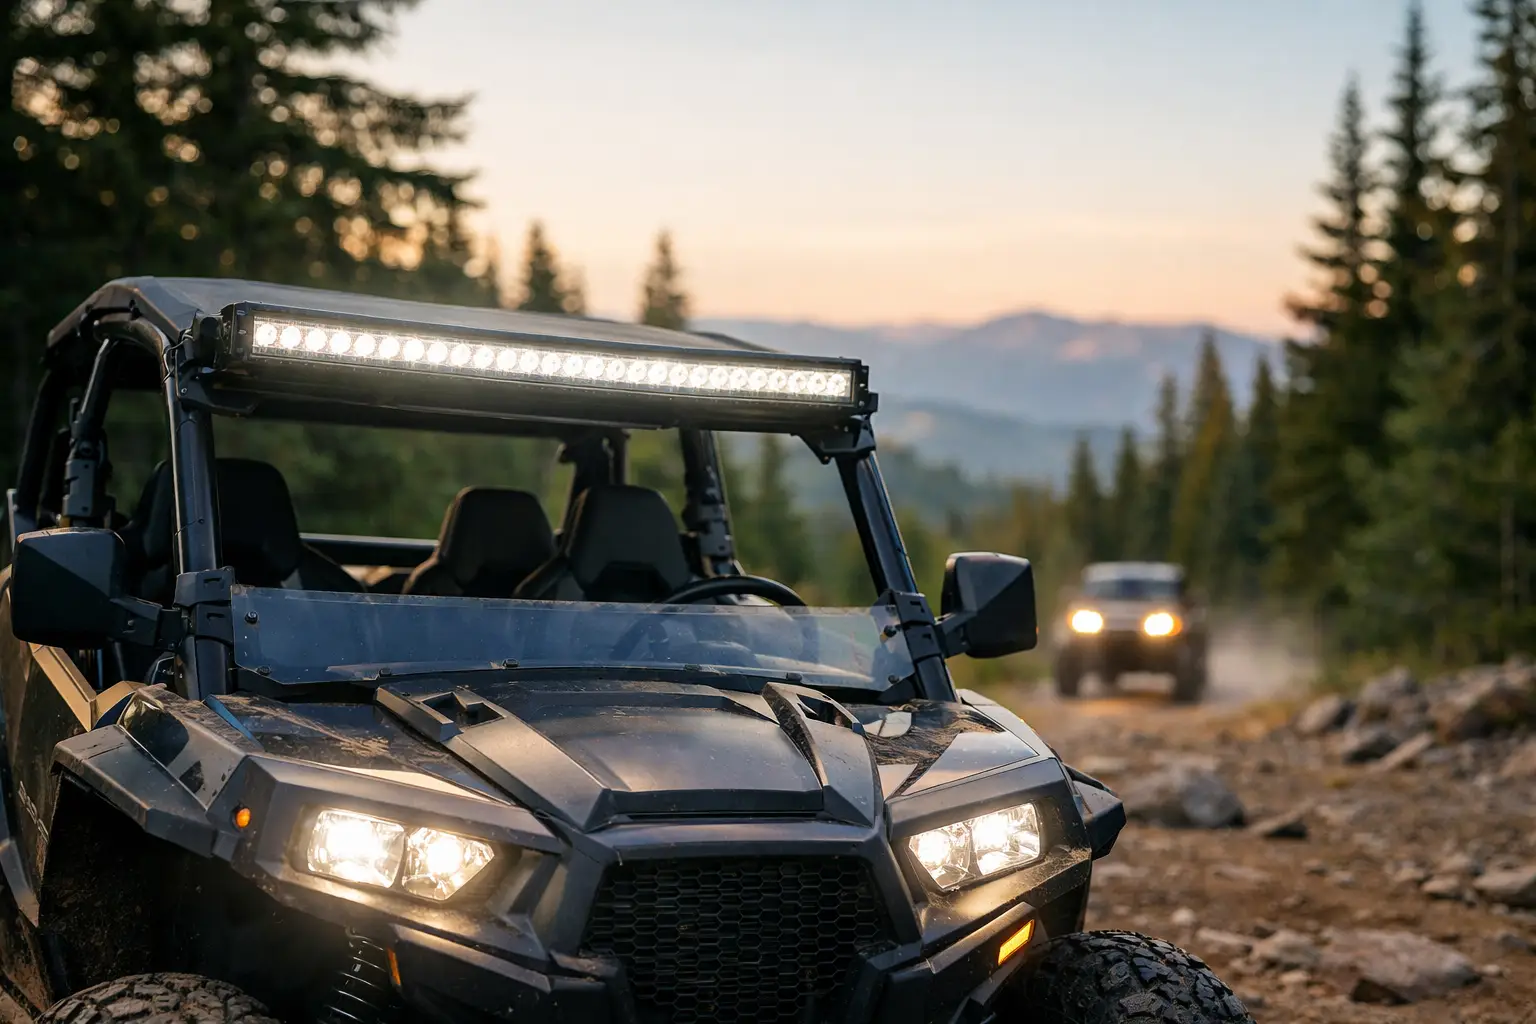
A light bar can make the difference between confidently reading the next washout and backing out of a trail early. But a good UTV light bar review should look beyond a big lumen number on a product page. Beam control, mounting location, wiring quality, and your machine’s electrical capacity determine whether the upgrade actually helps when the trail gets dark, dusty, or rough.
For most riders, the right choice is not automatically the longest bar or the highest advertised output. A 50-inch roof-mounted bar can throw serious light down an open desert road, but it may create hood glare, hit low branches, and add more light than you can use in tight timber. A compact bumper bar may be the better working upgrade for ranch gates, hunting access roads, and slow technical riding.
What a UTV Light Bar Review Should Measure
A useful light bar review starts with usable visibility, not marketing output. Raw lumens describe the amount of light produced at the source, but they do not tell you where that light lands. The beam pattern, lens design, reflector or optic quality, and aiming angle matter just as much.
A well-designed bar puts light in the areas you need to see: the trail surface, the outside edge of turns, obstacles ahead, and the distance required for your normal riding speed. A poorly controlled high-output bar can send light into trees, dust, and the windshield while leaving ruts and rocks directly in front of the tires harder to read.
Build quality also belongs in the evaluation. UTVs expose lighting to vibration, water crossings, mud, washboard roads, temperature swings, and branch strikes. Look for a sealed housing, durable lens material, quality mounting hardware, protected wiring, and a connector that will not become a corrosion point after one wet season. An aluminum housing helps shed heat, but the overall design matters more than the material listed in the specifications.
Spot, Flood, and Combo Beams
Spot beams focus light farther downrange. They work well for higher-speed desert riding, long straight access roads, and open terrain where you need time to react. The trade-off is limited side coverage. A spot-only bar can leave corners, ditches, and trail entrances in shadow.
Flood beams spread light across a wider area at shorter range. They are useful for working around camp, loading equipment, plowing, hunting setups, and slow trails with frequent turns. Their limitation is distance. At speed, a flood beam alone may not illuminate far enough ahead to be useful.
For many side-by-side owners, a combo beam is the practical middle ground. It uses spot optics near the center and flood optics at the outside sections. The result is broader coverage with usable forward reach. That does not make every combo bar equal, though. Check whether the claimed beam pattern matches your riding conditions instead of treating combo as a guaranteed answer.
Choose Bar Size by Mounting Location
The cleanest installation starts with fitment. A universal bar can physically fit many machines, but model-specific mounts make a major difference in stability, appearance, and installation time. They also help place the bar where it will perform without interfering with a roof, windshield, doors, mirrors, or a front rack.
A roof-mounted bar is popular because it allows a longer light bar and puts the beam above most trail obstacles. It can provide excellent reach and width on open trails. The downside is that the higher position can bounce light off dust, fog, snow, and the hood. On a cab-equipped UTV, the mounting system must also account for roof shape and windshield clearance.
A front bumper or grille-mounted bar sits lower and often works better in dusty conditions. It lights up the trail surface with less overhead reflection and is less exposed to low branches. This location is especially useful on work machines and trail rigs that spend plenty of time in trees. A lower bar can still produce strong forward light, but it will not see over rises in the terrain as effectively as a roof bar.
Small 6-inch to 12-inch bars are a smart choice for tight spaces, accessory bumpers, rear work lighting, or filling a specific gap in the lighting setup. Mid-size bars often fit front bumpers and roof openings without becoming excessive. Long roof bars are best reserved for machines with a proper mounting system and riding conditions that justify their output.
Before buying, confirm the bar length, mount style, roof and windshield compatibility, and whether the vehicle needs a specific bracket system. This is especially relevant across Polaris, Can-Am, Yamaha, Kawasaki, and Honda platforms, where cage dimensions and factory accessory mounting points vary by model and year.
Wiring Is Where Good Lighting Installs Go Right
A premium light bar can still perform poorly if it is wired with undersized leads, weak grounds, or an unprotected switch. Use a harness with a fused power lead, relay, weather-resistant connections, and enough wire length to route cleanly from the battery to the mounting point.
The relay keeps high current out of the dash switch, while the fuse protects the circuit if a wire is damaged. Both are basic requirements, not optional extras. Route wiring away from exhaust heat, sharp metal edges, suspension travel, steering components, and belt-service areas. Secure it at regular intervals so vibration does not wear through the insulation.
Switch placement deserves some thought. You should be able to activate the light bar without taking your attention off the trail. Rocker switches fit naturally in many dash panels, while a wireless controller can simplify installation where dash space is limited. A wired switch is generally the better long-term choice for riders who regularly operate in wet, muddy conditions.
Do not assume a larger bar is automatically too much for your charging system, but do check the amp draw. Add up the demand from your light bar, headlights, audio, heaters, winch use, cab accessories, and battery chargers. A UTV used for winter plowing or long overnight rides may benefit from a battery and charging-system plan rather than simply adding more accessories to the factory setup.
The Real Trade-Off: More Light Can Mean Less Visibility
More output is useful only when it is aimed and controlled correctly. This is where many installations fall short. A bar aimed too high can blind oncoming riders, reflect off dust, and create a bright wall that hides terrain detail. A bar aimed too low wastes its distance potential and can create a harsh bright spot immediately in front of the machine.
Set the initial aim on level ground after the UTV is loaded as it would be for a normal ride. Then test it on a familiar trail. Pay attention to shadows around rocks, the amount of light at the trail edges, and whether the beam reaches far enough for your average speed. Make small adjustments rather than cranking the bar upward all at once.
Color temperature also changes how the light feels on the trail. Cooler white light can look bright and crisp, but some riders find that a slightly warmer tone offers better contrast in dust, rain, fog, or snow. There is no single best color for every situation. If your riding is mostly dry, open, and fast, a clean white beam may suit you well. If you frequently ride in weather or fine dust, beam control matters more than chasing the whitest possible output.
When a Light Bar Is Not the Only Answer
A light bar is usually strongest as part of a complete lighting plan. Forward-facing pods can fill in side coverage near the A-pillars or bumper. A rear-facing work light makes loading, backing up, and camp setup easier. Rock lights help with obstacle visibility during slow technical riding, though they are not a substitute for forward trail lighting.
If the factory headlights are weak, start by making sure they are clean, correctly aimed, and functioning as intended. Then add lighting to solve a specific problem. Riders who need more distance should prioritize a spot or combo pattern. Riders who cannot see the sides of tight trails may get more benefit from compact auxiliary lights than from a longer roof bar.
A quality bar from a trusted aftermarket manufacturer, paired with the correct model-specific mounts and harness, usually costs more than a generic kit. That price difference often shows up in beam quality, sealing, hardware, and how well the product holds up after real trail miles. Side By Side Sports customers should shop by machine first, then choose the light bar size and beam pattern that match how the UTV is actually used.
The best light bar is the one that fits cleanly, stays put, and lets you see the terrain without lighting up every particle of dust in front of the windshield. Choose for your trail, your speed, and your machine, then take the time to wire and aim it correctly before the next night ride.