
UTV Hitch Receiver Guide for Better Towing
Posted by Drew Cummings on Oct 26th 2026
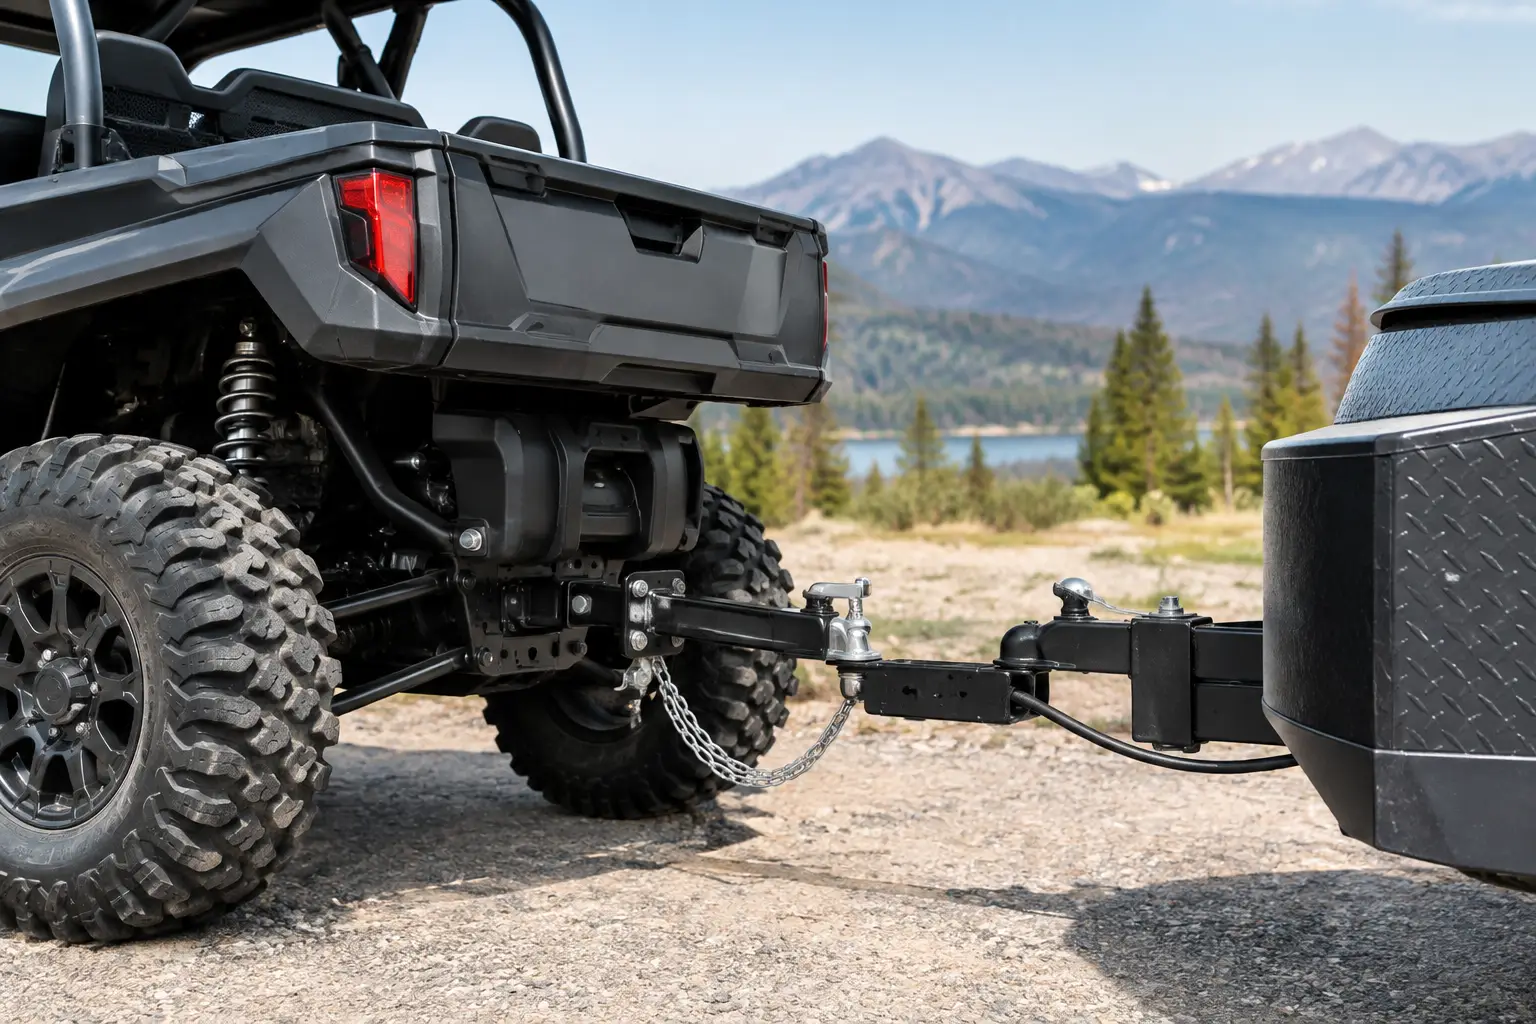
A hitch receiver looks simple until you are dragging a loaded utility trailer through ruts, backing a splitter into a shed, or carrying a cargo rack toward camp. The right setup starts with fitment, not just the receiver opening. This UTV hitch receiver guide covers the details that determine whether your hitch is ready for real work or simply looks ready.
A receiver hitch can turn a side-by-side into a more useful machine for property maintenance, hunting, farm chores, and trail weekends. But it also puts weight and leverage on the rear of the vehicle. Choose a hitch that matches your exact make, model, and year, then match every accessory to the machine's published towing and tongue-weight limits.
Start With Vehicle-Specific Hitch Fitment
UTVs do not share a universal rear frame layout. Mounting points, bumper designs, exhaust routing, skid plates, suspension travel, and bed configurations vary by platform. A hitch that fits a Polaris Ranger may not fit a Polaris RZR. The same is true between Can-Am Defender and Maverick models, Yamaha Wolverine and Viking models, or Kawasaki Mule and Teryx platforms.
A model-specific receiver hitch is built around the vehicle's existing mounting locations and intended load path. That matters because the receiver itself is only one part of the system. The brackets, hardware, and frame mounting points carry the force created by a trailer or hitch-mounted accessory.
Before buying, confirm the full vehicle fitment, including model year, trim, and any installed rear bumper or skid plate. Some UTVs come with a factory receiver, while others need an aftermarket receiver or a bumper with an integrated hitch. If your machine has lift brackets, rear suspension changes, or an oversized bumper, check for clearance before assuming a standard hitch will work.
Receiver Size Determines Your Accessory Options
Most full-size utility UTVs use a 2-inch receiver. It is the most common size for ball mounts, cargo carriers, bike racks, recovery accessories, tow bars, and other work-ready equipment. A 2-inch receiver gives you the broadest selection of compatible accessories and is generally the practical choice for machines used around land, camps, and job sites.
Some smaller sport and recreational UTVs use a 1.25-inch receiver, while certain compact models may have a proprietary mounting arrangement. A reducer sleeve can adapt a 2-inch receiver to a smaller accessory shank, but it does not turn a lighter-duty hitch into a higher-capacity setup. Avoid using loose adapters or stacking multiple extensions. Each added connection creates more movement and increases leverage on the receiver.
Pay attention to pin size as well. Most 2-inch receiver accessories use a 5/8-inch hitch pin, but product designs vary. Use a properly fitting pin and retaining clip or locking pin. A loose pin can rattle, wear the receiver hole, and make an accessory harder to remove after a season of mud and corrosion.
Choose the Right Ball Mount Drop or Rise
A trailer should sit as level as practical when connected to the UTV. If the trailer tongue rides too high, weight shifts rearward and can reduce stability. If it rides too low, the front of the trailer carries more load and may scrape on uneven ground.
Measure from the ground to the top of your UTV receiver, then compare that measurement with the coupler height of the loaded trailer. The difference tells you whether you need a straight ball mount, a drop, or a rise. Remember that suspension compression changes hitch height once tongue weight is applied. A ball mount that looks level in the driveway may not stay level with a loaded trailer.
Know What the Ratings Actually Mean
A hitch receiver may have its own weight rating, but that rating never overrides the UTV manufacturer's towing capacity or maximum tongue weight. The vehicle limit is the number that controls your setup. If your receiver is rated for more than the machine can tow, you must still follow the lower vehicle rating.
Towing capacity is the total trailer weight the UTV is designed to pull under appropriate conditions. Tongue weight is the downward force placed on the hitch by the trailer coupler. These are related, but they are not interchangeable. A trailer can be under the tow rating and still create too much tongue weight if the load is packed too far forward.
Trail conditions make the equation more demanding. A trailer rolling over washouts, rocks, and steep transitions can apply far more stress than the same trailer moving across flat pavement. Speed, braking, mud, side slopes, and a loaded cargo bed all reduce the margin available for towing.
For that reason, a UTV should not be treated like a scaled-down pickup. Keep loads conservative, secure them tightly, and use lower speeds when terrain gets rough. If you are regularly hauling firewood, feed, fence materials, or game trailers, consider the total operating weight of the machine, cargo, passengers, and trailer instead of focusing only on the hitch.
Use Hitch Accessories for the Job at Hand
The receiver is useful because it can support more than a trailer ball. A cargo rack can carry fuel cans, coolers, tools, or hunting gear without filling the cab or bed. A receiver-mounted winch carrier can be moved between the front and rear of certain vehicles when the mounting system allows it. A tow hook or shackle mount may provide a useful connection point for controlled recovery work.
Each accessory has trade-offs. A cargo carrier adds storage, but it also adds leverage behind the rear axle and can reduce departure angle. A long hitch extension may clear a spare tire or tailgate, but it reduces capacity and places greater stress on the receiver. Heavy accessories can also affect rear suspension sag and handling, especially on sport-oriented UTVs.
Use only accessories rated for the job, and keep the load as close to the receiver as possible. Do not use a trailer ball as a recovery point. Ball mounts are designed for towing force in a specific direction, not the shock loading that can occur during a stuck-vehicle recovery. When recovery is necessary, use appropriately rated equipment and a designated recovery point whenever possible.
Installation Details That Prevent Problems Later
A quality hitch needs correct installation to perform as intended. Start with clean mounting surfaces and inspect the rear frame area for bent brackets, damaged threads, or corrosion. Install all supplied hardware in the specified locations, then torque fasteners to the hitch manufacturer's instructions. Guessing at torque can leave bolts loose or overstressed.
After the first few towing trips or a hard day on rough ground, inspect the hitch again. Check bolt torque, look for chipped coating or rust around mounting points, and make sure the receiver has not developed unusual play. Keep the receiver tube clean and use a hitch cover when no accessory is installed. Dirt and water trapped inside the tube can make a ball mount or rack difficult to remove.
If you tow after dark, confirm that your trailer lighting connection is protected and routed away from heat, moving suspension parts, and sharp edges. A hitch solves the mechanical connection, but safe towing also depends on working lights, safety chains where applicable, properly inflated tires, and a trailer that is in good condition.
A Better Way to Shop for a UTV Hitch Receiver
Start with your vehicle, then narrow the choice by your primary use. A ranch machine that pulls small trailers needs a dependable, vehicle-specific receiver and the correct ball mount. A hunting rig may benefit from a receiver cargo carrier or game-hauling accessory. A trail machine may need a compact hitch solution that preserves ground clearance and works around a rear bumper.
At Side By Side Sports, shopping by make, model, and year helps eliminate the costly mistake of ordering a hitch that almost fits. Once fitment is confirmed, compare receiver size, accessory clearance, finish quality, included hardware, and the manufacturer's stated rating. The right hitch is not necessarily the highest-rated one. It is the one designed for your machine and the way you actually use it.
A properly matched receiver gives your UTV more range without asking it to do work beyond its limits. Build around fitment first, keep the load controlled, and inspect the setup often enough that the next job starts with confidence instead of a surprise at the trailhead.