
Polaris Ranger Door Seals That Keep Dust Out
Posted by Drew Cummings on Aug 31st 2026
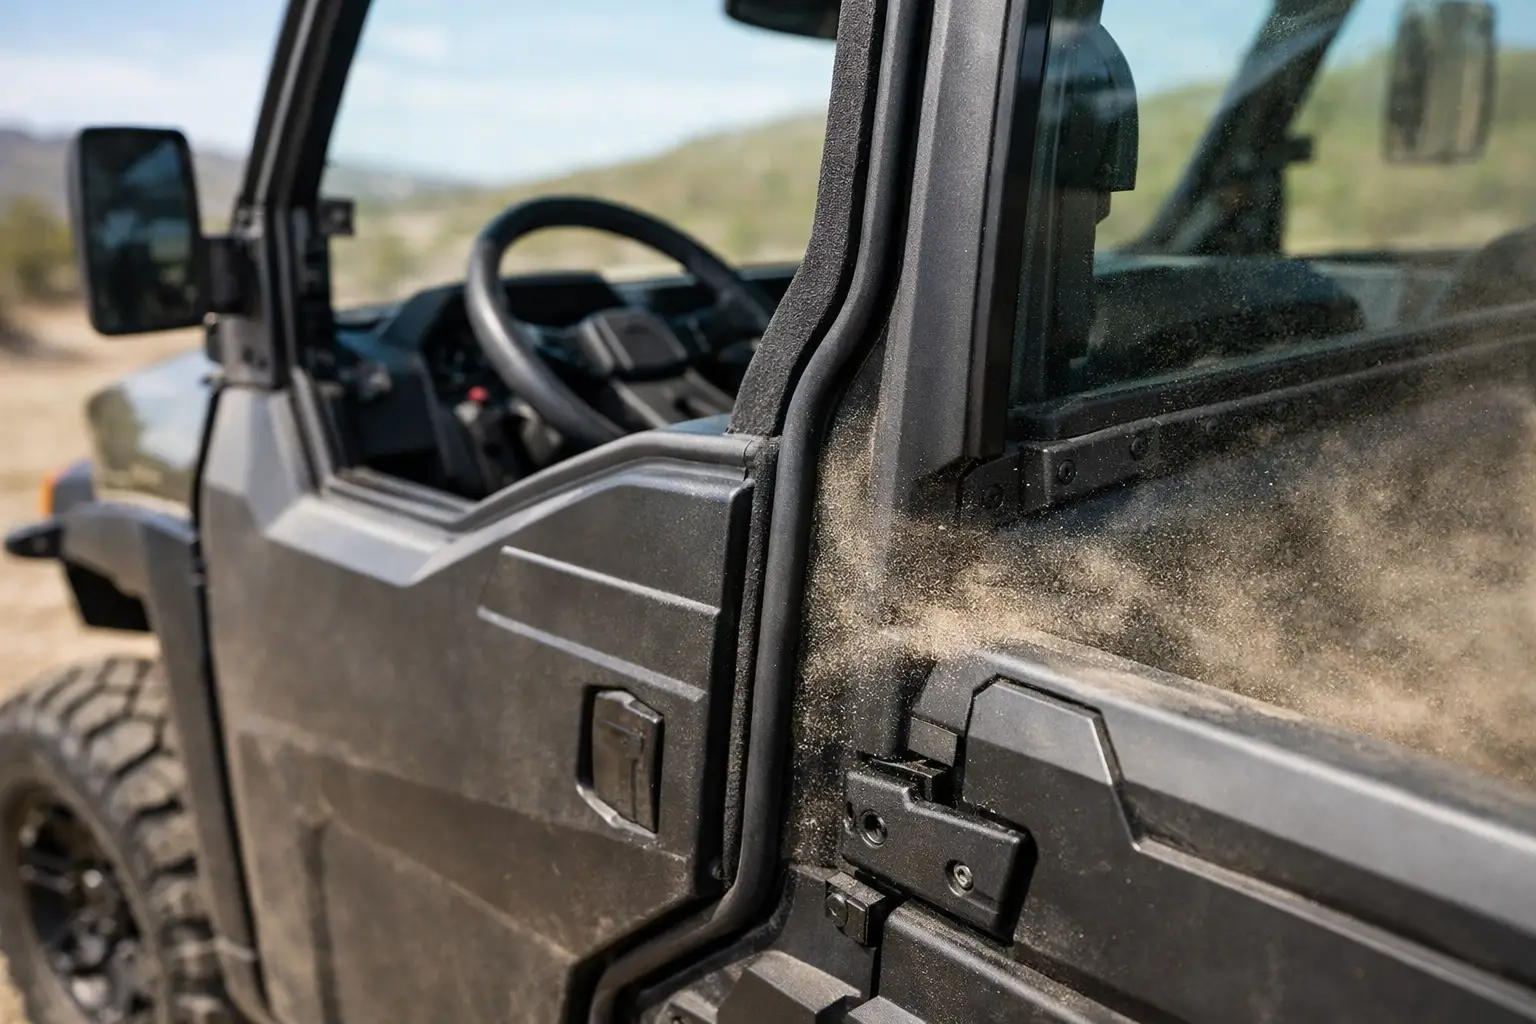
A dusty cab after one dry trail ride is usually not a door problem alone. It is often a sealing problem. Polaris Ranger door seals close the small but critical gaps around cab doors, helping keep out the dust, rain, cold air, and trail noise that make long days behind the wheel less comfortable.
For ranch work, hunting, winter plowing, and all-day trail rides, good seals make a bigger difference than many owners expect. They are especially valuable on enclosed Rangers running a windshield, roof, rear panel, and hard or soft doors. That combination can create low pressure inside the cab that pulls fine dust through every weak spot. Replacing worn weatherstripping is a practical way to improve cab comfort without changing the way your machine works.
What Polaris Ranger Door Seals Actually Do
Door seals are flexible rubber, foam, or bulb-style materials installed along the door frame, door edge, or cab opening. When the door closes, the seal compresses to create a barrier between the interior and the outside environment. A proper seal should make consistent contact around the full perimeter without requiring the door to be slammed.
Their primary job is keeping contaminants out, but they also reduce wind whistle and rattles. In cold weather, a tight seal helps a cab heater hold warm air longer. During rain, it directs water away from the opening instead of allowing it to drip onto seats, electronics, or stored gear.
There is a limit to what seals can fix. A Ranger is not a factory automotive cab, and dust can still enter through floor openings, dash gaps, firewall pass-throughs, rear cab panels, and poorly fitted accessories. Door seals are one part of a complete cab enclosure strategy. Still, if you can see daylight around a closed door or notice dust lines on the inside edge of the frame, they are a logical place to start.
Signs Your Ranger Needs New Door Seals
Rubber weatherstripping does not last forever. Sun exposure, mud, wash chemicals, repeated compression, and temperature swings gradually harden or distort the material. A seal can look mostly intact but no longer spring back enough to do its job.
Look for cracked corners, flattened sections, torn edges, loose adhesive, or areas that have pulled away from the frame. Run a hand around the closed door from inside the cab on a bright day. Visible light is a clear warning sign. You may also notice a localized wind noise at speed, water streaks after washing the machine, or dust collecting in one repeated pattern around the door opening.
Door alignment matters just as much as seal condition. A sagging door, loose latch, bent hinge, or aftermarket door that was not adjusted correctly may fail to compress even a brand-new seal. Before ordering parts, inspect the door gap from top to bottom. The gap should be reasonably even, and the latch should pull the door in firmly without excessive force.
A quick paper test can help. Close the door over a strip of paper at several points around the opening. If the paper slides out with little resistance in one area but is tightly held elsewhere, either the seal is compressed unevenly or the door needs adjustment.
Choosing the Right Polaris Ranger Door Seals
Fitment is the first decision. Polaris Ranger platforms vary by year, body style, cab configuration, and door type. A seal intended for a full-size Ranger with factory-style hard doors may not fit a Ranger XP 1000, Ranger 570, Crew model, mid-size chassis, or an older model with different cab geometry. The same issue applies when comparing OEM doors, aftermarket hard doors, and soft door systems.
Start with the exact year, model, and whether your machine is a two-seat or Crew configuration. Then identify where the seal mounts. Some replacements are designed for the main cab opening, while others install on the door itself, around window frames, or along the lower door edge. Ordering by vehicle alone is not always enough if your cab enclosure uses aftermarket components.
Material and profile also matter. Bulb seals are common where a round, compressible contact surface is needed. Edge-trim seals grip a metal or plastic flange and may include an attached bulb. Foam tape can work for light-duty gap control, but it is usually not the best long-term answer for high-wear door contact areas. Choose material designed for exterior use, repeated compression, moisture, and temperature changes.
Avoid treating universal weatherstripping as an automatic bargain. It can be useful for custom repairs or unusual gaps, but it may be too thick, too thin, or shaped incorrectly for the door to close properly. A model-specific replacement generally saves time and delivers more predictable contact around the frame.
Match the Seal to Your Cab Setup
A fully enclosed Ranger used for snow removal needs a different level of weather control than an open machine used occasionally on dry trails. If you run a heater, windshield, roof, rear panel, and doors, prioritize continuous perimeter sealing and durable materials. Even a small leak becomes noticeable when cold air is being drawn into the cab.
For hunting and trail riding, focus on dust control and noise reduction. Check the upper corners, rear vertical edge, and lower door area closely. These are common places for gaps to form as doors flex over rough terrain. If the machine sees deep mud or frequent pressure washing, choose seals with secure retention and inspect them more often for peeling or debris trapped underneath.
Soft doors need a different approach than rigid doors. Fabric and clear vinyl panels can move more with speed and temperature, so the goal is usually minimizing gaps rather than creating a car-like seal. Do not install a thick seal that prevents zippers, straps, or latches from operating as designed.
Installation: Clean Surface, Correct Compression
Most door-seal jobs are straightforward, but prep work decides whether the repair lasts. Start by removing the old material carefully. If it is adhesive-backed, use a plastic trim tool rather than a metal screwdriver that can gouge painted surfaces or plastic cab panels.
Clean the mounting area thoroughly. Old adhesive, dust, oil, and silicone protectants can keep a new seal from bonding. Use a surface cleaner appropriate for the material, wipe it dry, and give it time to air out before applying adhesive-backed weatherstripping.
Dry-fit the seal before removing the backing. Confirm the orientation of the bulb or contact lip, and make sure corners lay naturally without stretching. Stretching a seal during installation often causes it to shrink back later, opening a gap at the corner. Work in manageable sections, press firmly as you go, and trim only after verifying the full run.
Once installed, close the door gently and inspect the fit. The door should latch normally. If it suddenly requires a hard slam, the seal profile may be too thick, installed in the wrong location, or not seated properly. Do not force the latch repeatedly. Excessive compression can damage the seal, stress the latch, and make the door difficult to open from inside the cab.
Give adhesive-backed seals time to bond before taking the Ranger through water, heavy dust, or a pressure wash. Follow the product instructions for cure time and temperature range. Cold installation conditions can reduce adhesive performance, so a heated shop is preferable when possible.
Get Better Results From the Whole Cab
New seals work best when the rest of the enclosure is in good shape. Inspect door hinges and latches, windshield clamps, roof mounting hardware, rear panel fitment, and any holes created for accessories. A loose roof or rear panel can create vibration and airflow that makes a door seal seem ineffective.
Keep seals clean with mild soap and water. Mud packed against the contact surface can wear the material and prevent a full seal. After washing, inspect for debris in the door channel and make sure drainage paths remain open. A light rubber protectant can help keep weatherstripping flexible, but avoid greasy products that attract dust or interfere with adhesive.
If your Ranger still fills with dust after replacing the door seals, look beyond the doors. Check floor drains, under-seat openings, firewall grommets, rear cab seams, and accessory wiring pass-throughs. Fine dust follows airflow, and solving the issue sometimes requires sealing several small gaps rather than one obvious opening.
The right seal should fit your exact Ranger, work with your specific door system, and close cleanly without a fight. When fitment is uncertain, Side By Side Sports can help narrow the options before you spend time installing a part that was never meant for your cab. A clean, properly adjusted door seal is a small upgrade that pays off every time the trail turns dusty, the weather turns cold, or the workday runs long.