
How to Replace UTV CV Boots Without Guesswork
Posted by Drew Cummings on Oct 23rd 2026
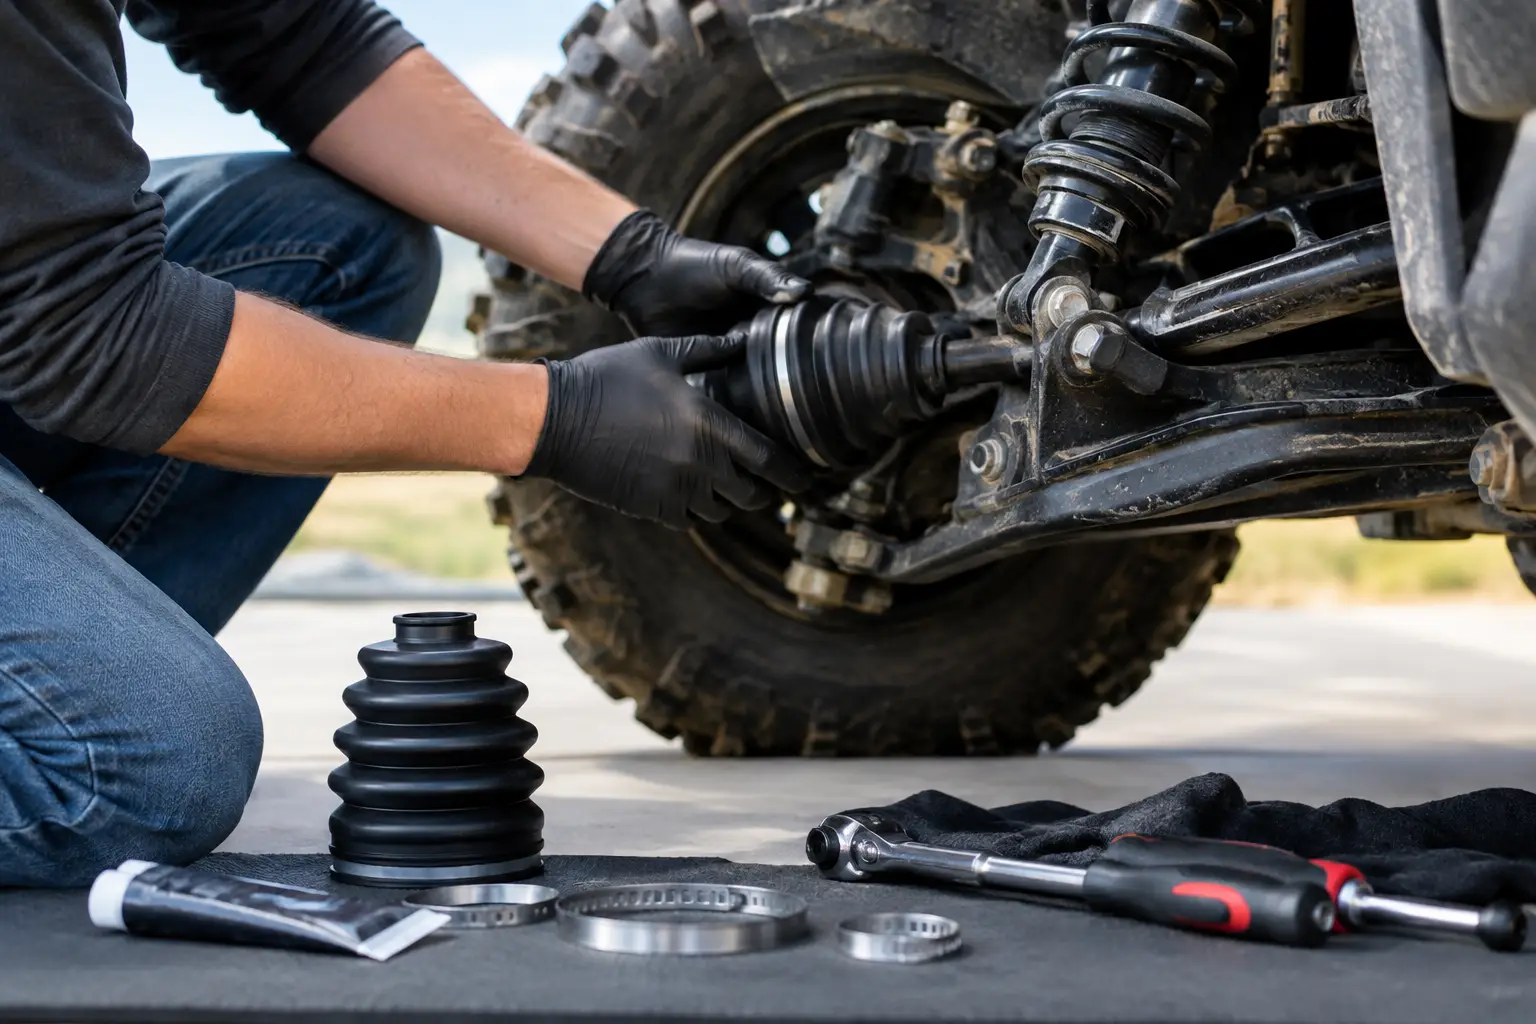
A torn CV boot can turn one muddy ride into an expensive axle job. If you catch it early, you can replace UTV CV boots before water, sand, and grit reach the joint and start grinding away at the bearings and races. The job is not difficult for an experienced home mechanic, but it does demand the right fitment, clean work habits, and an honest look at the condition of the CV joint.
When a CV Boot Repair Makes Sense
CV boots protect the constant velocity joints at each end of a UTV axle. Those joints transfer power while allowing the suspension and steering to move. The boot holds grease inside and keeps trail debris out. Once it splits, grease commonly slings onto the control arms, wheel, skid plate, or inside of the tire.
A fresh tear with clean grease still inside the joint is the best-case scenario. In that situation, replacing the boot and repacking the joint can save a perfectly good axle. Look for a small crack in the folds, a loose clamp, or a puncture from a stick before assuming the entire axle needs replacement.
The decision changes when the machine has been driven for a while with an open boot. Clicking or popping in turns, a rough spot when rotating the axle, rusty grease, or visible dirt inside the joint are warning signs. A boot kit will not repair worn CV components. If contamination has already damaged the joint, replacing the complete axle is usually the smarter repair, especially on a machine used for hard trail riding, mud, plowing, or ranch work.
Choose the Correct UTV CV Boot Kit
Do not buy a universal boot simply because the listed dimensions look close. UTV axles vary by make, model, year, trim, axle position, and sometimes differential or suspension configuration. Inner and outer CV boots are not always interchangeable, either. The outer boot is typically smaller and works with the wheel-side joint; the inner boot fits the differential-side joint and often has a different shape.
Confirm your vehicle details before ordering: manufacturer, model, model year, trim, front or rear axle, and inner or outer joint. This matters on platforms with multiple wheelbase, transmission, or suspension options. A part that fits one Polaris RANGER trim may not fit another, and the same is true across Can-Am, Yamaha, Kawasaki, and Honda applications.
A quality kit should include the boot, correctly sized clamps, and the specified CV grease. Some kits also include a circlip or retaining ring. Avoid reusing stretched, rusty, or damaged clamps. A clamp that does not seal properly lets water in and can throw grease out even if the new boot itself is installed correctly.
At Side By Side Sports, shopping by machine and component category helps narrow the choices, but owners should still verify fitment before starting a repair. Having the proper boot kit on the bench before disassembling the axle prevents a simple maintenance project from turning into a stalled weekend ride.
Tools and Setup Before You Replace UTV CV Boots
Work on a clean, level surface. Dirt is the enemy of a CV joint, so pressure-wash the suspension and axle area before you bring the machine into the shop. Let it dry, then inspect the axle from both sides to confirm which boot has failed.
You will generally need these items:
- A floor jack, jack stands, wheel chocks, and a lug wrench
- Socket and wrench sets, plus a breaker bar and torque wrench
- Snap-ring pliers, side cutters, a soft-faced hammer, and a brass drift
- Brake cleaner, shop towels, gloves, and the correct CV boot kit
Your machine may also require a specific axle nut socket, tie-rod separator, ball-joint tool, or axle puller. Check the service manual for the correct disassembly path and torque specifications. On many UTVs, you can free the knuckle by separating a ball joint or removing the upper or lower A-arm fastener. Others give enough movement after disconnecting the tie rod. Do not force the axle out by pulling hard on the shaft or using the boot as a handle.
Before lifting the UTV, loosen the wheel lug nuts and axle nut if your model uses an externally retained axle. Then raise the machine securely, support it on jack stands, and remove the wheel. Never trust a jack alone while working around the suspension.
Removing the Axle Without Damaging Components
Start at the wheel side. Remove the axle nut, brake caliper if necessary for clearance, and the suspension or steering connection identified in your service manual. Support the knuckle rather than allowing it to hang by the brake hose. Once the knuckle swings outward, guide the outer CV splines from the hub.
At the inner joint, most UTV axles are retained in the differential by a snap ring. A quick, controlled pry with the correct pry bar or axle tool usually releases it. Place the tool against a solid housing point, not a thin seal surface. Catch the axle as it releases so it does not hit the ground or pull against the differential seal.
Inspect the axle splines, hub splines, and differential seal while the axle is out. A cut or leaking differential seal is easier to address now than after the suspension is reassembled. Also check the wheel bearing for play and the ball joints for torn dust boots. This is the time to handle related wear items, not after the axle nut is torqued and the wheel is back on.
Rebuilding the CV Joint and Installing the New Boot
Clamp the axle carefully in a vise using soft jaws or wood blocks. Do not crush the shaft. Cut off the damaged boot clamps, slide the old boot away, and clean the outside of the joint before opening it further. This first cleaning step keeps loose mud from falling into the bearings.
The exact joint design determines how far it must come apart. Some CV joints can be removed after releasing a circlip, while others require the cage and bearing assembly to be disassembled in a specific order. Take photos as you work, and keep the parts organized. If the joint has a preferred orientation, reversing the cage or star can limit articulation and cause premature failure.
Flush old grease from the joint with brake cleaner and inspect every ball, bearing track, cage, and race under good light. Smooth, polished wear surfaces can be normal. Deep grooves, blue discoloration from heat, pitting, chipped edges, or metal flakes in the grease are not. When you find that kind of damage, stop and replace the axle or joint assembly rather than installing a boot over a failing component.
If the joint passes inspection, pack it thoroughly with the grease included with the kit or grease specified for that joint. Work grease into the bearings and races rather than only filling the boot cavity. Slide the small end of the new boot onto the shaft before reinstalling the joint, then seat the joint and its retaining clip fully.
Position the boot so it is not twisted and so the folds are evenly spaced through the axle's normal range of movement. Before tightening the large clamp, equalize air pressure inside the boot. A boot that is overinflated or pulled into a vacuum can balloon, collapse, or split prematurely as the suspension cycles. Secure both clamps with the appropriate clamp tool and confirm they are tight, square, and clear of nearby suspension parts.
Reinstall, Torque, and Check Your Work
Guide the inner splines into the differential and push until the retaining clip seats. A firm tug should confirm the axle is locked in place. Do not assume it is engaged just because the axle appears flush. An axle that is not fully seated can pop out on the first hard suspension movement.
Reinstall the outer splines in the hub, reconnect the steering and suspension components, and torque every fastener to the manufacturer specification. This includes the axle nut, ball-joint or A-arm hardware, tie-rod hardware, brake caliper bolts, and wheel lugs. If your machine uses cotter pins, staking, thread locker, or single-use lock nuts, follow those requirements.
With the machine still lifted, rotate the wheel by hand and turn the steering from lock to lock. Watch the boot for rubbing, twisting, or clamp interference. Lower the UTV, torque the lug nuts again if required, and take a short, controlled test ride. Recheck the boot after the first ride for grease seepage around the clamps.
A CV boot is a low-cost protection part, but it guards one of the hardest-working components on your UTV. Inspect all four axle boots after muddy rides, deep-water crossings, and brush-heavy trail days. Catching a tear while the joint is still clean gives you the best chance to make a straightforward repair and keep your machine ready for the next job or ride.