
How to Mount a UTV Spare Tire for Trail Use
Posted by Drew Cummings on Sep 28th 2026
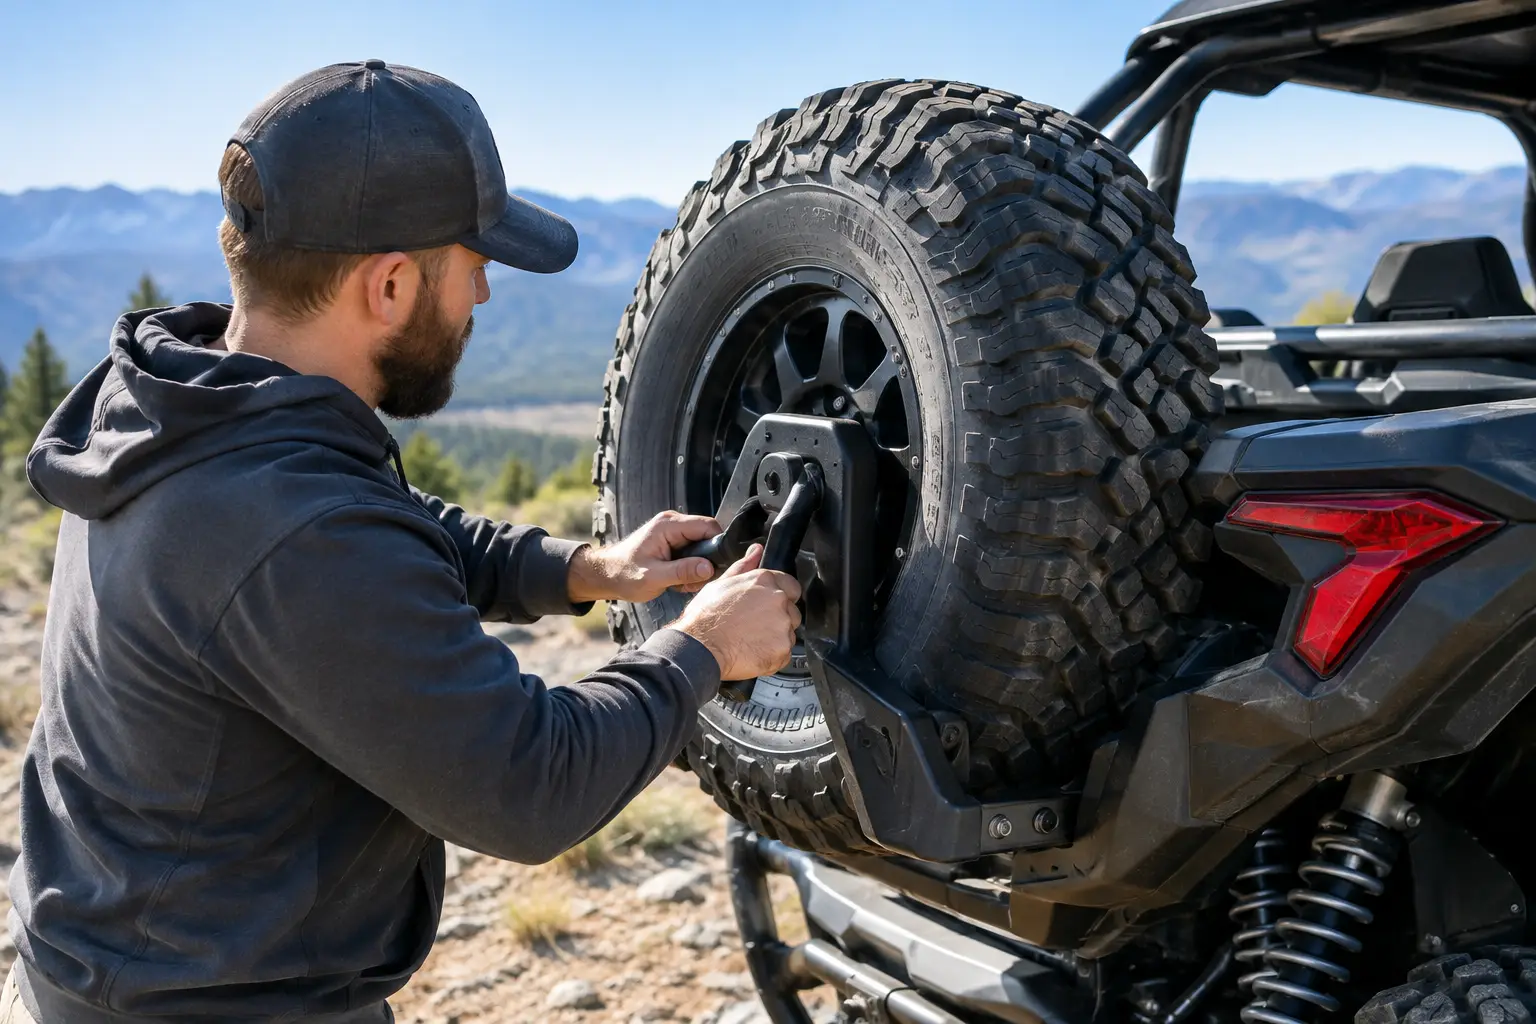
A flat tire rarely happens on the easy part of the ride. It happens miles from the truck, on a sharp rock ledge, during a hunting trip, or when you are trying to finish work before dark. Knowing how to mount a UTV spare tire correctly gives you a real recovery option instead of relying on a plug kit and good luck.
A spare tire carrier has to do more than hold a wheel. It needs to match your cage or bed layout, clear other accessories, keep weight under control, and secure the tire when the trail gets rough. The best mounting location depends on how you use your side-by-side and what equipment is already on it.
Choose the Right UTV Spare Tire Mount Location
The rear of the machine is the most common location for a UTV spare tire. Rear cage-mounted carriers keep the tire accessible, protect it from direct brush contact better than a front mount, and preserve room in the cab. They are especially popular on Polaris RZR, Can-Am Maverick, Yamaha YXZ, Kawasaki KRX, and sport-focused UTVs that see fast trail riding.
That said, a rear carrier is not automatically the right answer. A full-size spare can block rear visibility, limit bed access on utility models, or interfere with a cargo box, cooler rack, rear windshield, or hitch-mounted equipment. Before choosing a carrier, think through how the machine is used on a normal weekend, not just on the one ride where you expect a flat.
Rear Cage Mounts
A cage-mounted spare tire carrier generally positions the wheel behind the rear seats, above the bed, or off the back of the roll cage. This placement works well for recreational riders because it keeps the spare off the floor and away from passenger space. Many carriers use clamps sized for specific cage diameters, while others are designed around a particular vehicle platform.
The trade-off is weight high and rearward on the vehicle. A 30- or 32-inch tire on a wheel can add significant weight above the rear axle. On technical terrain, that can slightly change handling and make the rear feel more planted or more cumbersome depending on the suspension setup and load. It is usually manageable, but it is worth considering if you run aggressive tires, long-travel suspension, or already carry a packed rear cargo area.
Bed Mounts for Utility UTVs
For Honda Pioneer, Polaris Ranger, Can-Am Defender, Kawasaki Mule, and Yamaha Wolverine owners, a bed-mounted carrier can be a practical choice. It places the spare lower than a cage mount and may work with a machine that does not have a sport-style rear cage layout.
The downside is obvious: the tire takes up cargo capacity. For ranch work, hunting camps, or property maintenance, that space may be more valuable than a permanently mounted spare. A bed mount makes the most sense when the machine is used for long trips away from home, remote job sites, or terrain where tire damage is common.
Hitch and Bumper Mounts
A receiver-mounted spare carrier can be useful when you want a removable solution. It is often easier to install than a cage carrier and may free up bed space. However, it can reduce departure angle, interfere with a trailer connection, and put the tire in the path of rocks, mud, and brush.
This option is best for riders who need a spare on certain trips but do not want it mounted full time. Make sure the carrier is rated for off-road movement, not just highway use. A standard light-duty automotive accessory may not tolerate repeated impacts and vibration from UTV trails.
Match the Carrier to Your Tire, Wheel, and Vehicle
A spare is only useful if it fits the machine. That means matching more than the tire diameter. Verify your wheel bolt pattern, wheel offset, lug hardware, and brake clearance before buying a carrier or assembling a spare.
If you run aftermarket wheels, confirm that the mounting plate accepts the wheel's bolt pattern. Common UTV patterns vary by make and model, and some machines use different patterns across product lines. Do not assume a carrier that fits a friend's RZR will fit your Ranger or that a Can-Am wheel will mount to a universal plate without checking specifications.
Tire diameter matters for carrier clearance as well. A mount built around a 28-inch stock tire may not provide enough clearance for a 32-inch mud tire. The spare must sit without rubbing the roof, rear plastic, taillights, cargo box, or rear windshield through the full range of suspension movement.
Fitment-specific carriers are usually the cleanest solution. They are designed around the vehicle's cage geometry, mounting points, and factory bodywork, which reduces modification and guesswork. Side By Side Sports organizes UTV accessories by make and model so riders can narrow the selection before they order parts that may not fit their machine.
Mount a UTV Spare Tire Without Creating New Problems
The installation itself is straightforward, but the details matter. Start by assembling the carrier according to its hardware layout and checking every bracket against the vehicle before tightening anything. If the mount uses cage clamps, position them on clean tubing with no dirt, tape residue, or accessory wiring trapped beneath them.
Use the supplied hardware and follow the manufacturer's torque recommendations. Over-tightening can deform thin brackets or damage coated cage tubing. Under-tightening allows the carrier to shift, which can wear through powder coat, loosen fasteners, and create an annoying rattle long before it becomes a safety issue.
Once the carrier is installed, mount the wheel and secure it with the correct lug nuts, stud plate, strap, or retention system. A wheel should not rely on a single elastic strap for security. Rough trails put repeated force on the assembly, and the tire needs a positive mechanical retention point.
After installation, cycle through the machine's normal use. Open the bed if applicable, raise the dump box, access the rear cargo area, check tailgate movement, and look through the rearview mirror. If you use a rear windshield, roof, light bar, whip mounts, fuel pack, or cargo rack, confirm that each accessory still functions without contact.
Secure the Spare for Rough Terrain
A carrier can be well built and still fail if the wheel is not secured properly. Vibration is the constant enemy. Recheck the mounting hardware after the first ride, then inspect it regularly as part of normal maintenance.
Pay attention to these trouble spots:
- Loose cage clamps that allow the carrier to move against the roll cage.
- Wheel studs or lug nuts that are not fully engaged.
- A tire that contacts a roof, cargo box, light, or body panel when the chassis flexes.
- Metal-on-metal contact that can wear through coating and start corrosion.
- A spare that blocks access to a fire extinguisher, recovery gear, or first-aid kit.
If the carrier has a secondary strap, use it as backup retention rather than the primary support. A quality strap can control movement and reduce rattling, but the wheel should remain secure if that strap is damaged by branches or mud.
Do You Need a Full-Size Spare?
For most trail riders, a full-size spare is the right call. It should match the rolling diameter of the tires on the ground as closely as possible, particularly on UTVs with four-wheel drive systems. A mismatched spare can create handling issues and may place unnecessary stress on the drivetrain if used for an extended distance in four-wheel drive.
A smaller emergency tire can save space, but it is a compromise. It may reduce ground clearance, make steering unpredictable, and limit how far you can travel after the change. It is better suited for getting back to camp or the trailer than continuing a long day on rocky terrain.
A plug kit, compressor, and tire sealant have their place, but they are not replacements for a spare. Plugs work well for simple punctures in the tread area. They will not fix a sidewall cut, a damaged bead, a bent wheel, or a tire sliced by sharp rock. Carrying both repair tools and a spare gives you better options when the trail does not cooperate.
Balance Access, Weight, and Daily Use
The best spare tire setup is the one you will actually keep on the machine when it matters. A hard-core rock rider may accept a high rear carrier because immediate access is worth the added weight. A ranch owner may prefer a removable hitch mount to keep the bed clear during the workweek. An overland rider may build the spare into a rear cargo system that also carries fuel, tools, and recovery gear.
Before your next remote ride, load the UTV the way you normally use it, mount the spare, and take a short test run over uneven ground. Check clearances, listen for movement, and retorque the hardware afterward. That small bit of preparation is a lot easier than sorting out a flat tire with no workable backup miles from the trailhead.