
How to Mount UTV Winch Safely and Securely
Posted by Drew Cummings on Jul 28th 2026
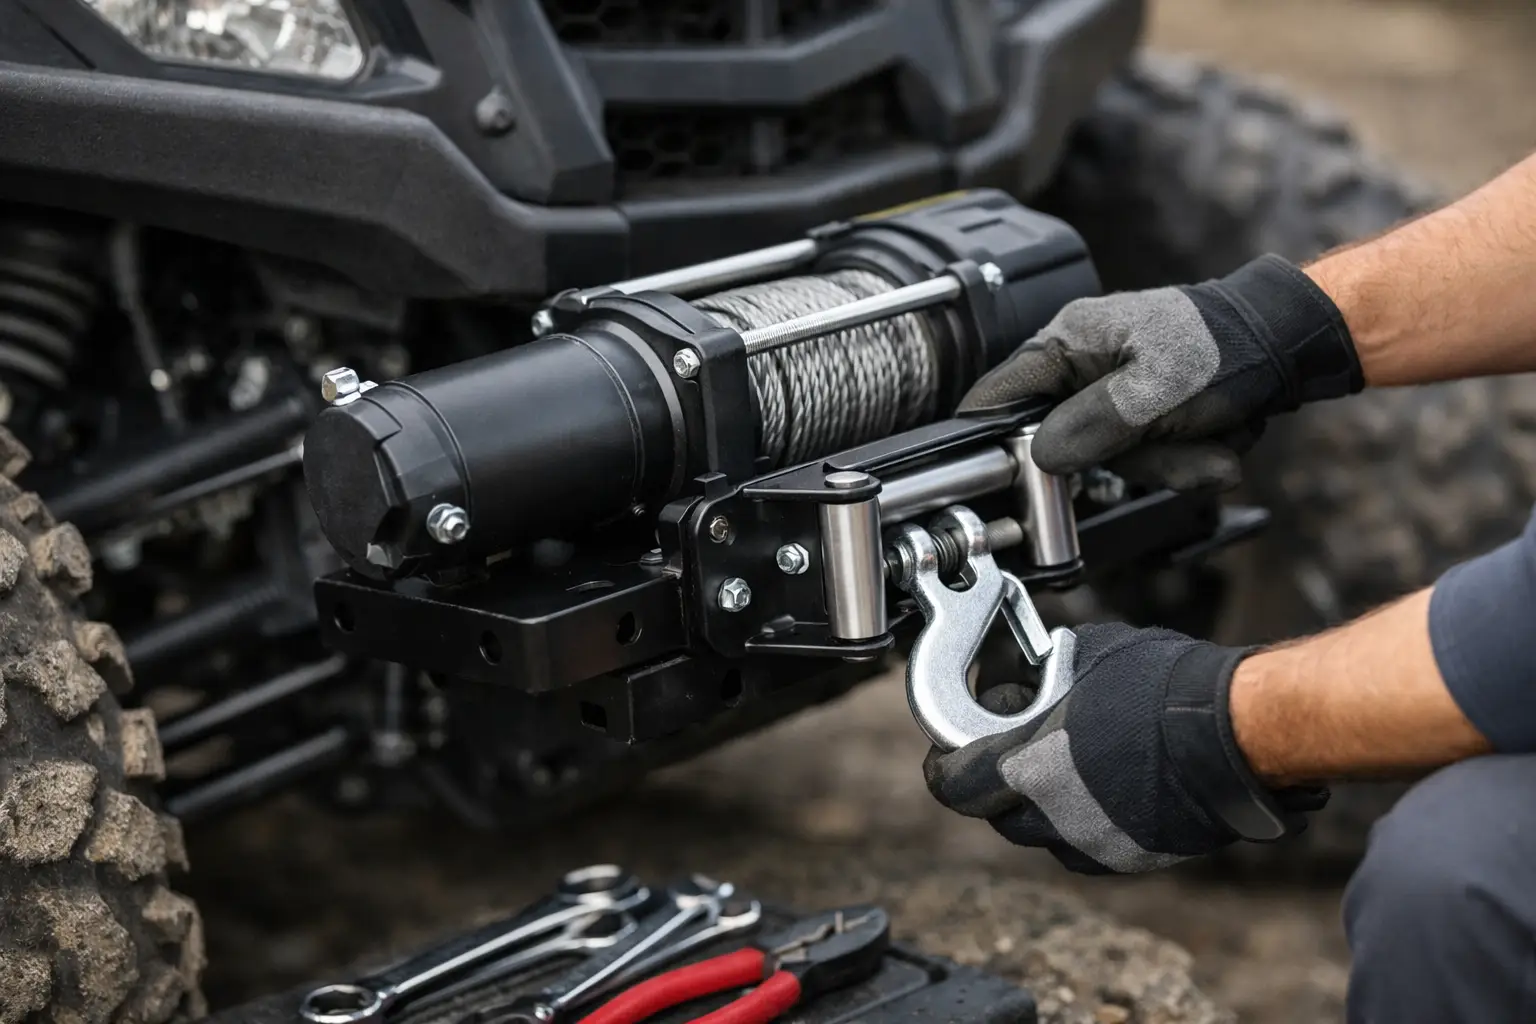
A winch is only as dependable as the mount holding it to your machine. Learning how to mount utv winch equipment correctly means more than getting the bolts started. The winch, mounting plate, bumper, fairlead, wiring, and frame attachment points must all work together when the line is under a hard pull. Get those details right in the garage, and your recovery gear is ready when mud, snow, rocks, or a steep washout turn a ride around.
Start With a Fitment-Specific Winch Mount
The first decision is the mount, not the winch. A universal plate may look like a shortcut, but a model-specific winch mount is built around the actual frame rails, factory mounting holes, bumper clearance, and front-end layout of your Polaris, Can-Am, Yamaha, Kawasaki, or Honda UTV.
Fitment matters because the winch load needs to transfer into reinforced frame locations. Mounting a winch to thin bumper tubing, plastic fascia, or an improvised bracket can bend components and put the winch line out of alignment. A proper plate positions the drum where it can pull straight through the fairlead and leaves room for suspension movement, radiator airflow, and access to the clutch lever.
Before ordering parts or removing body panels, verify the exact year, make, model, trim, and whether the machine has an aftermarket bumper. Also check whether the mount is designed for standard or wide winch bolt patterns. Many compact UTV winches share common dimensions, but assumptions can turn a simple installation into a drilling project.
Choose Winch Capacity for the Work You Actually Do
A recovery winch should generally be rated at least 1.5 times your UTV's loaded weight. That loaded weight includes passengers, tools, a cab enclosure, cargo, larger tires, and any accessories that add up over time. A 4,500-pound winch is a common fit for many recreational side-by-sides, while heavier utility machines, plow setups, and loaded hunting rigs may justify more capacity.
More pulling power is useful, but it can require a larger mounting footprint and higher electrical demand. The best setup is not always the biggest winch that can be forced behind the front bumper. It is the correctly sized unit that fits the mount, has a clean cable path, and matches the vehicle's charging system and intended use.
Synthetic rope is easier to handle and popular for trail recovery. Steel cable handles abrasion well and remains a practical choice for certain work applications. Either way, inspect the rope or cable before each ride and replace damaged line rather than trusting it under load.
Gather the Right Tools Before You Pull Panels
Most UTV winch installations are straightforward with basic hand tools, but access can vary widely by model. Have the following ready before you begin:
- Socket set, ratchet, extensions, and combination wrenches
- Torque wrench for mount and winch hardware
- Wire cutters, crimping tool, heat shrink, and electrical tape
- Drill and correct bits only if the mount instructions specifically call for drilling
- Threadlocker specified by the mount or winch manufacturer
Park the UTV on level ground, shift it into park, and remove the key. Disconnect the negative battery terminal before routing power cables. If the front hood, grille, bumper cover, or skid plate must come off, organize the factory fasteners as you remove them. Many panels use different bolt lengths, and putting a long bolt into the wrong location can damage plastic or a radiator support.
Install the Mount Before Securing the Winch
With the front access panels removed, test-fit the winch mounting plate against the frame. Do not tighten anything yet. Make sure the plate sits flat against its intended mounting points and that no wiring harness, coolant line, or brake line is trapped behind it.
Install all supplied hardware finger-tight first. This lets you correct the plate position if a hole is slightly offset or if an aftermarket bumper needs adjustment. Once the mount is centered and seated, tighten the hardware in stages using the torque values in the mount instructions or vehicle service manual. If threadlocker is called for, apply it to clean, dry threads.
Avoid substituting lower-grade hardware from a general hardware bin. The bolts supplied with a quality mount are selected for the application. If a bolt is missing or damaged, replace it with the same diameter, thread pitch, length, and strength rating.
Position the Winch for Access and Alignment
Set the winch onto the mounting plate with the clutch lever accessible from the front or through the designated service opening. Depending on the winch and UTV, the motor may need to face a specific direction to clear the frame or bodywork. Follow the winch manufacturer's orientation instructions rather than rotating the unit based on appearance.
Install the winch mounting bolts and torque them to the winch manufacturer's specification. Confirm that the drum can rotate freely and that the rope exits in the correct direction. Most winches are designed to pull with the line feeding from the bottom of the drum, but always verify your specific model's instructions.
Mount the Fairlead in a Straight Pulling Line
The fairlead is not just a finishing piece. It guides the rope or cable as it leaves the drum and protects it from sharp edges. Use a hawse fairlead with synthetic rope and a roller fairlead with steel cable, unless your winch manufacturer specifies otherwise.
Mount the fairlead to the bumper or fairlead bracket so it lines up as closely as possible with the center of the winch drum. A slight offset is common on some machines, but a major angle causes the line to pile heavily on one side of the drum and increases wear. Check that the hook can be secured to a hook point without contacting painted bodywork, headlights, or the grille.
If your bumper includes an integrated fairlead opening, make sure the opening is designed for your fairlead type and bolt spacing. Do not run rope directly through a bare steel bumper slot. Even a smooth-looking edge can damage synthetic rope under tension.
Route and Connect Winch Power Cables Carefully
Route the positive and negative winch cables along the factory harness path where possible. Keep them away from exhaust components, steering shafts, sharp frame edges, and moving suspension parts. Use protective loom where cables pass near metal, and secure them with quality zip ties or insulated clamps at regular intervals.
Run the cables directly to the battery unless the winch manufacturer provides a different approved connection method. A winch can draw high amperage, so undersized extension wiring or a poor chassis ground can cause slow operation, overheating, or electrical failure.
Connect the positive cable to the positive battery terminal and the negative cable to the negative battery terminal. Install the contactor or solenoid in the location specified by the kit, typically under the hood or in a protected front compartment. The contactor needs protection from direct spray, but it also needs service access.
Before reconnecting the battery, inspect every terminal. Cables should not be stretched, pinched, or able to rub through on a sharp edge. Tighten terminal nuts securely, fit the protective boots, and apply dielectric grease to exposed connections if appropriate for the kit.
Test the Winch Before Reinstalling Bodywork
Reconnect the negative battery terminal, then test the winch with no load. Operate the controls to confirm the drum powers in and out in the correct direction. If the direction is reversed, stop and correct the cable connections according to the winch wiring diagram. Do not simply continue using reversed controls.
Free-spool several feet of line, then power it back onto the drum under light tension. Wear gloves and guide the line from a safe position, keeping fingers clear of the fairlead and drum. The rope or cable should wind evenly across the drum rather than stacking hard against one side.
Check steering from lock to lock and cycle the suspension if practical. Look for any contact between the winch, wiring, fairlead, bumper, and moving components. Reinstall the panels only after the controls, cable routing, and line alignment check out.
Finish With a Recovery-Ready Setup
A mounted winch still needs proper recovery hardware. Carry a rated soft shackle or D-ring, a tree saver strap, gloves, and a recovery damper appropriate for your line type. Never hook the winch line back onto itself, and avoid using an unrated bumper tab or random trailer hook as an anchor point.
After the first few pulls, recheck mount bolts, winch bolts, fairlead hardware, and battery connections. Trail vibration can expose a loose fastener quickly. For model-specific mounts, compatible winches, replacement rope, and recovery gear, Side By Side Sports helps riders narrow the options by vehicle platform so the parts fit before the work starts.
A clean, straight installation is what makes a winch useful when conditions get ugly. Take the extra time to verify fitment, protect the wiring, and align the fairlead, then you will have recovery equipment you can trust instead of another accessory that only looks good on the front bumper.