
How to Install a UTV Light Bar the Right Way
Posted by Drew Cummings on Oct 5th 2026
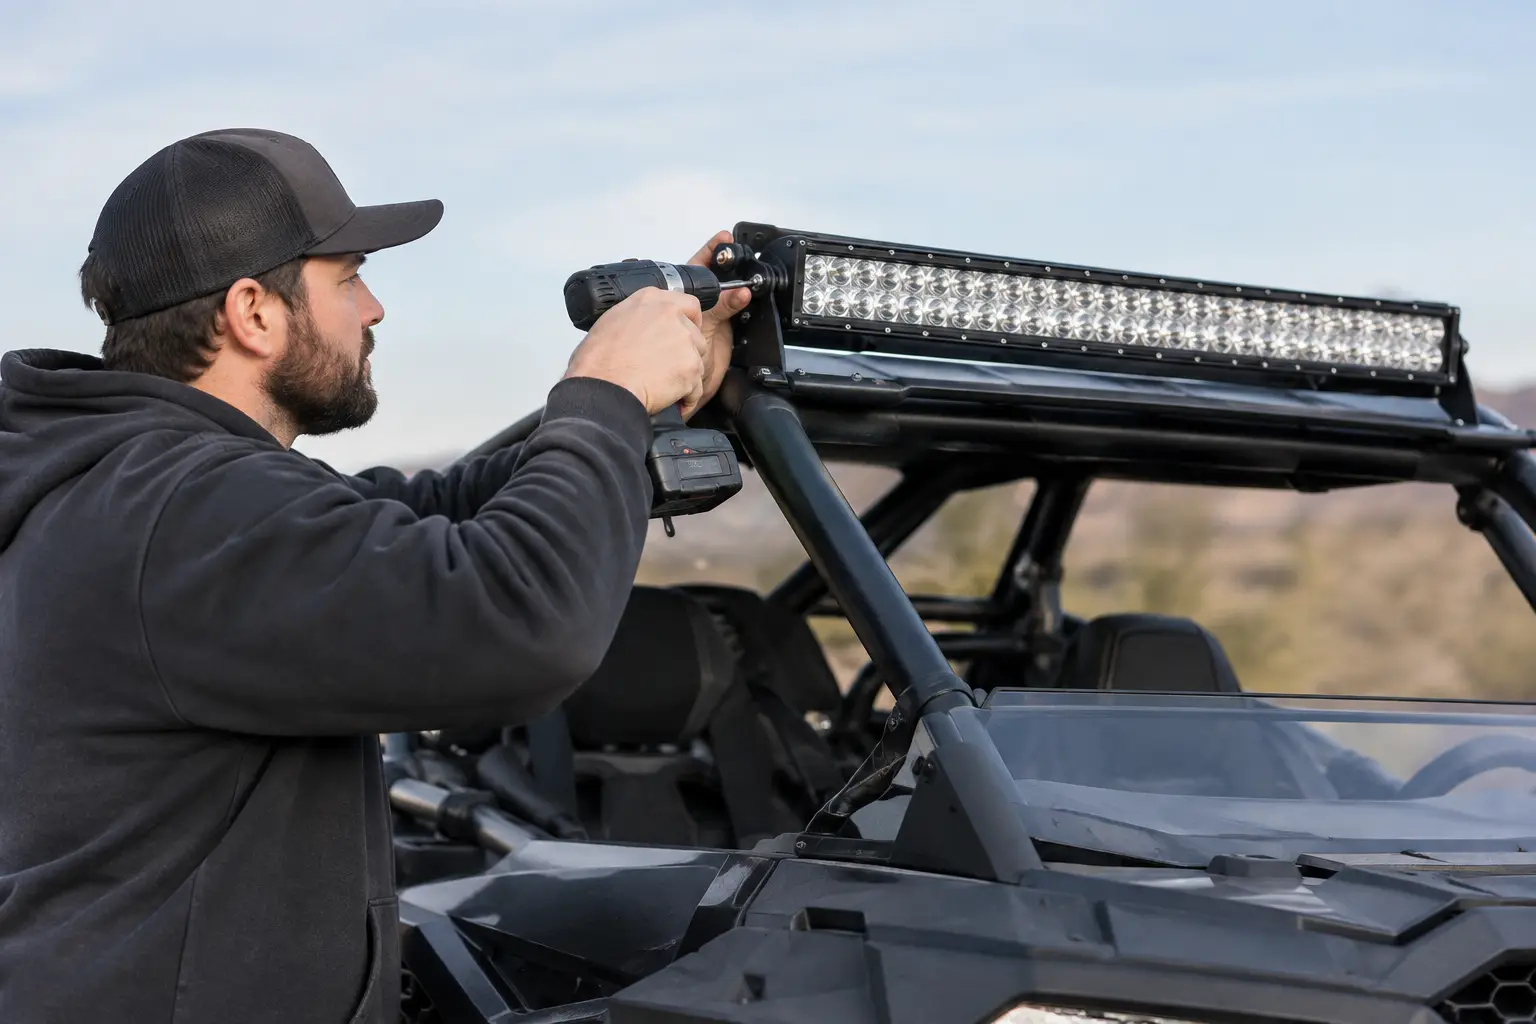
A poorly mounted light bar can shake loose on washboard trails, glare off your windshield, or drain the battery when you need your UTV to start before daylight. To install a UTV light bar correctly, treat the mount, wiring, and beam aim as one job. The goal is not just more lumens. It is dependable usable light where you ride, work, hunt, or plow.
Before ordering hardware or drilling into a roof, confirm your exact UTV make, model, year, and cab setup. A roof-mounted bar for a Polaris Ranger may need entirely different brackets than a Can-Am Defender, Yamaha Wolverine, Kawasaki Teryx, Honda Pioneer, or sport-focused RZR. Windshields, roof racks, mirrors, cab enclosures, and aftermarket roofs can all change the available mounting space.
Choose the Right Light Bar and Mounting Location
Light bars are not one-size-fits-all upgrades. A compact 10- to 20-inch bar works well as a bumper or grille light for slow technical trails, ranch gates, and close-range work. A wider roof-mounted bar gives more forward reach and broad trail coverage, but it also sits higher, creates more wind noise, and can reflect off dust, snow, fog, or a windshield.
The beam pattern matters as much as length. Flood patterns put light close to the machine and along trail edges. Spot patterns reach farther down straight trails. Combo bars blend both and are often the practical choice for riders who run mixed terrain. If your UTV sees tight woods more than open desert, a huge high-output spot bar may add glare without improving what you can actually see.
For most installations, use model-specific brackets whenever they are available. They position the bar around factory mounting points and reduce guesswork about roof contours, bolt sizes, and clearance. Universal clamps can work on round cage tubing, especially on sport UTVs, but they must match the tube diameter and hold securely without crushing or scraping the cage finish.
Roof mounting provides the biggest lighting advantage, while bumper mounting offers better protection from branches and reduces windshield glare. On fully enclosed utility UTVs, a front roof edge can be ideal if the bar clears the windshield frame and wiper sweep. Do not mount a light bar where it blocks factory headlights, interferes with a tilting bed or hood, or prevents doors and windshield panels from operating normally.
Gather Parts Before You Install a UTV Light Bar
A quality light bar kit often includes the lamp, side brackets, mounting hardware, and a wiring harness with a relay, inline fuse, and dash switch. Check the kit before beginning. If anything is missing, do not substitute undersized wire or a random automotive fuse.
You will typically need basic hand tools, a socket set, wire cutters and strippers, a crimp tool, a drill only if your mount requires it, heat-shrink connectors, electrical tape, and zip ties or cushioned clamps. A multimeter is useful for confirming power and diagnosing a connection before panels go back on.
Use a harness rated for the bar's current draw. LED light bars are efficient, but high-output models can still pull enough amperage to overload a small accessory circuit. The relay lets a low-current dash switch control the higher-current lighting circuit. The inline fuse protects the wire in the event of a short. Follow the light manufacturer's fuse recommendation and place that fuse close to the battery's positive terminal.
Disconnect Power and Test-Fit Everything
Park on level ground, set the parking brake, and disconnect the negative battery terminal before routing wires. This prevents accidental shorts while you work around the battery, bus bar, or accessory terminals.
Hold the light bar and brackets in position before tightening anything. Check that the hood, roof, windshield, mirrors, and doors have their full range of movement. On a roof installation, sit in the driver's seat and look for a beam position that will not put the housing directly in your line of sight. If you run a polycarbonate windshield, leave enough clearance for flex and avoid aiming the bar where its light will bounce back into the cab.
Install brackets loosely first, then center the bar and confirm both sides sit evenly. Apply medium-strength threadlocker if the light bar manufacturer allows it, and tighten the hardware to the bracket or vehicle manufacturer's torque guidance. Do not overtighten small stainless hardware or clamp mounts. A stripped bolt is not a secure installation.
Wire the Light Bar for Reliable Power
Route the main harness from the light bar toward the battery before making permanent connections. Keep wiring away from exhaust components, sharp metal edges, steering shafts, suspension travel, driveshafts, and pinch points around the hood or cab. Follow factory wiring paths where possible, using existing clips and grommets instead of creating a loose wire run across the frame.
Leave a small amount of service slack near the light bar. The harness should not pull tight when the chassis flexes or when the roof, hood, or front fascia moves. Secure it every few inches with UV-resistant zip ties or insulated clamps. For a wire passing through a panel, use a rubber grommet to prevent the insulation from wearing through over time.
Connect the light bar plug to its matching harness connector. Then mount the relay in a dry, protected location close enough to the battery leads without stretching them. Many UTVs provide a battery compartment, fuse panel area, or under-hood space that works well. Keep the relay oriented so water cannot collect around its terminals.
Connect the harness positive lead to the battery positive terminal and the ground lead directly to the battery negative terminal or a verified factory grounding point. Direct battery power is usually the safest approach for a high-draw accessory. Avoid tapping a factory headlight wire or small dash accessory lead to power the bar itself. Those circuits were not designed for the additional load.
The switch circuit deserves the same attention. Mount the switch in a location you can reach while seated without interfering with steering or controls. Use a weather-resistant rocker switch when it will be exposed to rain, mud, or washdown. If your harness includes an ignition-trigger wire, connect it to an appropriate switched accessory source so the light bar cannot be left on after the key is off. If you prefer battery-powered operation for recovery or camp use, understand that the bar can discharge the battery if left running.
After all connections are made, reconnect the battery negative terminal. Test the switch before reinstalling dash panels, roof trim, or under-hood covers. The bar should power on cleanly, the relay should click once, and no wire or connector should get warm during a short test.
Aim the Beam Where It Helps, Not Where It Blinds
A light bar that points too high wastes output in the trees and makes oncoming traffic miserable. Park roughly 25 feet from a level wall or garage door at night. Turn on the light bar, then adjust the angle so the brightest part of the beam falls below eye level and projects down the trail rather than straight ahead.
Take a slow test ride after the initial adjustment. Watch for glare on the hood, roof edge, windshield, or front rack. If dust creates a white wall in front of the machine, lower the beam slightly or rely more on lower-mounted forward lighting in those conditions. Roof bars are excellent in clear, open terrain, but bumper-mounted lights can be more useful in fog, snow, and dusty convoy riding.
Keep local and state rules in mind. Many areas restrict auxiliary off-road lighting on public roads, especially uncovered or illuminated forward-facing light bars. Use a cover when required and switch the bar off when riding on-road or approaching other trail users.
Check the Installation After Your First Ride
The first rough ride is the real test. After 30 to 60 minutes on the trail, inspect the mounting bolts, clamps, harness routing, and connectors. Look for rubbing marks, loose zip ties, or a bracket that has shifted. Retorque hardware as needed once the mount has settled.
Waterproof connectors still benefit from periodic inspection, especially if your UTV sees creek crossings, deep mud, or pressure washing. Clean mud from the bar's cooling fins and lens, and replace damaged wire loom before moisture gets into the harness.
The right setup turns dark trail sections, predawn chores, and late-season hunting runs into manageable work instead of guesswork. Start with fitment-specific parts, wire it like a permanent accessory, and aim it for the terrain you actually ride.