
How to Install UTV Doors Without Fitment Issues
Posted by Drew Cummings on Jul 15th 2026
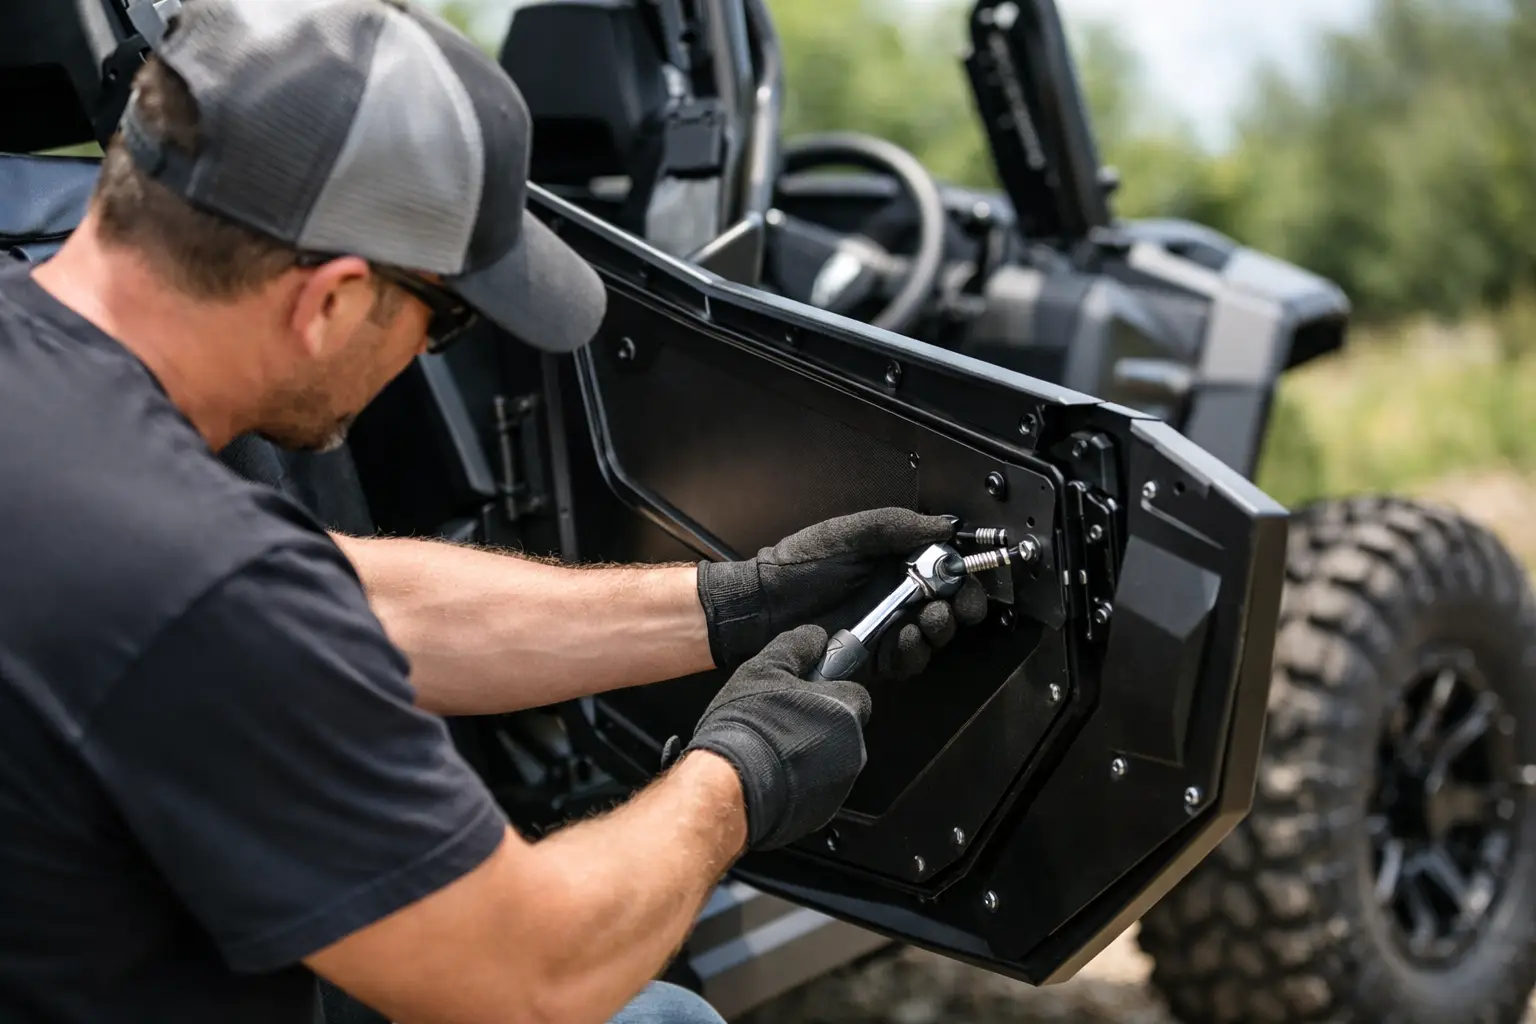
A door kit that looks perfect in the box can become a frustrating install if the hinges are tightened before the latch is aligned. Learning how to install UTV doors starts with one rule: confirm the kit matches your exact year, make, model, trim, and any cab components already on the machine. A Polaris RZR, Can-Am Maverick, Yamaha Wolverine, Kawasaki Teryx, and Honda Pioneer can all use very different mounting locations, latch designs, and body-panel clearances.
Properly installed doors add more than a finished look. They help keep mud, brush, water, and loose gear out of the cab while giving the driver and passenger a more secure riding position. On work machines, they can also make cold-weather rides, ranch chores, and long days in the field more comfortable. The payoff is real, but only when the doors open, close, and latch without binding.
Start With Fitment and Kit Inspection
Before turning a wrench, compare the part number on the box with your machine. Check the model year, chassis designation, and whether the product is designed for a two-seat or four-seat model. Do not assume doors that fit a standard trim will also fit a high-clearance, cab-equipped, or special-edition version. Factory roof systems, windshields, rear panels, lower door inserts, and aftermarket roll-cage accessories can all affect clearance.
Lay out every component on a clean, level surface. Most UTV door kits include left and right door assemblies, hinge brackets or hinge pins, latch hardware, mounting bolts, spacers, washers, and sometimes rubber bumpers or weather stripping. Identify the driver and passenger sides before removing any factory hardware. They may appear nearly identical until you look at the latch position or hinge angle.
Read the manufacturer instructions from start to finish before installation. The instructions supplied with a model-specific door kit take priority over a general process, especially for torque values, bracket orientation, and drilling requirements. Some kits use existing holes in the frame or bodywork. Others require you to install brackets, rivet nuts, or latch strikers.
Have these tools ready before you begin:
- Socket set and ratchet, plus combination wrenches
- Torque wrench capable of the hardware specification
- Allen or Torx keys when required by the kit
- Trim tool or panel tool for plastic push pins
- Blue medium-strength threadlocker, if specified
- Painter's tape, marker, and a clean shop towel
A second person is useful for heavier aluminum or steel doors. It is possible to install many kits alone, but having someone hold the door at the correct height makes final hinge and latch adjustment faster.
How to Install UTV Doors Step by Step
1. Park the machine correctly
Park on a level surface, shift into park, set the parking brake, and shut the engine off. If you are working around powered windows, speakers, or other electrical accessories, disconnect the negative battery terminal. Clean mud and debris from the mounting area so brackets sit flat against the frame.
If your UTV has factory half doors or nets, remove them according to the owner's manual or door-kit instructions. Keep factory bolts separated from new hardware. Some kits reuse original mounting points but require longer bolts, specific spacers, or replacement brackets.
2. Install hinge brackets loosely
Mount the hinge brackets or hinge receivers first. Start every bolt by hand to avoid cross-threading, then leave the hardware loose enough for adjustment. This matters because UTV frames and plastic body panels have normal production variation. Tightening one bracket fully before the other is installed can pull the door out of position.
Where a bracket mounts against painted or powder-coated tubing, use painter's tape around the work area to reduce accidental scuffs. If the kit includes spacers, install them exactly where shown. A missing spacer can shift the door inward, causing contact with the rocker panel, fender flare, or roof support.
3. Hang the door and check basic clearance
With the hinges loosely mounted, place the door on its hinges or slide in the hinge pins. Support the door while checking the gap at the front fender, rear body panel, roof pillar, and rocker area. Do not judge alignment from one spot alone. A door can look level at the top but still rub at the lower rear corner when opened.
Close the door gently for the first time. If it contacts a body panel before reaching the latch, stop and adjust the hinge brackets. Forcing it closed can scratch plastic, bend a bracket, or damage a latch mechanism. Move the door in small increments, checking clearance after each adjustment.
4. Set the latch striker before final torque
The striker is the piece that gives the latch something to grab. Its position controls how easily the door closes, how tightly it seals, and whether it rattles on rough terrain. Install the striker loosely, then close the door slowly until the latch meets it.
A properly aligned door should close with firm, controlled pressure. It should not need a slam, and it should not pop open when you pull on the handle. If the door sits too high or low at the latch, adjust the hinges first. If its height is correct but the latch does not engage cleanly, move the striker slightly inward, outward, up, or down as needed.
This is the most common place installers rush. Take your time. A few minutes of striker adjustment is better than living with a door that rattles all day or requires a hard slam after every stop.
5. Tighten hardware in the right order
Once the door swings freely and latches correctly, tighten the hinge hardware while keeping the door supported in its final position. Then tighten the striker hardware. Use the torque values listed by the door manufacturer whenever they are provided. If threadlocker is specified, apply only the recommended amount to clean, dry threads.
After tightening, open and close the door several times. Watch for movement at the brackets and make sure the latch remains centered on the striker. Install rubber bumpers, weather stripping, door limit straps, or retaining clips last. These components often fine-tune the fit and prevent metal-to-metal contact.
Check Compatibility With Other Cab Accessories
UTV doors rarely operate in isolation. A full windshield changes cab airflow and can increase pressure against door seals. A roof, rear windshield, soft enclosure, heater kit, or upper door system may share mounting areas with the lower doors. Verify that every component has the clearance it needs before calling the job complete.
This is especially relevant when mixing brands. A door kit may fit the vehicle perfectly by itself but conflict with an existing roof clamp, aftermarket nerf bar, or lower rocker protection. Model-specific accessories are built to work around factory dimensions, but accessory stacking can change the equation. When in doubt, confirm the exact vehicle configuration and accessory part numbers with a UTV parts specialist before installing.
Test the Doors Before the First Ride
A driveway check catches most issues before they become trail problems. Sit in both seats and confirm that the handles are easy to reach, the doors do not interfere with seat belts, and entry and exit are comfortable. Turn the steering wheel from lock to lock and check that no part of the door contacts the front tire, suspension, or steering components at full movement.
Then take a short, low-speed ride on level ground. Listen for rattles, squeaks, or latch noise. If a door rattles, inspect the striker alignment and rubber bumpers first. If it sags after a few rides, recheck hinge bolts and inspect whether a bracket has shifted. New door seals may compress slightly after the first few uses, so a minor striker adjustment is not unusual.
Re-torque all mounting hardware after the first ride and again after a few hours of trail use. Off-road vibration can settle brackets, especially on a fresh install. Make hardware checks part of regular maintenance along with tire pressure, wheel lug torque, and suspension inspection.
Avoid These Common UTV Door Installation Mistakes
The biggest mistake is ordering by brand alone instead of exact fitment. “Fits Polaris” is not enough information when door mounting systems can vary across RZR, Ranger, General, and model years. The same applies to Can-Am Maverick and Defender platforms, Yamaha sport and utility models, and every other major manufacturer.
Another mistake is trying to correct a poor latch fit by slamming the door. That usually hides the real issue - hinge alignment, striker position, an incorrect spacer, or interference from another accessory. Finally, do not overtighten bolts into threaded inserts or plastic-mounted hardware. Tight is not always better; correct torque protects both the door kit and the vehicle.
A quality set of doors should feel like part of the machine, not an add-on you have to fight every time you climb in. Choose a kit built for your exact UTV, make measured adjustments instead of forcing the fit, and give the hardware one follow-up inspection after real trail time. That extra care is what keeps the cab quieter, the latch secure, and your machine ready for the next ride.