
How to Add a UTV Heater for Cold-Weather Rides
Posted by Drew Cummings on Aug 5th 2026
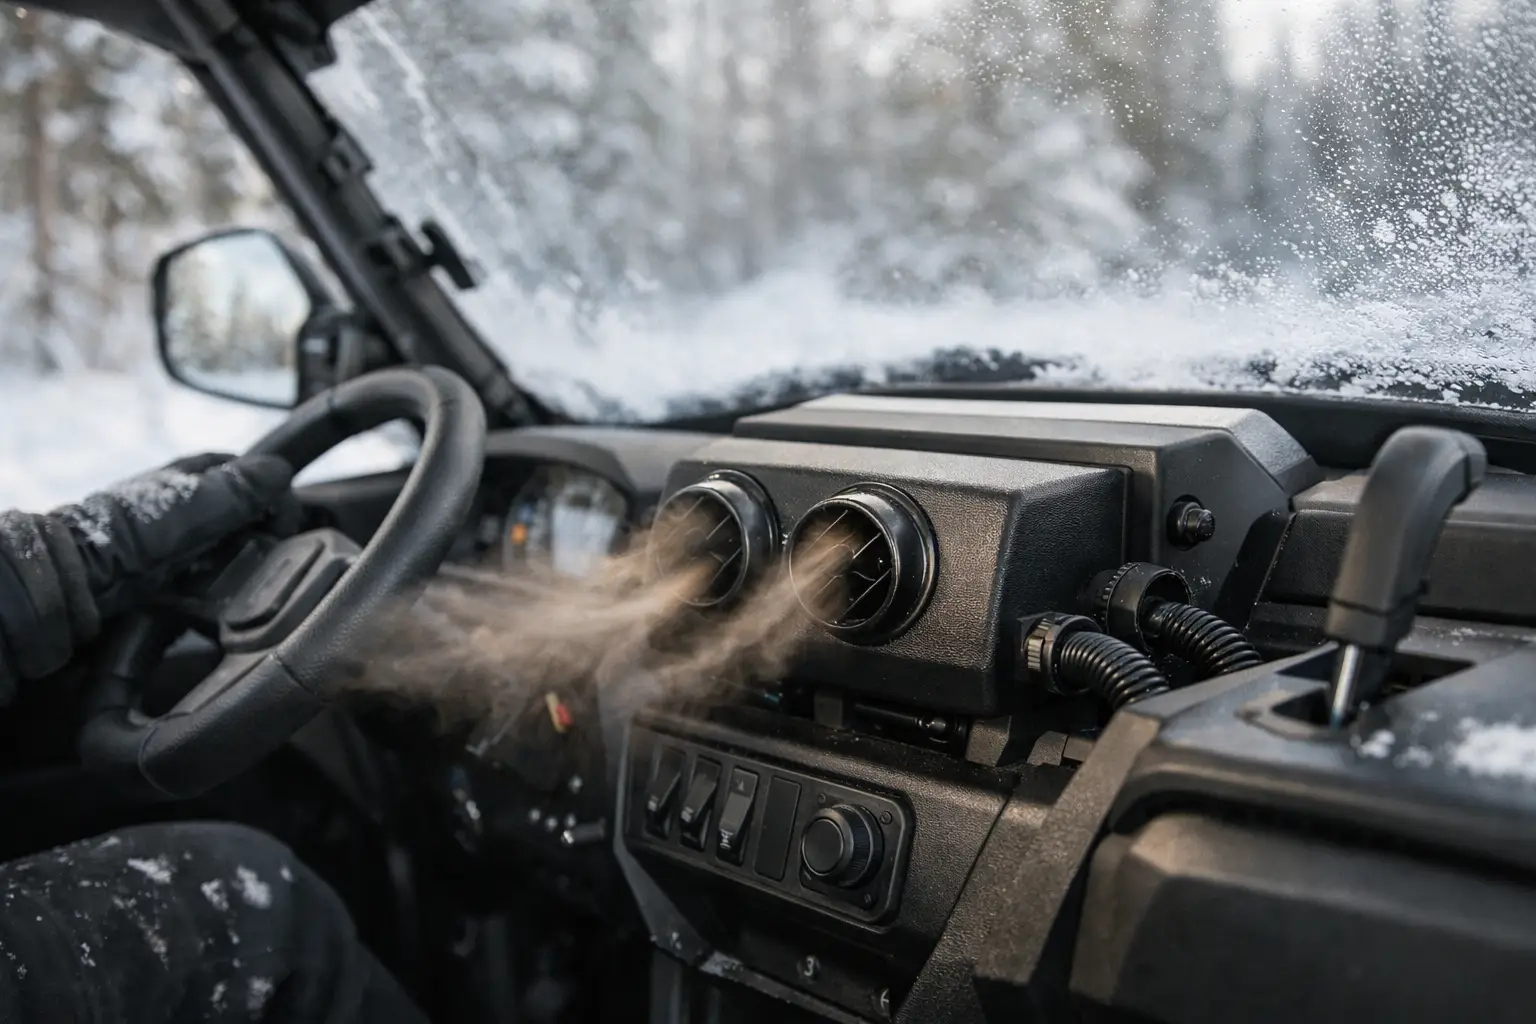
A cold cab changes the way you use your machine. When your hands are stiff, your windshield is fogging, and a ranch chore or late-season hunt still needs to get done, a properly installed heater is more than a comfort upgrade. If you are figuring out how to add a UTV heater, start with the machine-specific details, not the heater box. Correct fitment, clean coolant routing, protected wiring, and smart vent placement are what separate dependable cab heat from a frustrating weekend project.
How to Add a UTV Heater: Start With Fitment
Most UTV heater kits use engine coolant to warm a compact heater core, then move heated air through a blower and dash-mounted vents. They are effective because they use heat already produced by the engine, but every kit has to work with your specific chassis, cooling system, dash layout, and cab setup.
Confirm the exact make, model, year, and trim before ordering. A Polaris Ranger, Can-Am Defender, Kawasaki Mule, Honda Pioneer, Yamaha Wolverine, and sport-focused side-by-side can all have very different hose routes, firewall locations, dash panels, and electrical connections. Do not assume a kit fits because it fits the same model name from a different year.
Also consider how you use the vehicle. A basic two-vent heater may be enough for an open-cab trail machine in mild winter conditions. If you run a full windshield, roof, rear panel, and doors while plowing snow, hunting, or working livestock, prioritize a high-output kit with defrost capability. A heater cannot overcome major gaps in an open cab, so enclosure upgrades often determine how warm the cab will actually feel.
Gather Parts and Plan the Install
Open the heater kit and inventory every component before removing a panel. A model-specific kit should generally include the heater assembly, mounting hardware, coolant hose, fittings, clamps, a wiring harness, switch, fuse protection, and ducts or vents. Read the instructions from beginning to end so you understand which panels need to come off and where the hoses will enter the cab.
For a clean installation, have these shop essentials ready:
- Socket set, screwdrivers, trim tools, drill, and correctly sized drill bits
- Hose cutters or a sharp utility knife, plus pliers for clamps
- Catch pan, clean rags, and the manufacturer-approved coolant
- Wire crimpers, heat-shrink connectors, zip ties, and split loom
Park on level ground, let the engine cool completely, and disconnect the negative battery cable. Hot coolant can cause serious burns, and an energized accessory circuit can damage wiring or create a short while you are working behind the dash.
Before cutting, drilling, or routing anything, hold the heater box and vents in their intended locations. Check steering clearance, glove box access, pedal movement, passenger leg room, and service access. On many UTVs, the cleanest installation puts the heater behind the dash or under the hood with ducts feeding into the cab. The best location depends on the kit and chassis, not personal preference alone.
Mount the Heater Box and Route the Ducts
Mount the heater unit to solid factory structure whenever the instructions call for it. Avoid thin plastic panels as the main support point. Off-road vibration works loose hardware quickly, especially on rough trails, washboard roads, and working terrain.
Install the vents where air will do the most work. Floor-level vents warm boots and lower legs, while upper vents help clear a fogged or frosted windshield. If the kit includes defrost ducts, route them with gentle bends and keep the runs as short as practical. Crushed ducting, sharp kinks, or loose connections reduce airflow and make a high-output heater feel weak.
Take time to protect every pass-through point. If a hose, wire, or duct passes through a drilled hole or metal bracket, use a grommet or edge trim. This small step prevents abrasion that can eventually turn into a coolant leak or electrical fault.
Connect the Coolant Lines Carefully
The coolant connection is the part of the job that deserves the most patience. A UTV heater works by tapping into the engine's coolant circuit, commonly at designated heater hose locations, coolant lines, or fittings identified by the kit manufacturer. Follow the vehicle-specific routing instructions exactly. Do not guess which hose is the supply or return line based only on appearance.
Place a drain pan below the work area and expect some coolant loss when opening the system. Cut hoses cleanly and squarely. Install supplied tees, adapters, or shutoff valves in the correct direction, then secure every connection with the recommended clamps. Position clamp screws where you can inspect and tighten them later without removing half the dash.
Route coolant hoses away from exhaust components, moving suspension parts, steering shafts, sharp edges, and drive belts. Keep the hoses supported with clamps or zip ties, but do not cinch them so tightly that they flatten. Leave enough slack for engine movement and normal chassis flex.
Once the plumbing is complete, refill the cooling system with the correct coolant type. Some machines require a specific premixed formulation, while others use a particular concentrate-to-water ratio. Mixing incompatible coolant types can compromise corrosion protection and create cooling-system problems that have nothing to do with the heater itself.
Air trapped in the cooling system can cause poor heater performance or engine overheating. Follow the vehicle manufacturer's bleed procedure and the heater kit instructions. In many cases, this means running the engine to operating temperature with the heater control on, monitoring coolant level, and allowing the thermostat to open. Keep hands clear of belts and fans during this process.
Wire the Blower for Reliable Operation
A heater blower needs a fused, switched power source so it cannot run unnoticed after the key is off. Use the supplied harness when available, because it is usually sized for the blower's current draw and may include an inline fuse, relay, and weather-resistant connectors.
Route wiring alongside existing harness paths where possible, keeping it clear of heat and moving parts. Protect exposed wire with split loom and secure it at regular intervals. Avoid quick splices into random factory wires. A poor connection can create intermittent blower operation, melted terminals, or electrical issues that are difficult to trace later.
Mount the switch in a spot that is easy to reach with gloves on but protected from direct water exposure. Before reinstalling dash panels, reconnect the battery and confirm that the fan operates at every available speed. If it does not, check the fuse, ground connection, switch terminals, and harness plugs before assuming the blower motor is defective.
Test for Heat, Leaks, and Airflow
With the machine outside or in a well-ventilated area, start the engine and let it reach normal operating temperature. Set the heater fan to high and feel the outlet temperature as the coolant begins circulating through the core. Heat may not be immediate, especially in very cold weather, but the output should become consistently warm once the engine is fully warmed up.
Inspect every new coolant connection for drips while the system is cold, warming up, and fully hot. Check again after the first ride, since hose clamps can settle after a few heat cycles. Watch the temperature gauge closely. If the engine runs hotter than normal, shut it down and inspect coolant level, hose routing, and air bleeding before using the vehicle again.
Make sure airflow reaches the driver area rather than disappearing behind the dash. If defrost performance is weak, inspect the duct path for pinches or loose fittings. A heater can be functioning correctly at the core while losing most of its usable airflow through poor duct routing.
Mistakes That Make a UTV Heater Underperform
The most common mistake is installing a heater without addressing the cab. A full windshield, roof, rear panel, and doors help retain warm air, but each setup has trade-offs. A tightly enclosed cab is warmer and quieter, yet it also increases the need for effective defrost vents and fresh-air management to control condensation.
Other avoidable problems include routing coolant lines too close to the exhaust, failing to bleed air from the system, using incorrect coolant, and wiring the blower directly to an unfused battery lead. Skipping fitment verification is another expensive error. A universal heater may look adaptable, but a vehicle-specific kit usually saves time and produces a cleaner, more serviceable result.
A correctly installed heater makes winter riding, workdays, and hunting trips more comfortable without asking you to compromise reliability. Choose the kit around your exact UTV and cab configuration, take the cooling-system work seriously, and inspect the installation after a few rides. That extra attention is what keeps warm air coming through the vents when the temperature drops and the job still has to get done.