
Can-Am Defender Plow Mount Fitment Guide
Posted by Drew Cummings on Sep 2nd 2026
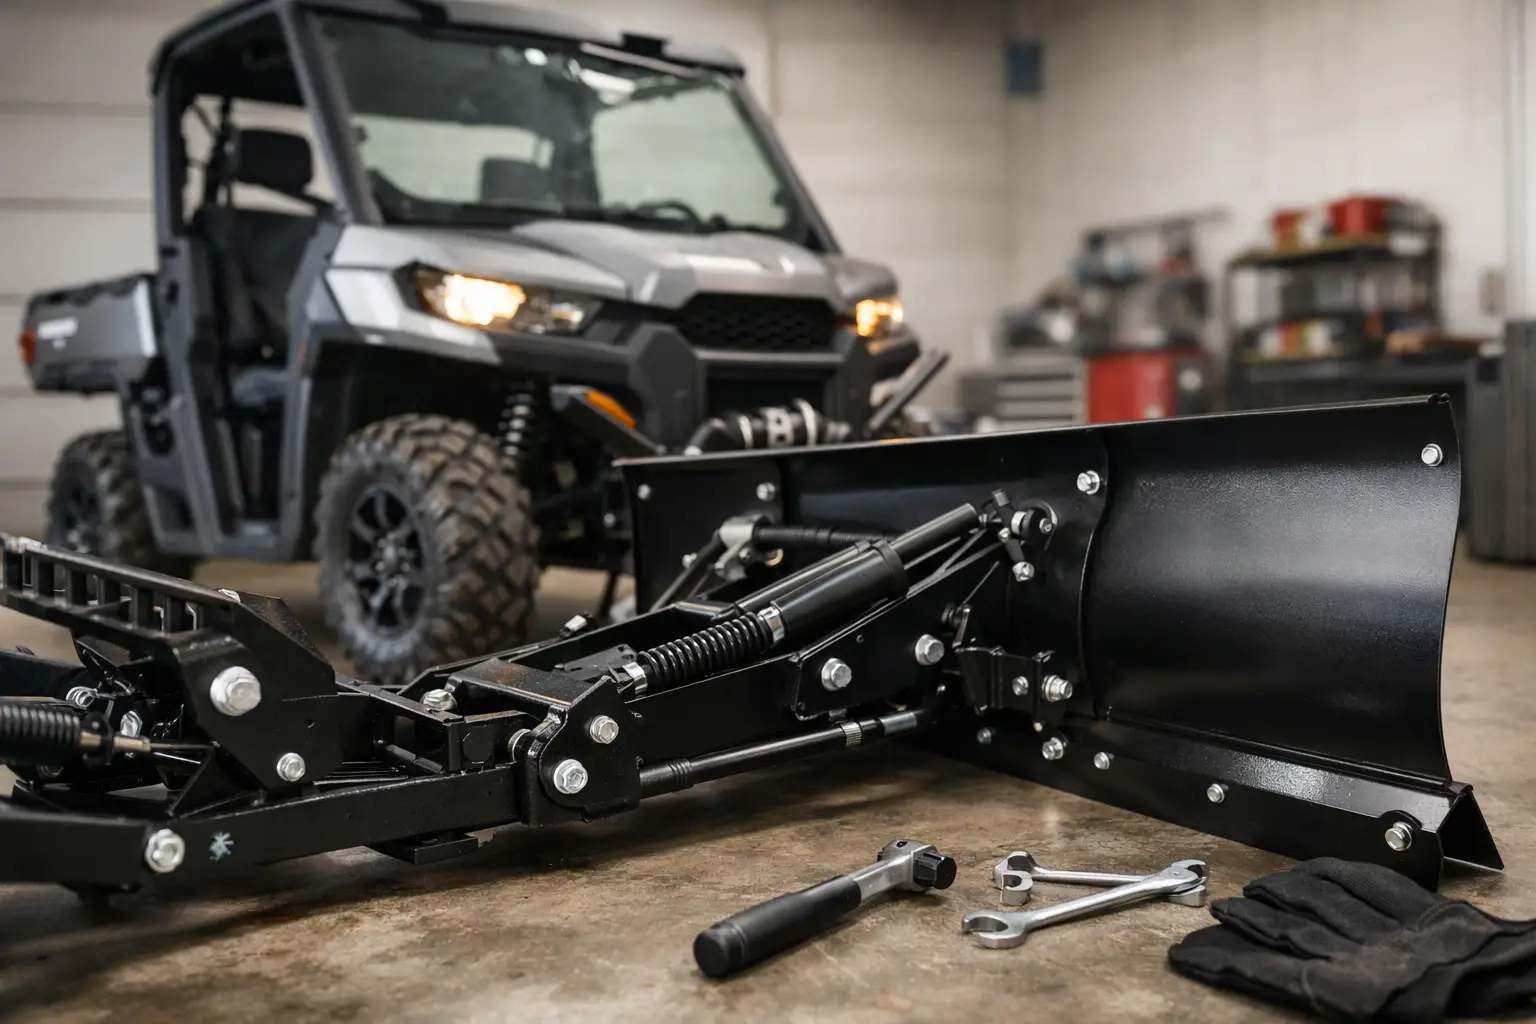
The first heavy snow of the season is a bad time to learn that your plow will not clear the front bumper, your winch line is rubbing, or the mount you ordered fits a different Defender chassis. A Can-Am Defender plow mount is the connection point that makes the entire snow setup work, so fitment matters more than flashy specs. Get the mount right, and your Defender can move snow efficiently without turning every storm into a repair project.
What a Can-Am Defender Plow Mount Does
A plow mount is a vehicle-specific steel bracket system that attaches beneath or at the front of the Defender frame. It gives the push tubes or plow carrier a secure place to connect while transferring plowing forces into the chassis instead of the plastic front fascia, bumper, or winch mounting area.
Most systems are designed around a quick-connect approach. The vehicle-side mount stays on the UTV, while the blade and push tube assembly can be installed when snow is in the forecast and removed when spring arrives. That convenience is a major reason Defender owners choose a dedicated mount instead of trying to adapt a universal setup.
The mount is only one part of the system. A working plow package typically includes the vehicle mount, push tubes or a push frame, blade, wear bar, lift method, and trip mechanism. Some manufacturers sell these components separately, while others offer complete packages. Do not assume a blade and push tube from one brand will connect to a mount from another.
Confirm Defender Fitment Before You Buy
Can-Am Defender fitment is more specific than simply selecting the Defender name. The platform has changed across model years, trim levels, engine options, and cab configurations. A mount made for one generation may sit incorrectly or fail to line up with mounting points on another.
Start with the exact year and model shown on your registration or vehicle identification information. Then verify whether you have a Defender, Defender MAX, Defender HD7, HD9, HD10, Limited, XT, X mr, Lone Star, or another trim. A MAX model has a longer wheelbase, but its front mounting area may or may not use the same hardware as a two-seat model depending on the plow manufacturer.
Cab configuration and front-end accessories matter
Factory cabs, aftermarket bumpers, brush guards, skid plates, and winch mounts can affect installation. A properly designed plow mount usually works around standard factory equipment, but oversized aftermarket components can occupy the same space or block access to frame holes.
Before ordering, inspect the front underside of your Defender. Look for existing accessory mounts, bent crossmembers, missing hardware, or modifications from a prior owner. A mount cannot compensate for damaged frame mounting points. If the vehicle has had a hard impact, check alignment before installing a blade that will add repeated forward loads.
Match the mount to the plow system
Plow manufacturers use different connection systems. Some use a receiver-style connection, while others use pins, latches, or proprietary quick-attach designs. Even if two mounts look similar, the push tube geometry and attachment width can be different.
The safe approach is to choose a mount, push tubes, and blade within the same product family unless the manufacturer specifically confirms cross-compatibility. Mixing parts can create poor blade angle, limited lift height, or an insecure connection. For equipment that will be pushing packed snow near buildings, vehicles, and gates, close enough is not good enough.
Choose the Right Mount Location and Design
Defender plow mounts generally fall into two practical styles: front mounts and mid-body mounts. Each has a place depending on how often you plow, where you work, and how much ground clearance you want after the snow is gone.
A front-mounted system is easy to access and usually fast to connect. It can be a strong choice for homeowners or landowners who install the plow only during storms. The trade-off is that the mount may be more visible and can reduce approach clearance at the front of the machine.
A mid-body mount positions the attachment point farther back under the chassis. This design can distribute plowing force more effectively and may keep the front of the Defender cleaner when the blade is removed. It often requires more installation time and may be less convenient to service, especially if the UTV has full skid protection or accumulated mud underneath.
Ground clearance is a real consideration for trail riders. A low-hanging mount can catch on ruts, rocks, frozen windrows, and loading ramps. If your Defender works all winter and returns to the trail in spring, choose a system with a low-profile vehicle mount and confirm how much clearance it costs.
Size the Plow Blade for the Job
The mount has to handle the blade you intend to run. Bigger is not always better. A wide blade moves more snow, but it also puts more load on the mount, push frame, winch, steering system, and tires.
For many two-seat Defender models, a blade in the 60- to 66-inch range provides a useful balance for driveways, farm lanes, and access roads. Defender MAX owners and riders clearing wider areas may prefer a 66- or 72-inch blade. Keep in mind that the blade becomes effectively narrower when angled. A 72-inch blade gives better coverage while turning, but only if the snow depth and machine traction support it.
Wet snow is where oversized setups expose their limits. A wide blade full of heavy, saturated snow can stop a UTV quickly, even with a heavy-duty mount. In those conditions, take narrower passes, reduce blade angle, and avoid hitting piles at speed.
Winch, Lift, and Electrical Considerations
Most Defender plow systems use the vehicle winch to raise and lower the blade. That makes winch condition part of plow setup, not an afterthought. A tired winch, frayed synthetic rope, weak battery, or corroded connections can leave the blade down when you need to move it.
Confirm that the winch has enough pulling capacity for the plow system and that the rope path is straight. The fairlead should not force the line to drag across a sharp mount edge or pull at an extreme angle. A roller or hawse fairlead must be appropriate for the type of line being used.
Frequent plowing puts repeated cycles on the electrical system. Keep battery terminals clean and tight, inspect the main power leads, and consider battery maintenance if the Defender sits for long stretches in freezing weather. A plow lift strap or dedicated lift bracket can also reduce wear on the winch line compared with attaching directly to the blade assembly.
Installation Details That Prevent Problems
Read the hardware instructions before putting the Defender on ramps or jack stands. Mount kits often use existing frame holes, supplied spacers, and bolts of specific lengths. Installing a bolt that is too long can interfere with nearby components, while leaving out a spacer can twist the mount when it is loaded.
Use the recommended torque values and recheck hardware after the first few hours of plowing. Snow vibration, impacts with frozen material, and repeated reversing can loosen fasteners that felt secure during initial installation. Check the mount again after any hard strike against a curb, buried rock, or frozen bank.
Set the blade shoes and wear bar for the surface you are clearing. On gravel, raise the shoes enough to leave a thin snow base rather than peeling loose stone into the yard. On paved driveways, a lower setting clears more thoroughly but increases wear on the cutting edge. That adjustment protects the blade, but it also reduces shock loads that travel back through the push tubes and mount.
Plowing Habits That Protect Your Defender
A quality mount is built for work, not abuse. Start each pass smoothly and let the blade roll snow instead of charging into a pile at full throttle. When stacking snow, ease into the pile and lift the blade as you finish the push. Ramming a frozen windrow is the fastest way to bend a blade, damage a mount, or strain steering components.
Use low range for slow, controlled work and select tires that match winter conditions. Aggressive all-terrain tires may be enough for light snow, while chains can make a major difference on steep, icy drives where permitted. Added front weight from the plow can improve bite, but rear traction still determines whether the Defender keeps moving.
After plowing, rinse off salt, brine, and packed snow from the mount, skid plate area, and winch. Corrosion starts where moisture stays trapped around brackets and hardware. A quick inspection while cleaning can catch a loose pin, worn bushing, or damaged wire before the next storm.
A Can-Am Defender plow mount should fit your exact machine, work with one complete plow system, and suit the surface and snowfall you actually manage. If you are sorting through model-specific options, Side By Side Sports can help narrow the choice so you spend winter clearing snow instead of correcting a fitment mistake.