
Best UTV LED Whip Lights for Trail Riding
Posted by Drew Cummings on Oct 5th 2026
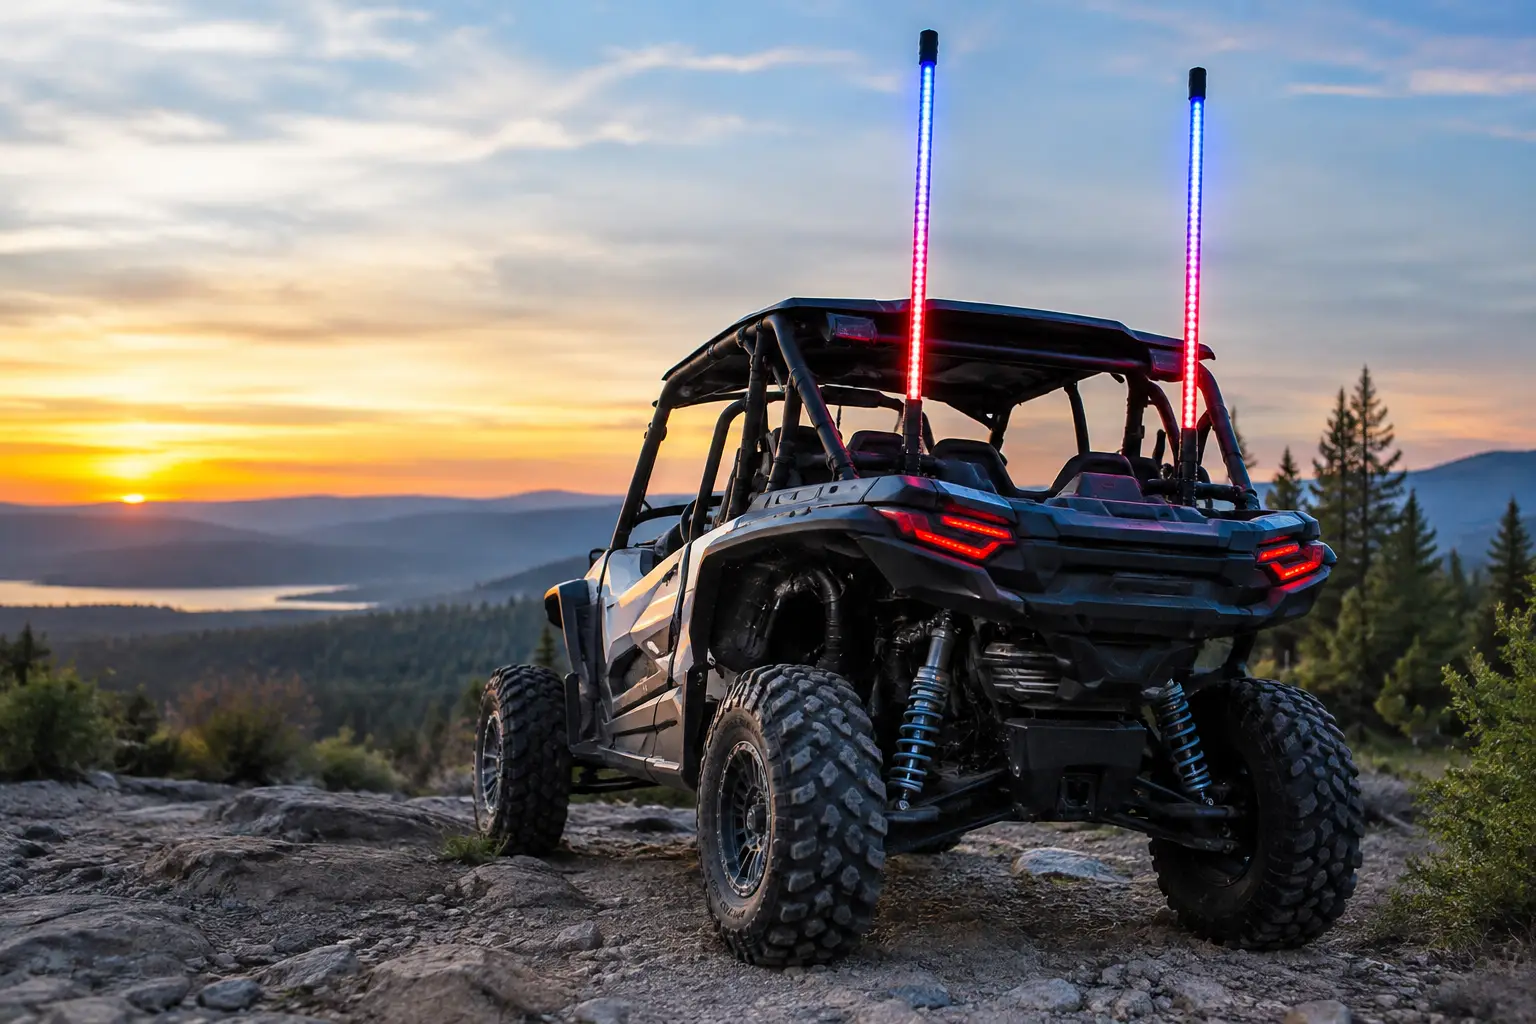
A set of LED whips can make your machine easier to spot through dust, trees, and rolling dunes long before another rider sees your headlights. The best UTV LED whip lights do more than add color to the rear of a Polaris RZR, Can-Am Maverick, Yamaha Wolverine, Kawasaki Teryx, or Honda Pioneer. They need to survive vibration, stay bright in rough conditions, mount securely, and match the way you actually ride.
For some riders, that means a tall, high-output pair for dune flags and night runs. For others, it means compact whips with clean wiring for a ranch machine or trail rig. The right choice comes down to visibility requirements, whip height, lighting controls, mounting location, and build quality.
What Makes the Best UTV LED Whip Lights?
A good whip light starts with a flexible fiberglass core, a protected LED strip, and a sealed outer tube that keeps out water and fine dust. Cheap whips may look similar in a product photo, but weak bases, unprotected wiring, and poor sealing show up quickly after washdowns, muddy rides, and sustained vibration.
Look for an IP-rated, weather-resistant design and a reinforced base. The base takes the most punishment when your UTV is moving through tight woods, loading on a trailer, or bouncing across whoops. A spring base can be worthwhile for aggressive trail riding because it gives the whip room to flex rather than transferring every hit into the mounting point.
Brightness matters, but more LEDs do not automatically make a whip better. The goal is a distinct, visible light signature that riders can identify through dust or darkness. A well-built 360-degree whip with evenly spaced LEDs is usually more useful than a unit with bright spots, dim sections, or uneven color output.
Choose Whip Height for Your Riding Area
Whip height is one of the first decisions to make. Taller is not always better, especially if your UTV spends most of its time under tree cover or inside an enclosed trailer.
3-Foot to 4-Foot Whips
Shorter LED whips work well for woods riding, work-oriented UTVs, and machines stored in tight garages. They provide rear visibility without extending far above the roofline. They are also less likely to catch low branches, though no whip is completely immune to trail obstacles.
A shorter setup makes sense on a Honda Pioneer used around property, a Polaris Ranger with a roof and tool rack, or a hunting machine that needs a lower profile. They still add a clean, visible marker at the rear without making the vehicle awkward to transport.
5-Foot to 6-Foot Whips
This range is the practical middle ground for many recreational riders. A 5-foot or 6-foot whip is tall enough to stand out on open trails and through moderate dust, while remaining manageable in wooded terrain. For RZR, Maverick X3, KRX, and sport-focused Yamaha owners, this is often the most versatile choice.
7-Foot and Taller Whips
Tall whips are built for wide-open terrain where visibility from a distance matters most. Sand dunes, desert riding areas, and group night rides are where they earn their keep. Some riding areas require a safety flag at a specific height, so verify local rules before choosing a lighted whip as your only flag solution.
The trade-off is clear: taller whips are more visible, but they are easier to snag on branches and need stronger mounting hardware. If you transport with a covered trailer, confirm the whip can be removed quickly or folded down safely.
Single-Color vs. RGB LED Whip Lights
Single-color whips are straightforward. Pick a color, wire them to a switch, and go ride. They are a solid option for riders who want a consistent look, a simpler electrical setup, and fewer control components.
RGB whips offer more flexibility. Depending on the controller, you can select colors, run patterns, sync a pair of whips, and sometimes coordinate them with other accent lighting. They are popular for night rides, events, and riders who want their machine to stand apart in a group.
The trade-off with RGB systems is complexity. A controller, remote, Bluetooth app, or signal wiring can add more points to troubleshoot. For a dedicated work machine, simple single-color lighting may be the better answer. For a recreational UTV built around night riding, an RGB system is usually worth the added setup time.
Be careful with flashing patterns and color choices. Some states and public riding areas restrict certain colors or patterns that can resemble emergency lighting. Red and blue combinations, in particular, may create problems on public roads or access routes. Use a legal, steady setting when required and save the show modes for appropriate off-road areas.
Mounting Matters More Than Most Riders Expect
The cleanest-looking whip setup can still fail if the mounts are weak or poorly placed. Most UTV owners mount LED whips at the rear of the cage, rear bumper, bed rails, or a dedicated whip bracket. The best location depends on the machine, its roof or bed configuration, and whether you need to maintain access to cargo areas.
Cage-mounted whips place the light high and keep it visible, but the mount must match the cage diameter and provide a secure clamp. Rear bumper and bed-mounted setups can work well on utility machines, especially when using a reinforced bracket. On sport models, purpose-built mounts often create a cleaner fit while keeping the whip away from rear cargo access and suspension travel.
Avoid mounting directly to thin plastic panels. They can crack under constant flexing, and the whip will shake more than it should. A metal bracket tied into the frame, cage, or bumper is the safer long-term choice.
Quick-disconnect bases are useful for riders who trailer often or need to remove whips before entering low-clearance spaces. Just make sure the connector seals tightly and locks positively. A fast removal feature is not helpful if it rattles loose halfway through a ride.
Wiring for Reliability, Not Just Appearance
Whip lights draw relatively little power, but they still deserve a proper installation. Run power through a fused circuit, use weatherproof connectors, and protect wiring with loom where it passes near metal edges, exhaust components, or moving suspension parts.
A switch panel is usually the cleanest control option, particularly on machines with several accessories. It keeps whip lighting separate from headlights and makes it easy to shut the system down when loading, working, or riding in areas where accent lighting is not appropriate. If your UTV already has an accessory bus bar or fuse block, use it rather than stacking multiple accessories onto an existing light circuit.
Route the wire with enough slack for bed movement, suspension travel, and removable whip bases. Too much slack can rub or snag. Too little can pull a connector apart when the chassis flexes. Secure the harness every few inches with quality clamps or zip ties, then inspect it after the first few rides.
Buy for Your Machine and Your Use Case
The best setup for a long-travel Can-Am Maverick X3 running dunes is not necessarily the best setup for a Polaris Ranger used for fencing and hauling feed. Start with the vehicle platform, then consider where it rides, how it is stored, and whether it runs other accessories such as a roof, rear rack, spare tire carrier, or enclosed cab.
For wooded trails, prioritize a durable 3-foot to 5-foot whip, a flexible spring base, and a mount that stays clear of roof accessories. For desert or dunes, choose a taller, highly visible setup with heavy-duty rear mounting. For utility machines, focus on simple controls, protected wiring, and a height that will not interfere with daily work.
Fitment-specific shopping saves time here. Side By Side Sports helps UTV owners narrow accessory choices by make, model, and intended use, which matters when a rear rack, roof line, cage design, or bed layout changes the best mounting approach.
A Better Way to Build Your Whip Light Setup
Do not choose solely by the number of color patterns or the lowest price. Start with a durable, sealed whip that fits your riding conditions, then pair it with a mount that is built for your UTV and a wiring plan you can service later. When the trail gets dusty, dark, and crowded, dependable visibility is the upgrade that keeps paying off.