
How to Install UTV Rock Lights the Right Way
Posted by Drew Cummings on Sep 22nd 2026
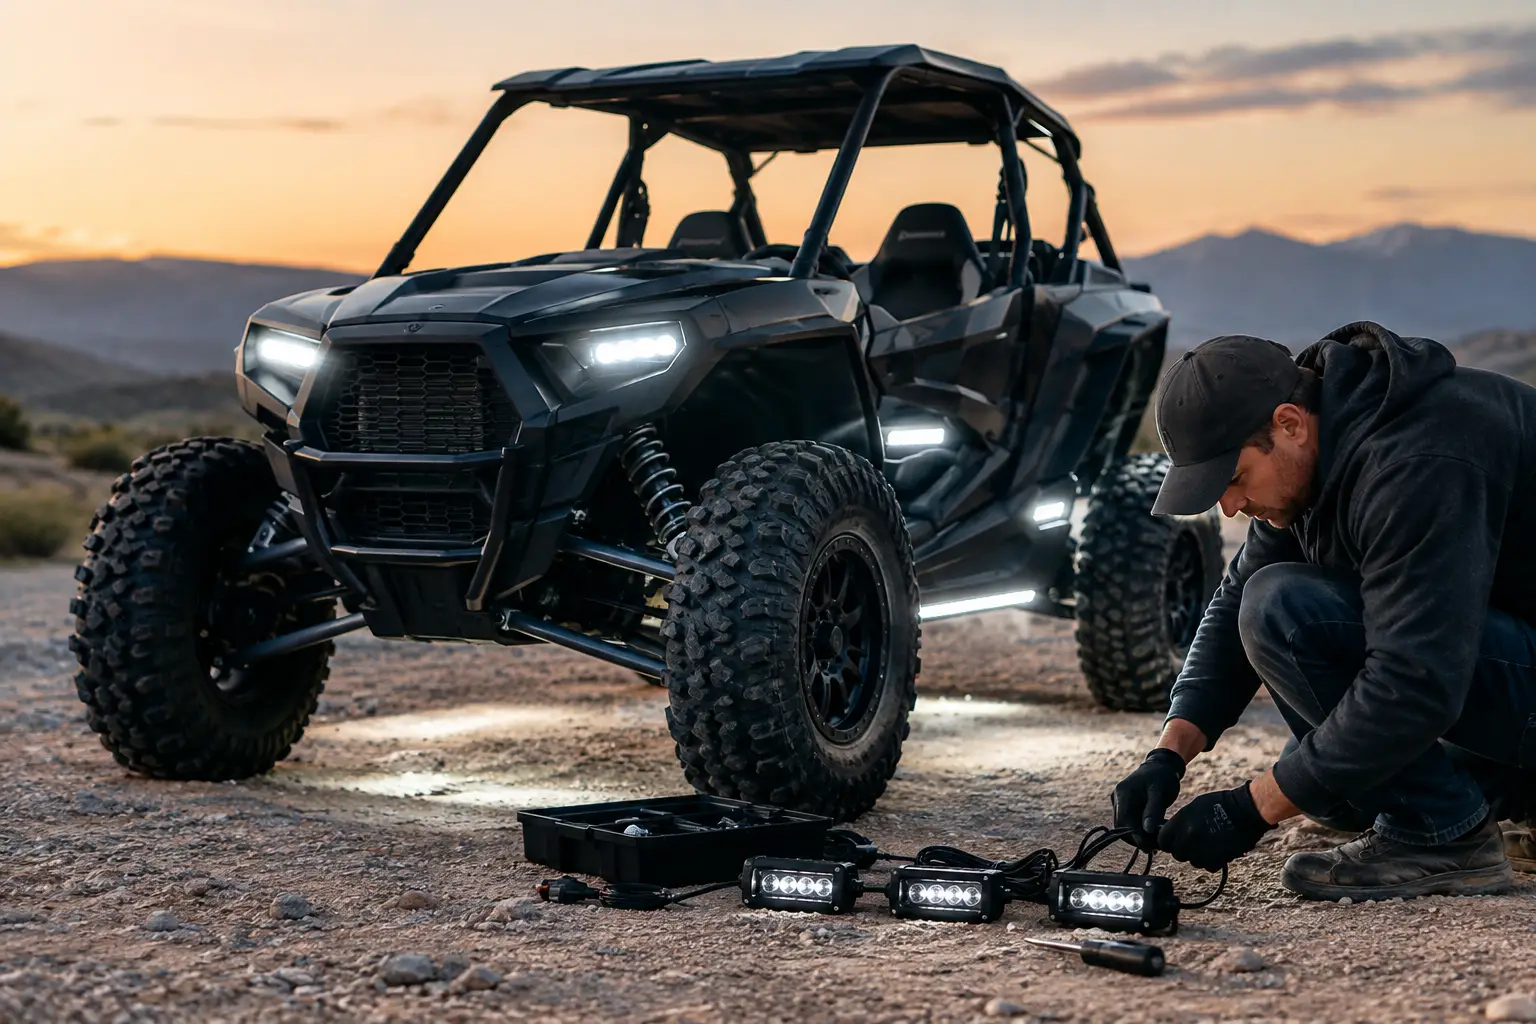
A properly installed rock light kit does more than make your machine stand out at the trailhead. When you install UTV rock lights with secure mounts, protected wiring, and a fused power source, you gain useful low-angle light for loading, recovery work, camp setup, and picking a careful line through rough terrain after dark.
The difference between a clean install and a frustrating one usually comes down to planning. UTVs see water crossings, vibration, mud, brush, heat, and pressure-washer cleanup. A light kit that works in the driveway can fail quickly if the wires are loose, the mounting surfaces are weak, or the electrical connection is not protected.
Start With Fitment and a Wiring Plan
Before opening the package, confirm that the kit suits your UTV and the way you ride. Universal rock lights can work on nearly any Polaris, Can-Am, Yamaha, Kawasaki, or Honda side-by-side, but the best mounting locations and wire-routing paths vary by chassis. Factory frame rails, skid plate edges, lower control-arm areas, and wheel-well mounting points all differ from one model to the next.
Decide where each pod will go before drilling or applying adhesive. Four-pod kits are common and give useful coverage at all four corners. Six- or eight-pod kits add light around the center of a longer crew cab machine, which can be worthwhile for riders who use their UTV for night trail runs, hunting camps, or work around property.
Think about what you need to illuminate. Lights mounted too high can create glare on body panels and doors. Lights mounted too low may take direct hits from rocks, brush, and ruts. A protected position just inside the frame perimeter or behind a skid plate lip is usually a better choice than mounting a pod where it hangs below the lowest part of the machine.
Map the power source, switch location, controller location, and wire routes. Most kits connect directly to the battery through an inline fuse, then use a switch, relay harness, Bluetooth controller, or a combination of these parts. If your UTV already has an accessory bus or fuse block, it may provide a cleaner connection, but verify its circuit rating before adding lighting.
Tools and Supplies That Make the Job Cleaner
A good kit should include light pods, a harness, fuse holder, connectors, and mounting hardware. Depending on the machine and mounting method, gather these items before you begin:
- Socket set, screwdrivers, drill, and correctly sized drill bits
- Wire loom, heat-shrink tubing, zip ties, and rubber-lined clamps
- Dielectric grease and weatherproof connectors if the kit does not include them
- Isopropyl alcohol, clean rags, and masking tape for adhesive-mounted pods
- A multimeter or test light for confirming power and ground
Do not rely on basic electrical tape as the main protection for a connection underneath a UTV. Heat-shrink butt connectors, sealed plugs, and split loom hold up far better against moisture and abrasion. Use zip ties for support, but avoid cinching them so tightly that they cut into insulation.
Choose Mounting Locations That Survive the Trail
Clean the machine first. Mud and dust hide useful mounting points, and adhesive will not bond correctly to a dirty surface. Raise the UTV safely if you need underbody access, using proper ramps or jack stands on stable ground. Never work beneath a machine supported only by a jack.
For bolt-on pods, hold each light in place and cycle the steering from lock to lock. Check suspension movement as well. The tire must not contact a pod or wiring harness at full turn or full compression. This matters especially on machines with larger aftermarket tires, lift kits, long-travel suspension, or offset wheels.
If you drill into a panel, inspect the other side first. You do not want a drill bit finding a brake line, coolant hose, wiring harness, radiator, or fuel component. Use a small pilot hole, then step up to final size. Add a rubber grommet anytime a wire passes through metal or a sharp-edged plastic panel.
Adhesive-backed lights can be useful where drilling is not practical, but they have limits. Surface preparation and temperature matter. Clean the mounting surface with isopropyl alcohol, let it dry, apply firm pressure, and allow the adhesive to cure as directed by the manufacturer. For a machine that sees aggressive rock crawling, deep mud, or frequent power washing, mechanical fasteners are usually the more dependable choice.
Aim each pod slightly outward and downward. You want the ground beside and beneath the UTV illuminated, not a bright reflection off the lower doors. Before tightening all hardware, temporarily power the system and inspect the beam pattern in a dark area.
Run the Harness Away From Heat and Moving Parts
This is where many installations go wrong. A wire can look safe while the UTV is parked, then rub against a tire, driveshaft, axle, shock spring, or exhaust pipe once the vehicle is moving. Follow factory harness routes whenever possible because those paths were designed around chassis movement and heat.
Start at the battery or accessory connection and work outward. Keep the main harness high on the chassis and use existing clips, frame tabs, or protected channels where available. Branch to each rock light pod with enough slack for suspension movement, but not enough loose wire to snag brush or droop below the skid plate.
Avoid routing wiring close to exhaust components, especially near the engine and muffler. If the path must cross a warmer area, use heat-resistant sleeve and secure the harness with appropriate clamps. At suspension points, leave a gentle service loop rather than pulling the wire tight.
Protect exposed wire with split loom. On the front and rear corners, where tires throw water and debris, loom is not optional if you want the system to last. Secure the loom at regular intervals and inspect it for pinch points before reinstalling skid plates, fender liners, or seats.
Wire Rock Lights With a Proper Fuse and Switch
Disconnect the negative battery terminal before making permanent electrical connections. Connect the positive lead through the supplied inline fuse or an appropriately rated fused circuit. The fuse should sit close to the power source, not at the far end of the harness. That way, a damaged wire is protected before it can become a larger electrical problem.
Ground the system directly to the battery negative terminal or to a clean, known-good chassis ground approved for your model. A painted, corroded, or loose ground point can cause flickering, dim lights, or controller issues. If using a chassis ground, remove enough coating to make solid metal-to-metal contact and protect the finished connection from corrosion.
The switch should be reachable from the driver's seat without interfering with controls. Dash switch panels are often the cleanest option, particularly if your machine already has accessory switch locations. For a simple setup, a weatherproof rocker switch works well. For color-changing RGB or RGBW kits, the controller may handle the on-off function through a phone app while a separate switch provides a quick hard shutdown.
There is a trade-off with app-controlled systems. They offer color and pattern control, but a physical switch is more practical with gloves on, no phone battery, or when you need to turn the lights off quickly. Many riders use both.
If you are connecting to an ignition-switched accessory circuit, confirm whether the circuit can safely carry the kit's full amp draw. LED rock lights draw less current than older lighting systems, but multiple pods, controllers, and added accessories can still overload a small factory circuit. When in doubt, use a relay harness powered from the battery and triggered by an accessory source.
Test Before You Button Up the Machine
Reconnect the battery and test every pod before reinstalling body panels. Verify that all lights power on, colors change correctly if applicable, and the switch or controller works as intended. If one pod is out, check its connector first. Most problems are a loose plug, reversed connection, poor ground, or pinched wire rather than a failed light.
With the lights on, turn the steering wheel fully both directions and inspect the front harness. Compress the suspension if practical, then look again for tension or contact points. Check the rear harness around the axle, trailing arms, exhaust, and cargo-bed movement. Finish by confirming that the fuse is the correct rating specified by the kit manufacturer.
After your first ride, inspect the installation again. Retighten mounting hardware if needed, look for loom wear, and replace any zip tie that shifted into a bad position. A five-minute post-ride check is easier than tracing an intermittent short on the side of the trail.
The right rock light kit is only part of the upgrade. Match it to your vehicle's mounting space, protect every wire like it will see mud and rocks - because it will - and build the system so future service is simple. If you need help sorting a fitment-specific lighting setup for your side-by-side, Side By Side Sports can help you narrow down the right components before you start cutting, drilling, or wiring.