
How to Adjust UTV Coilover Preload the Right Way
Posted by Drew Cummings on Sep 22nd 2026
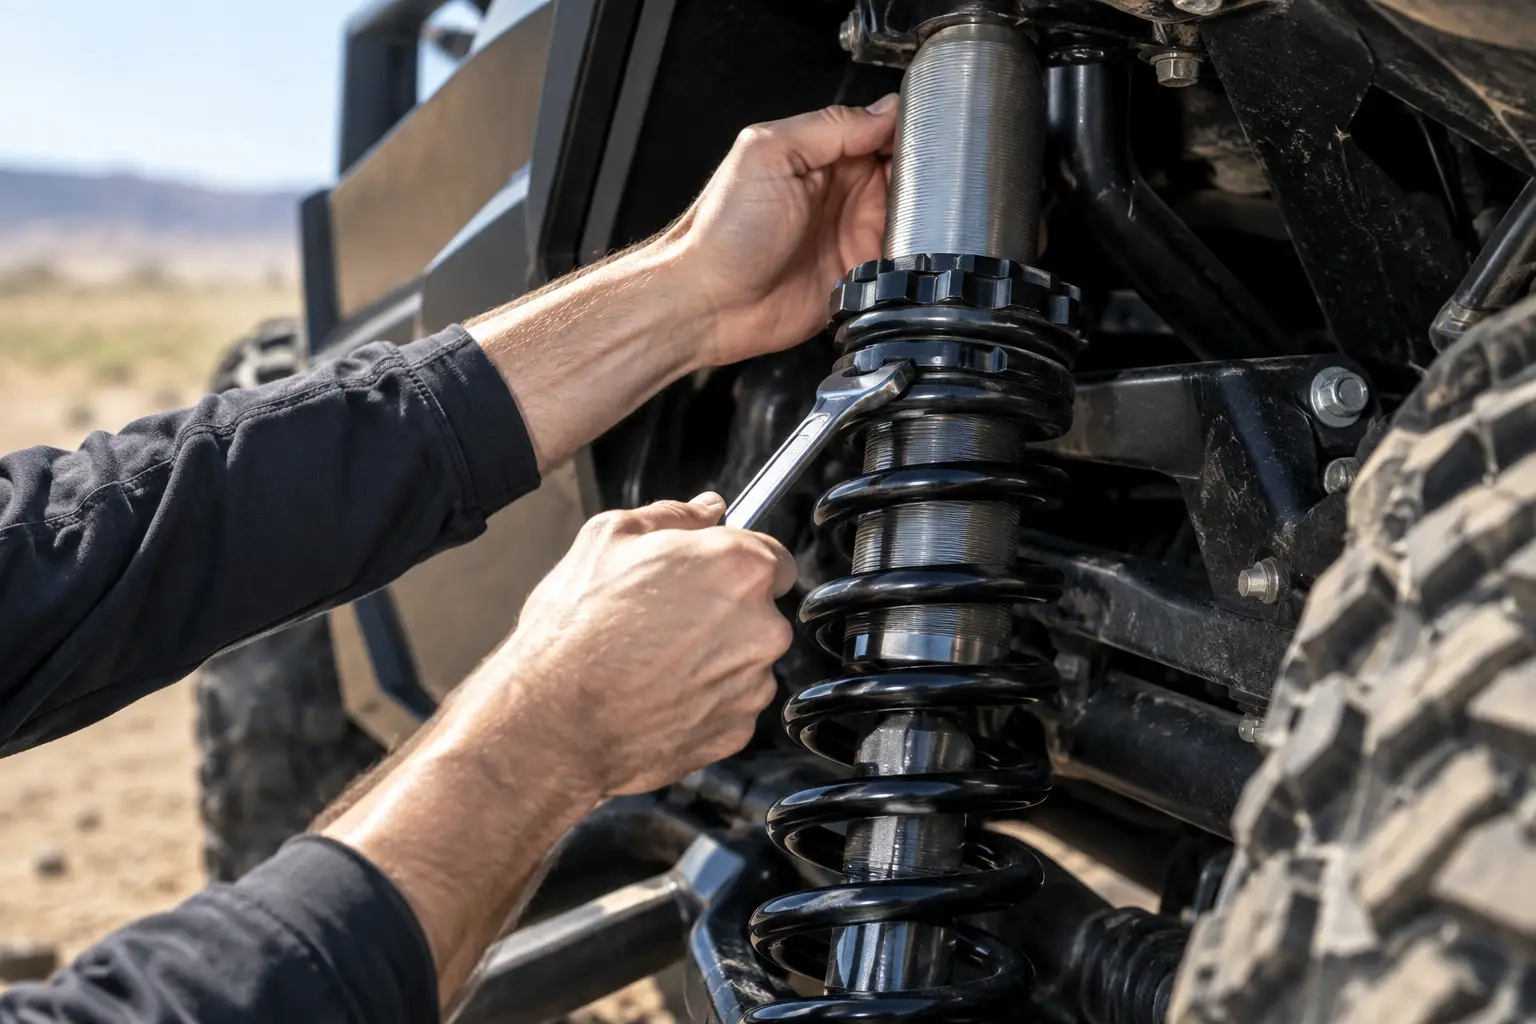
A loaded cooler, a winch, a cab enclosure, or two riders in the front seats can change how your machine sits and handles. Learning to adjust UTV coilover preload lets you set ride height for the way you actually use your side-by-side - without guessing or cranking the collars until the suspension feels harsh.
Preload is one of the most misunderstood suspension adjustments on a UTV. It can help restore proper stance after adding accessories, reduce excessive sag under normal load, and keep suspension travel available where you need it. But it does not make a soft spring stiffer, repair a worn shock, or solve every handling problem. The right adjustment starts with measuring, then making small changes with a clear purpose.
What UTV Coilover Preload Actually Does
A coilover shock uses a threaded spring collar to compress the spring slightly before the vehicle's weight is applied. That initial compression is called preload. Increasing preload raises the vehicle's resting ride height and reduces the amount of sag under its own weight and normal cargo load. Reducing preload allows more sag and lowers the ride height.
The key point: preload does not change the spring rate. A 300-pound-per-inch spring remains a 300-pound-per-inch spring whether the collar is backed off or tightened. More preload may make a UTV feel firmer in the first part of the travel because it sits higher, but it will not prevent bottoming if the spring is fundamentally too soft for your vehicle weight, accessories, and riding style.
That distinction matters for working machines and built trail rigs. If your Polaris Ranger now carries a front winch, steel bumper, plow mount, roof, and full cab, a few turns of preload may restore ride height. If it still sags badly or uses all its travel over routine terrain, it may need heavier-rate springs or a suspension package designed for the added weight.
Measure Sag Before You Touch the Collars
Do not adjust preload based only on how the UTV looks in the garage. Park on level ground, set tire pressures correctly, and make sure the machine is unloaded except for permanently installed accessories. Roll it forward and back a few feet so the suspension settles naturally.
Measure from a consistent point on the chassis to a consistent point on the wheel or lower suspension component. Record the measurement at all four corners. Then repeat the process with the typical riding load in place: driver, passenger if applicable, usual tools, hunting gear, cooler, or cargo.
You are looking for a reasonable amount of sag and a level, controlled stance. Exact targets vary by manufacturer, suspension design, shock travel, and intended use, so use your owner's manual or shock manufacturer's specifications when available. In practical terms, the UTV should not sit excessively nose-down, drag its rear under a modest load, or top out harshly over small dips because it has too little sag.
Watch for Left-to-Right Differences
Most UTVs carry uneven weight. The driver, fuel tank, battery, and factory equipment are not always centered. A side-by-side may need slightly different preload settings from left to right to sit level with the driver aboard. That is normal.
What is not normal is a large corner-to-corner difference needed to make the machine sit level. Look for a fatigued spring, bent component, seized shock collar, damaged bushing, or a load distribution issue before forcing one corner far beyond the others.
Tools and Prep for Adjusting UTV Coilover Preload
You will usually need the correct shock spanner wrench, a tape measure, marker or paint pen, penetrating lubricant for dirty threads, and a way to safely lift the UTV. Some factory shocks use a lock ring and adjustment collar, while others use a single collar arrangement. Check your shock design before starting.
Clean the threaded shock body first. Mud, sand, and dried grit can damage the threads or make the collars bind. Apply a small amount of appropriate lubricant if the collar is difficult to move, but avoid soaking brake components or leaving excess lubricant where it will collect dirt.
Lifting the vehicle until the tires just clear the ground takes load off the springs and makes the collars easier to turn. Support the UTV securely on properly rated jack stands placed at approved chassis points. Never work under a machine supported only by a jack.
Before moving anything, mark the current collar position. Count exposed threads or measure the distance from a fixed point on the shock body to the collar. This gives you a reliable baseline if you need to return to the original setting.
How to Adjust UTV Coilover Preload
Start with one axle at a time. Loosen the lock ring, if your shock uses one, then turn the preload collar in small, equal increments on both shocks for that axle. Turning the collar down the threaded body to compress the spring increases preload. Turning it up reduces preload. Confirm direction on your specific shock, since the viewing angle can make this easy to reverse.
A good approach is to move the collar one or two full turns at a time, then re-tighten the lock ring. Lower the machine, roll it to settle the suspension, and measure again. Do not make a large adjustment and assume it is correct without checking ride height.
For a front-heavy UTV with a winch, bumper, and snow plow hardware, add preload to the front pair in equal increments until the front ride height is back in range. For a machine that squats with a bed full of feed, hunting equipment, or a loaded rear rack, adjust the rear pair first. Keep changes controlled so you do not create an awkward nose-high or tail-high stance.
After setting static height, sit in the driver's seat and repeat the measurement. If you ride two-up, include your usual passenger. A suspension setup that looks perfect empty may be wrong with the people and gear that are actually on board.
Recheck Alignment and Headlight Aim
A meaningful ride-height change affects suspension geometry. On some UTVs, raising the front with preload can alter camber and toe enough to affect steering feel and tire wear. If you made a substantial adjustment, inspect alignment or have it checked by a qualified shop.
Also check headlight aim. A UTV that previously sagged in the front may point headlights too high once its stance is corrected. That matters on night rides and when sharing trails with other riders.
When More Preload Is the Wrong Fix
Preload is useful within the adjustment range intended by the shock and spring manufacturer. It becomes a poor solution when it is being used to compensate for the wrong spring rate or failing components.
If you have added a heavy front bumper, winch, spare tire carrier, full doors, roof, audio system, and other accessories, your stock springs may no longer match the vehicle's real weight. Excessive preload can reduce available droop travel, make the ride choppy over washboard, and cause the suspension to top out more easily. In that case, fitment-specific heavier springs or upgraded coilovers are the better long-term answer.
The same applies if a UTV bottoms hard even after ride height is set correctly. Bottoming can come from insufficient spring rate, inadequate damping, worn shock internals, or too much speed for the terrain. Turning the preload collars tighter may raise the vehicle, but it will not create more spring capacity.
Inspect shocks for oil leaks, damaged shafts, worn bushings, and weak or broken springs. If one corner will not hold ride height or rebounds differently from the others, address the failed part before chasing settings.
Test the Setup Where You Ride
A driveway measurement gets you close. The trail, ranch, field, or job site tells you whether the setup works. Take a controlled test ride over terrain you know well, starting at moderate speed. Pay attention to steering response, body roll, front-end dive under braking, rear squat under acceleration, bottoming, and topping out.
For trail riding, the goal is a balanced chassis that tracks predictably through rocks, ruts, and whoops. For utility work, you may prioritize level ride height and ground clearance with cargo aboard. For plowing, front-end support matters, but you still need enough compliance for the machine to steer and ride properly when the blade is raised.
Make notes and adjust one variable at a time. If your shocks also have compression or rebound damping adjusters, set preload and ride height first. Damping adjustments should refine how quickly the suspension moves, not cover up an incorrect ride-height or spring-rate problem.
A correctly adjusted coilover setup should make your UTV feel more composed, not simply taller or stiffer. Start with clean measurements, account for the accessories and loads you carry, and make small changes you can verify. When the stock springs are no longer enough for the job, choosing fitment-specific suspension components is the move that protects ride quality, handling, and the rest of your machine.