
UTV Brake Pad Selection Guide for Every Ride
Posted by Drew Cummings on Nov 4th 2026
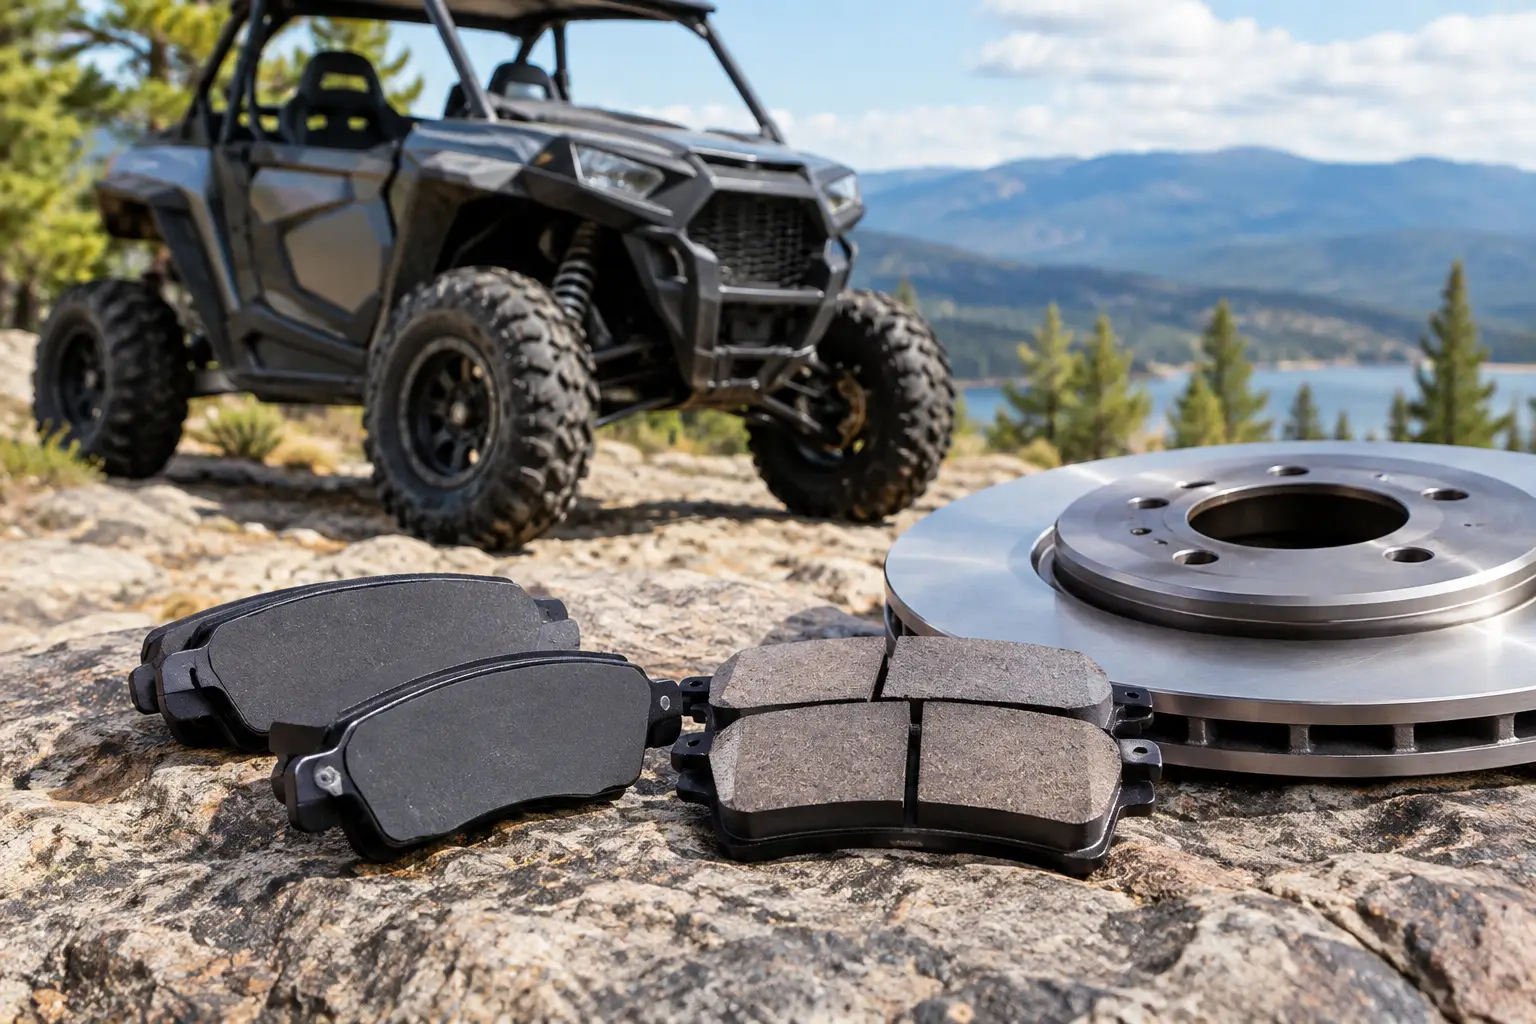
A UTV that pulls hard, carries gear, and sees real trail miles needs brakes that match the job. Stock pads may be fine for light-duty use, but mud, steep descents, oversized tires, plow work, and loaded beds can change how quickly a machine stops. This UTV brake pad selection guide breaks down what matters before you order replacement pads for your Polaris, Can-Am, Yamaha, Kawasaki, or Honda.
The right choice is not always the most aggressive pad on the shelf. Brake pad material, rotor condition, riding style, and exact vehicle fitment all work together. Choose for the way you actually use your side-by-side, not just the biggest performance claim on the package.
Start With Exact UTV Fitment
Brake pads are not a universal maintenance part. Front and rear calipers can use different pad shapes, and a single model platform may use different brake components by year, trim, or factory brake package. A fitment error can leave you with pads that look close but do not seat correctly in the caliper.
Before shopping, confirm the year, make, model, and trim of your UTV. Check whether you are replacing front pads, rear pads, or both. If your machine has been modified with an aftermarket brake kit, larger calipers, or replacement rotors, verify the part numbers for those components rather than assuming original-equipment pad fitment.
This is especially important when shopping for popular platforms with long production runs. A Polaris RZR, Ranger, Can-Am Maverick, Defender, Yamaha Wolverine, Kawasaki Teryx, or Honda Pioneer may have multiple brake configurations across its generations. Model-specific filtering makes the process faster, but it is still worth comparing the listed fitment with your machine before placing an order.
UTV Brake Pad Selection Guide: Know the Materials
Most replacement UTV brake pads fall into three broad material categories: organic, semi-metallic, and sintered metallic. Each has a place, and each asks for a different trade-off in noise, rotor wear, feel, and performance under heat.
Organic pads for lighter-duty riding
Organic pads use non-metallic friction materials bonded together with resin. They are often quiet, provide smooth initial bite, and can be easier on rotors than more aggressive compounds. For casual trail riding, property use, or a machine that does not routinely carry heavy loads, organic pads can be a sensible choice.
Their limitation is heat. Long downhill braking, repeated high-speed stops, mud-packed tires, and towing can raise brake temperatures quickly. Organic pads may wear faster or lose some consistency when pushed hard. They are a practical option for a lightly used utility machine, but usually not the first choice for aggressive mountain riding or work-heavy applications.
Semi-metallic pads for balanced performance
Semi-metallic pads blend friction material with metal fibers or particles. They generally offer stronger stopping performance and better heat handling than organic pads without being as aggressive as sintered metallic compounds. For many all-around UTV owners, this is the middle-ground option.
These pads work well for mixed trail use, moderate cargo loads, and riders who want a durable replacement without changing the character of the braking system too much. They can create more noise and dust than organic pads, and they may wear rotors somewhat faster. Still, the added stability under repeated braking is often worth it for a machine that sees varied terrain.
Sintered metallic pads for hard use
Sintered pads are made by fusing metallic particles under high heat and pressure. They are built for demanding conditions: wet trails, mud, sand, rocky descents, heavy loads, larger tires, and frequent braking. Their ability to maintain friction when hot makes them a strong choice for riders who work or push their machines hard.
The trade-off is that sintered pads can be noisier, may have a firmer initial feel, and can accelerate rotor wear compared with softer compounds. That does not make them the wrong choice. It means your rotors need regular inspection, and the pad should suit your actual use. If your UTV spends most of its time creeping around a flat property, the most aggressive compound may be more than you need.
Match the Pad to Terrain and Workload
Terrain changes brake demands more than many riders realize. A flat, dry trail lets brakes cool between stops. A tight wooded route with repeated corners does not. Mountain trails are harder still because a loaded UTV can build speed quickly on long descents.
For mud and water crossings, look for a pad material that performs consistently when wet and contaminated. Sintered options are commonly favored here because they stand up well to abrasive conditions. Sand riders also benefit from heat-resistant compounds, since tire drag and repeated speed changes can keep the brake system working.
If you use a UTV for ranch chores, hunting access, plowing, or towing, account for machine weight. A cab enclosure, roof, winch, bumper, cargo box, tools, passengers, and a loaded trailer all increase the work required to stop. Rear pads may wear more quickly on a utility machine, particularly when the bed is regularly loaded. Do not assume front and rear pads will need replacement at the same interval.
Oversized tires deserve special attention. Larger, heavier tires increase rotating mass and can lengthen stopping distances. High-quality pads help, but they do not fully replace a brake system that is undersized for the setup. If braking performance has dropped after a tire upgrade, inspect pad condition, rotor thickness, brake fluid, and caliper function before assuming pads alone are the fix.
Inspect Rotors Before Installing New Pads
New pads need a healthy rotor surface to work correctly. Installing fresh pads against a deeply grooved, glazed, warped, or worn-thin rotor can create noise, vibration, uneven wear, and weak braking. It can also shorten the life of the new pads you just installed.
Look for scoring, heat spots, blue discoloration, cracks, and a pronounced outer lip. Check rotor thickness against the manufacturer’s service limit. If the rotor is below spec, replace it. If it is within spec but badly uneven or damaged, replacement is often the better move for an off-road vehicle than trying to stretch one more season out of it.
Also inspect the caliper hardware. Sticking slide pins, corroded pad clips, torn caliper boots, and seized pistons can cause one pad to wear much faster than the other. Replacing pads without correcting the underlying issue can leave you with the same problem after only a few rides.
Don’t Ignore Brake Fluid and Riding Habits
A soft pedal is not always a pad problem. Worn pads can contribute to longer pedal travel, but old fluid, air in the system, damaged lines, or a failing master cylinder can also affect brake feel. Brake fluid absorbs moisture over time, which lowers its boiling point and can reduce consistency when brakes get hot.
Follow your owner’s manual for the correct fluid specification and service interval. If you have ridden through deep water or have no record of the last fluid service, an inspection is worthwhile. Use the correct fluid type only, and keep the system clean during service. Dirt or moisture introduced at the reservoir can create expensive problems later.
Your technique matters, too. Riding the brakes down a long descent creates heat faster than controlled, intermittent braking combined with appropriate gearing. Use low range or engine braking where your machine and terrain allow it. The goal is not to depend on brake pads to manage every pound of vehicle weight on their own.
Signs It’s Time to Replace Your UTV Brake Pads
Visual inspection is the best way to judge pad life, but your UTV will often give you warnings first. Squealing, grinding, a change in pedal feel, reduced stopping power, pulling during braking, or visible low friction material are all reasons to inspect the system immediately.
Do not wait for metal-on-metal contact. Once the backing plate reaches the rotor, a straightforward pad replacement can turn into pads, rotors, and possibly caliper work. Riders who run water, mud, and abrasive sand should inspect more often because those conditions can wear components quickly.
As a practical habit, check brake pads before major riding trips, hunting season, plow season, or any time you are already servicing tires, suspension, or wheel bearings. Brake wear is easier to manage when it is found in the shop instead of on a steep trail with a loaded machine.
Install, Bed In, and Recheck
Proper installation matters as much as pad choice. Clean the caliper mounting area, inspect the hardware, and make sure the pads move freely in their guides. Do not contaminate the friction material or rotor face with grease, oil, or brake fluid. Torque caliper fasteners to the manufacturer’s specification, pump the brake pedal until it is firm before moving the UTV, and verify fluid level afterward.
New pads should be bedded in according to the pad manufacturer’s instructions. In general, this means a series of controlled stops that gradually transfer an even layer of pad material to the rotor. Avoid panic stops or extended brake dragging during the first ride unless conditions require it.
The best brake pad is the one that fits your exact UTV and holds up to the terrain, weight, and pace you put it through. When you select pads by application instead of marketing claims, you get more predictable stopping power and fewer surprises when the trail gets steep, slick, or fully loaded.