
UTV Audio Roof Systems That Fit Your Ride
Posted by Drew Cummings on Sep 18th 2026
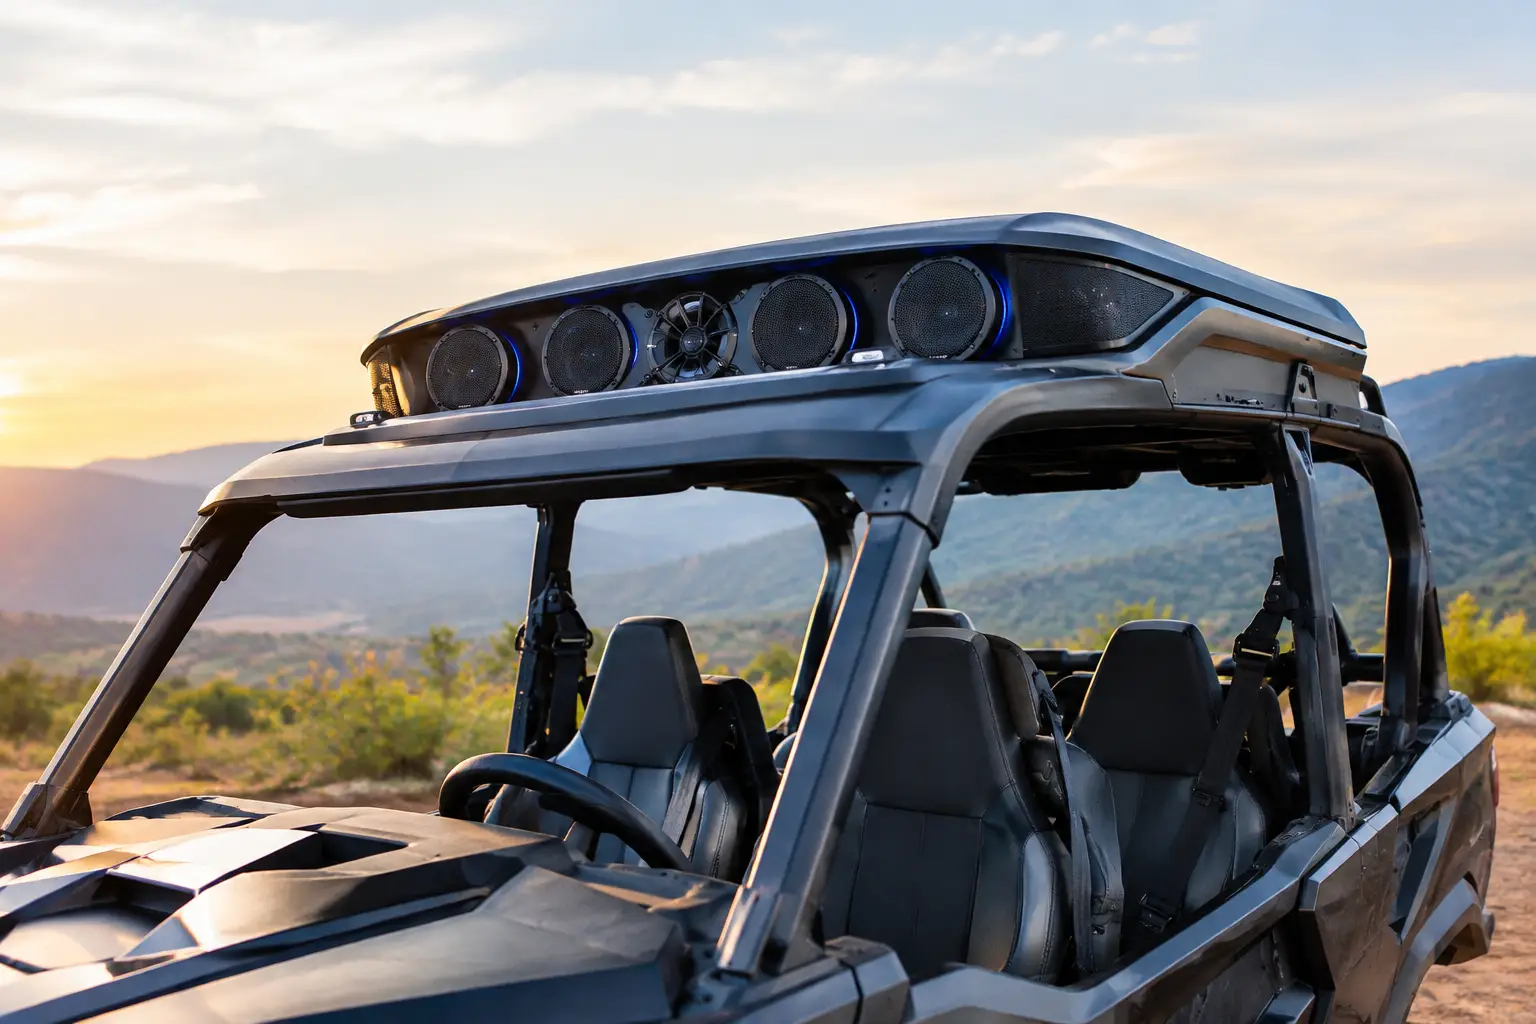
A roof-mounted audio setup can clean up the cab, free up valuable dash space, and make long trail days a lot more enjoyable. But UTV audio roof systems are not a one-size-fits-all upgrade. The right system has to match your machine, your existing roof or cage layout, how hard you ride, and the kind of sound you expect once the engine is running and the tires hit gravel.
For a slow ranch route or a campground ride, a compact powered soundbar may be all you need. For fast desert runs, group rides, and open-cab trail machines, you may need more speaker area, more amplifier power, and a mounting system that will not loosen up after a season of rough terrain. Start with fitment, then work backward from the way you actually use your side-by-side.
What Makes UTV Audio Roof Systems Different
A conventional vehicle stereo lives inside a mostly enclosed cabin. A UTV audio roof system works in an environment filled with wind noise, engine noise, vibration, dust, rain, and direct sun. That changes the priorities.
First, the components need to be built for exposure. Marine-grade speakers, sealed connectors, UV-resistant housings, and corrosion-resistant hardware matter because even a garage-kept machine gets wet and dirty on the trail. Water resistance is not the same as being able to survive a pressure washer, though. Follow the manufacturer’s cleaning guidance and avoid directing high-pressure water at speaker grilles, amplifier housings, and electrical connections.
Second, mounting is part of the product. A roof system may integrate speakers into a formed roof panel, mount a soundbar below the roof, or use cage clamps and overhead pods. Each design affects headroom, sightlines, roof removal, and access to windshield clamps, mirrors, light bars, and rear-view mirrors.
Finally, output matters more than it would in a pickup. A speaker setup that sounds great in the shop can disappear at 35 mph with the windshield open. Look beyond a single peak-watt number. Amplifier power, speaker count, speaker size, enclosure design, and tuning all contribute to usable volume and clarity on the move.
Start With Make, Model, and Roof Style
The fastest way to avoid a bad purchase is to identify your UTV by year, make, model, and trim before comparing audio options. A Polaris RZR, Ranger, General, Can-Am Maverick X3, Defender, Yamaha Wolverine, Kawasaki Teryx, and Honda Pioneer can all have different cage dimensions, roof contours, wiring paths, and accessory mounting points.
A model-specific roof system is usually the cleanest option. It is designed around the factory cage or a known aftermarket roof profile, which reduces drilling, bracket fabrication, and guesswork. It can also preserve room for other accessories, such as a front windshield, rear panel, overhead storage, or a light bar.
Universal systems offer flexibility, especially for machines with custom cages or nonstandard roofs. The trade-off is that installation takes more planning. Check tubing diameter, clamp style, roof edge clearance, and whether the speakers or soundbar will interfere with entering and exiting the cab. On machines used for hunting or work, low-hanging equipment can be more than an annoyance when you are getting in and out repeatedly.
If you already have a hard roof, do not assume every roof audio system will work with it. Some products replace the roof entirely, while others are meant to hang beneath it. Measure available space, confirm that the roof can support the added load, and account for movement if your roof uses quick-release hardware.
Check Accessory Compatibility Before You Install
Audio is rarely the only upgrade on a UTV. A roof-mounted system can compete for the same space as a light bar, whip mounts, overhead heater ducts, mirrors, or a rear camera. Consider the complete cab layout before committing.
Pay special attention to front visibility. A deep overhead enclosure can sit low enough to block part of the trail when climbing, especially for taller drivers. The best placement keeps the speakers protected and audible without turning the top of the windshield area into a blind spot.
Choose the Right Audio Layout for How You Ride
A powered soundbar is often the practical choice for riders who want Bluetooth music with minimal installation complexity. It combines speakers and amplification in one weather-resistant housing, usually mounts to the cage, and does not require building a separate speaker system. It is a good fit for casual trail riding, utility machines, and owners who want to keep the install simple.
Roof systems with integrated speakers are a stronger choice when you want cleaner packaging and more coverage across the cab. They can place sound above both driver and passenger while protecting components from cargo, boots, and branches inside the cab. These setups make particular sense for machines that see long recreational rides or regular passenger use.
For riders who want serious volume, a multi-speaker system with a dedicated amplifier can deliver better results than a basic soundbar. More power and speaker surface area help overcome wind and tire noise, but they also demand more from the electrical system. That means proper wire sizing, fused power connections, a solid ground, and realistic expectations about battery capacity.
A subwoofer can add low-end impact, but it is not always the best first upgrade. In an open-cab UTV, bass disperses quickly, and the enclosure takes up space. If your goal is clear music while riding, spend first on quality full-range speakers, clean amplification, and smart speaker placement. Add a subwoofer only if you have protected mounting space and enough electrical reserve to support it.
Power, Wiring, and Battery Capacity Matter
The most common audio problems in side-by-sides are not speaker failures. They are wiring and power issues. Loose grounds, undersized wire, unprotected runs, and poor battery condition can cause distortion, system resets, alternator whine, or a machine that will not start after an afternoon parked at camp.
Run power directly from the battery through the recommended fuse protection. Keep the fuse close to the battery, protect wiring with loom where it passes near sharp edges, and secure every run away from steering components, suspension travel, exhaust heat, and moving driveline parts. A switched accessory trigger is useful because it prevents the system from staying powered after the key is off.
Before choosing a high-output setup, consider your UTV’s charging system and the accessories already on it. A winch, light bar, cab heater, GPS, auxiliary lights, and audio amplifier can add up. If the machine often idles for long periods during hunting trips, jobsite work, or social stops on the trail, a dual-battery setup or upgraded battery may be worthwhile.
Do not judge a system strictly by advertised wattage. Peak power can make a product look impressive but says little about everyday performance. Continuous RMS power, speaker sensitivity, and system tuning offer a more useful picture of what you will hear on the trail.
Weather Protection Is More Than a Marketing Claim
Off-road weather protection starts with component design but ends with installation quality. A water-resistant speaker will still have problems if its wiring connectors sit exposed where water collects. Use sealed connectors where possible, create drip loops in wiring, and avoid mounting amplifiers in areas that receive direct tire spray.
Dust deserves the same attention as water. Fine dust can work into controls, charging ports, and poorly sealed access panels. If your system includes a wired controller or media receiver, mount it where you can reach it without exposing it to constant mud and debris. Bluetooth control from a phone is convenient, but a physical controller is easier to use with gloves and does not leave your phone bouncing around the cab.
For riders who regularly face rain, snow, or creek crossings, a formed roof with integrated audio can offer more protection than exposed cage-mounted speakers. It depends on the design, but keeping components under a roof line generally reduces direct exposure.
Installation Details That Separate a Clean Build From a Headache
Lay out every component before drilling a hole or tightening a clamp. Confirm speaker direction, roof position, wire routing, and clearance for door frames, windshields, and seats. On a tilt-bed utility machine, also make sure the wiring has enough protected slack for normal bed movement.
Use the supplied hardware where specified, and do not over-tighten cage clamps. Crushed tubing, damaged powder coat, and stripped fasteners create problems that are harder to fix later. After the first few rides, inspect all mounting points and retorque as needed. UTV vibration can settle brackets and hardware even when the initial install was done correctly.
Keep the controls useful. Volume, track selection, and source changes should be reachable from the driver’s seat without taking attention off the trail. If your audio roof includes LED lighting, decide whether you want it tied to the ignition, a separate switch, or the music signal before wiring it in.
Buy for the Machine You Have, Not the Build You Might Do Later
The best audio system is the one that fits your current UTV cleanly and supports the rides you take most often. A compact, weather-ready soundbar may be the smarter purchase for a work-focused Ranger or Defender. A fitment-specific audio roof with stronger amplification can make more sense for a RZR or Maverick X3 built around weekend trail miles and group rides.
Side By Side Sports makes it easier to narrow the search by vehicle platform, so you can focus on systems designed around your cage, roof, and intended use instead of sorting through generic options. Choose the right fitment first, protect the electrical installation, and your music will still be there when the trail gets rough.